Yes, you can make crème brûlée without a torch – perfect for people who don’t have a culinary blow torch or don’t want to invest on one. I’ll show you 2 ways to do it, and the pros and cons of each so you can choose which one is best for you.
Crème Brûlée Recipe
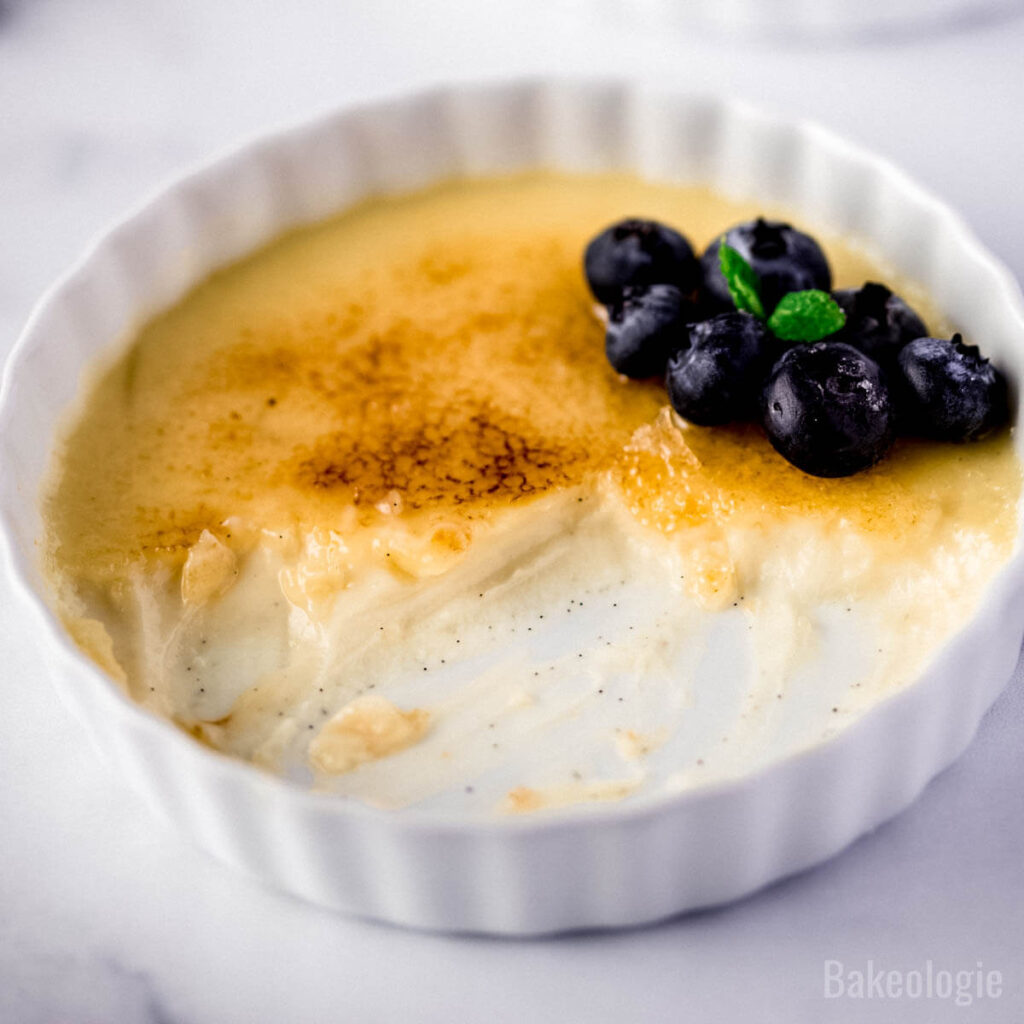
Crème Brûlée is an elegant French dessert that is made with a rich, custard base and topped with crunchy, caramelized sugar.
This crème brûlée recipe is based on my Vanilla Creme Brulee For Two.
While the complete recipe (for four servings instead of two) is listed below, I encourage you to head on to this page to know all the tips, tricks, and step-by-step photos on how to master making crème brûlée.
Now most of the time, a culinary blow torch is used to make its signature glassy, crackling molten sugar top, but if you don’t have one, or you don’t want to invest on one, here are two ways to make Crème Brûlée without torch:
Watch How To Brûlée Without Torch
Crème Brûlée Without Torch Method # 1: The Broil Method
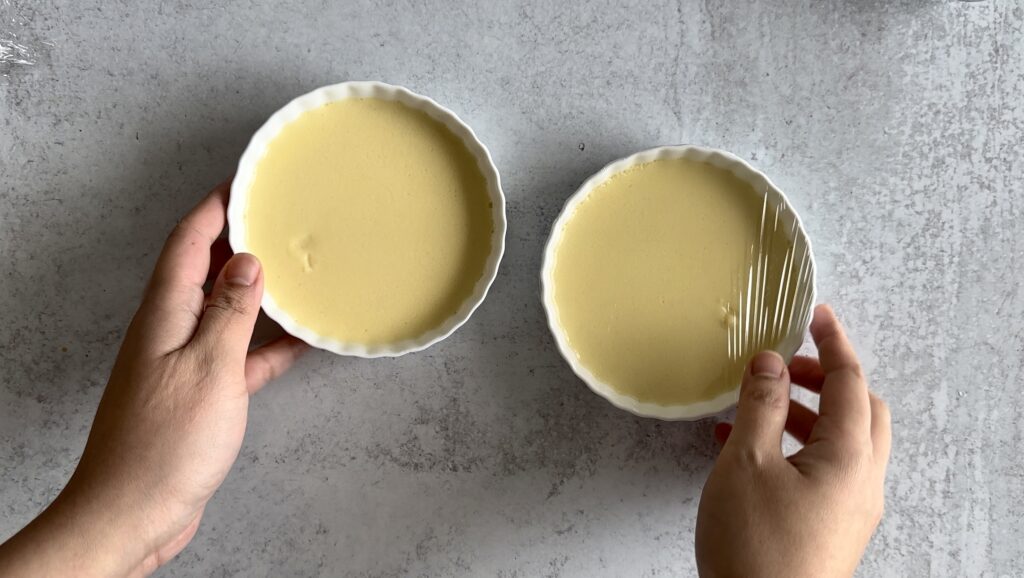
While you can get away with chilling your crème brûlée for 4 hours in the fridge, with the broil method I definitely recommend chilling it at least overnight. This is to ensure perfect consistency for your crème brûlée.
And if you are chilling it for that long, cover them so they won’t dry out and pick up the odors from the fridge.
Set your oven to broil and position the oven rack 4 to 6 inches away from the broiler ( upper third of the oven – above the middle rack and not too close to the heating element at the top of your oven).
Place the chilled crème brûlée out on the counter as you preheat your oven. This step is VERY IMPORTANT because glass and ceramic dishes are susceptible to extreme changes in temperature.
That means there’s a chance that your dish might shatter if you put in on broil straight from the fridge. Set in on your counter for about 10 minutes and that will give your glass/ ceramic dish enough time to come down near room temperature.
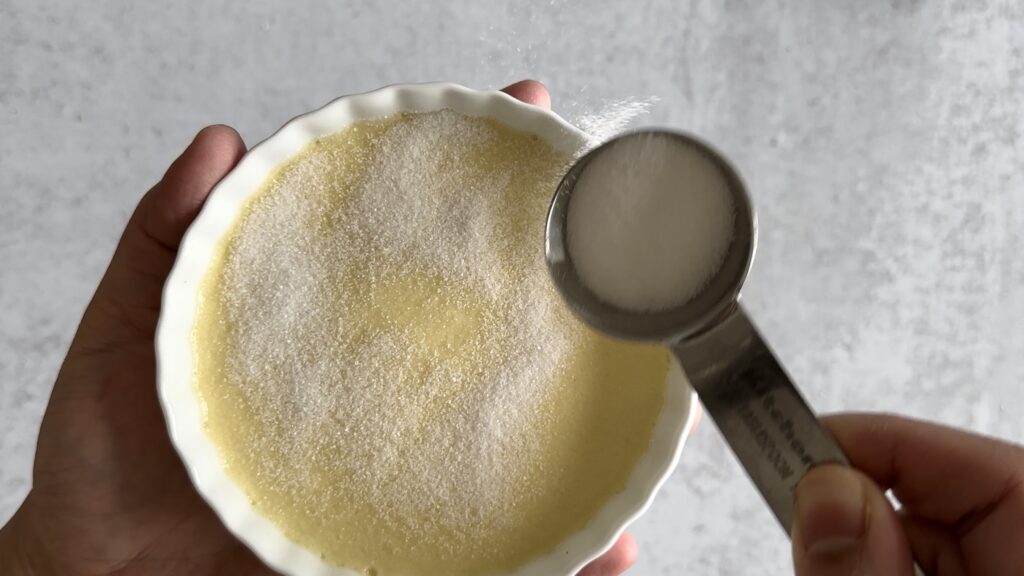
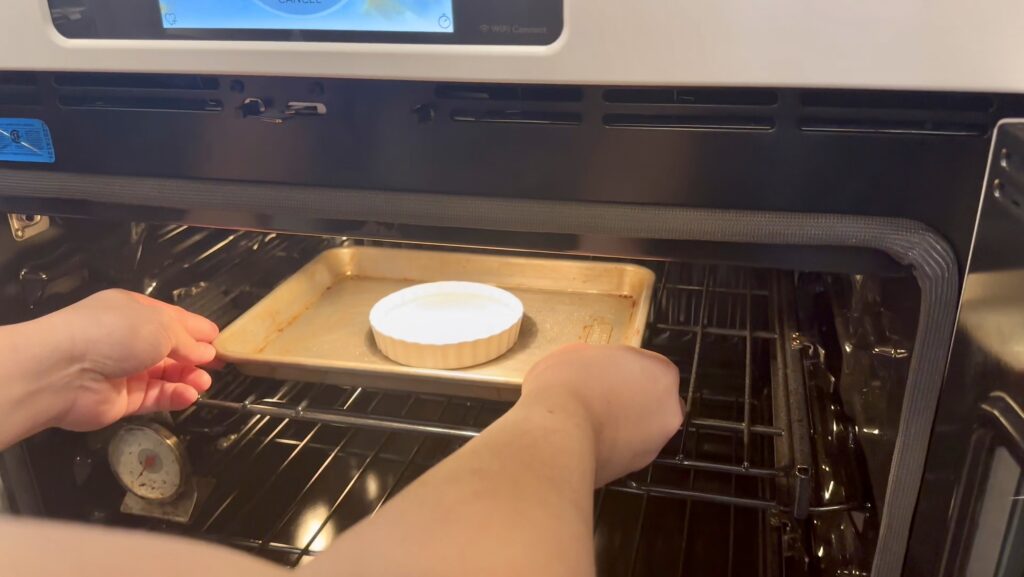
Once the broiler is nice and hot (about 10 minutes of preheat), sprinkle a thin layer of white granulated sugar over the surface of each crème brûlée. Place them on a sheet pan then put the pan in the oven.
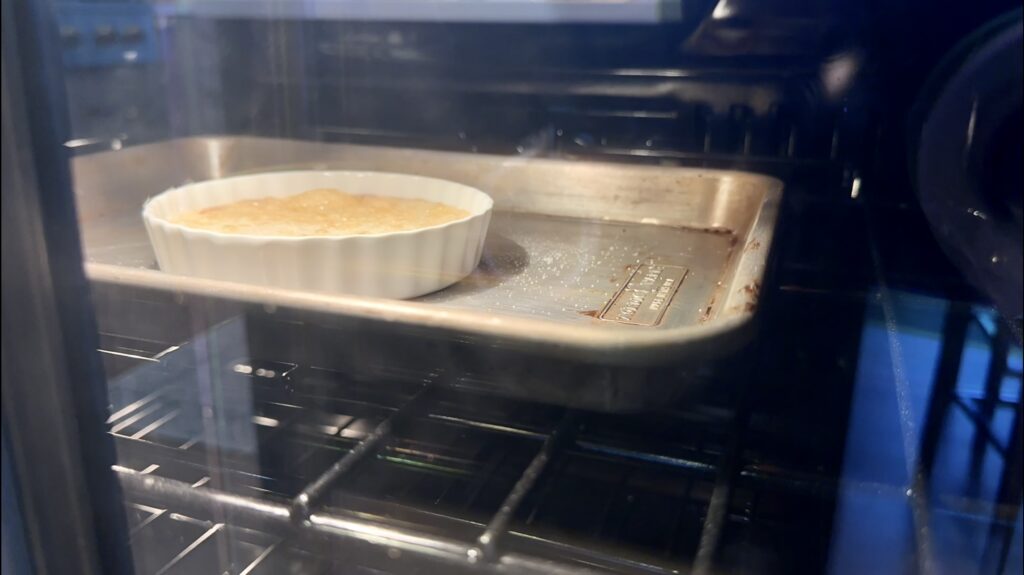
Broil until the sugar is caramelized. I’d like to keep the oven door open while doing this because we want to minimize the amount of heat that might warm your cooked custard.
We just want the radiative heat from the broiler to caramelize the sugar. You might need to turn the oven tray to get an even browning, depending on your oven’s hotspots.
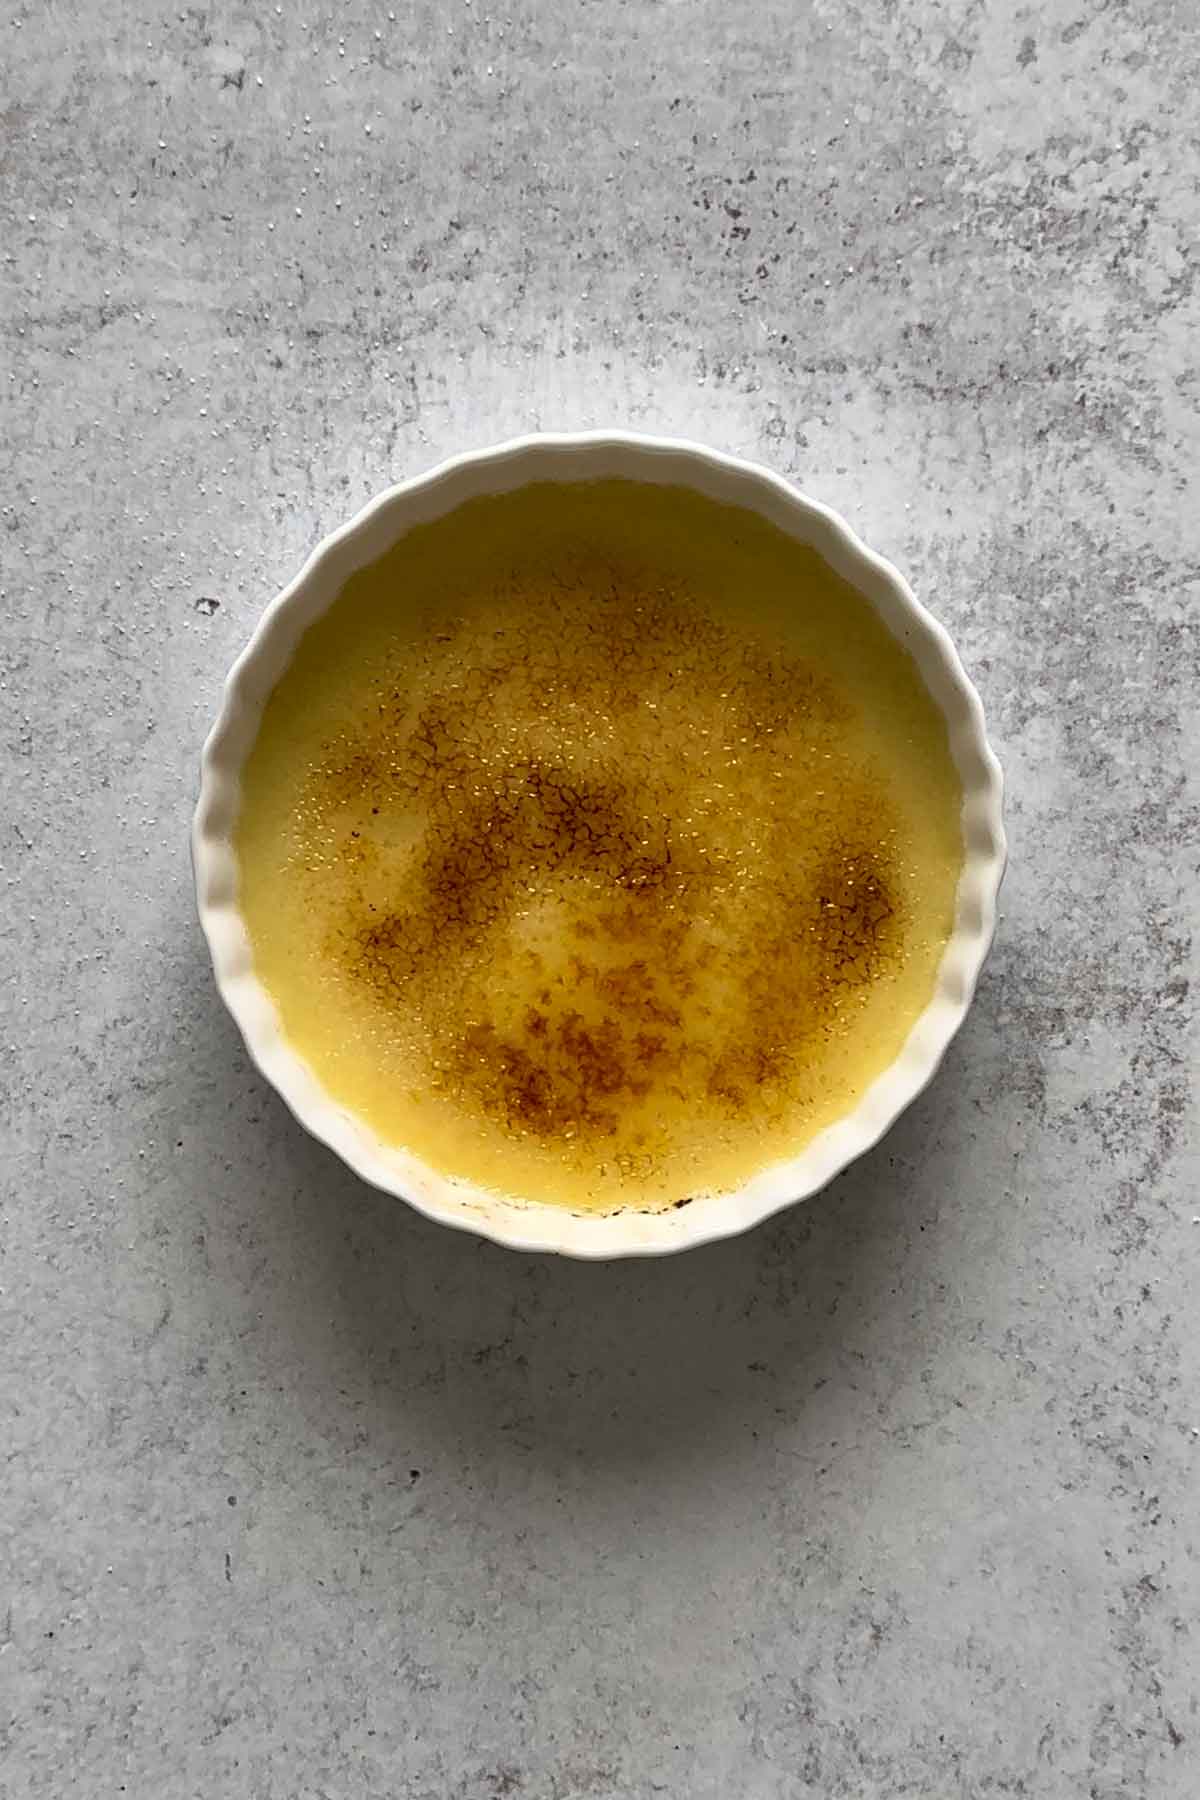
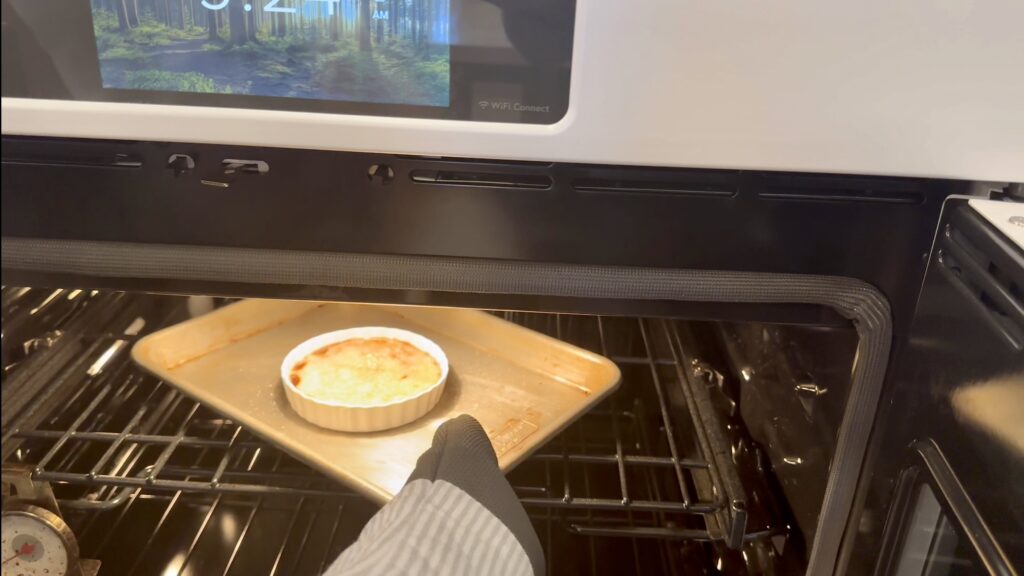
The bake time will depend heavily on the power of your broiler and how long it was preheated for. The key is to watch for visual cues – take it out once the sugar has caramelized.
Mine took about 4 minutes. So watch it closely – don’t leave as the browning happens pretty quickly!
(Note: In the video below, my oven door is closed because this particular oven model automatically stops heating when the over door is left open for a long time.)
Crème Brûlée Without Torch Method # 2: Caramel Pour Method
I actually got this genius idea from Adam Rugusea. This method is basically making a caramel on stove top, then immediately pouring it on the top of your crème brûlée. This is also a great alternative if you don’t have a broiler at home.
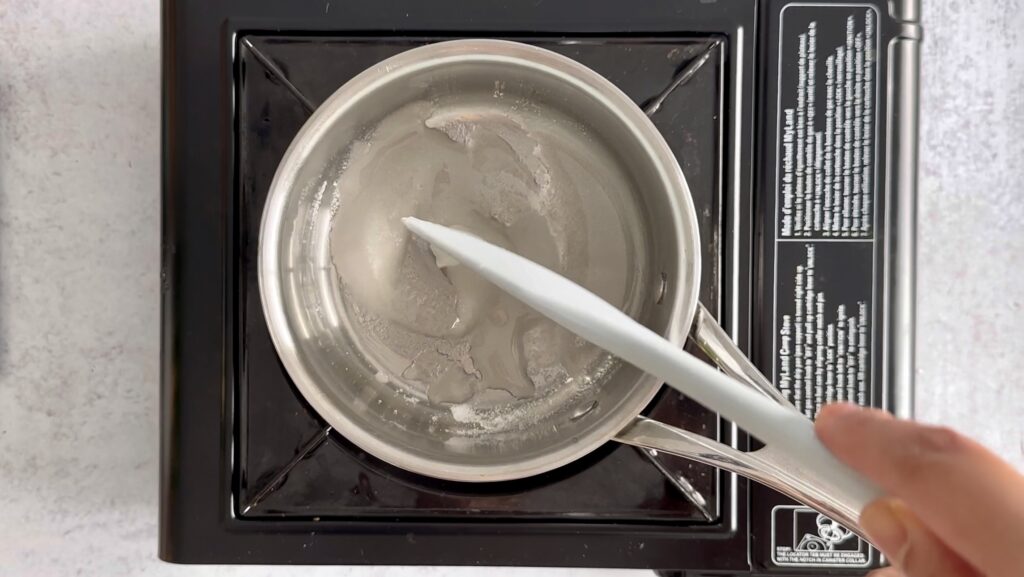
In a small saucepan, add 2 tablespoons sugar for each crème brûlée , 1 tablespoon of water for each crème brûlée, and a squeeze of corn syrup or honey to prevent crystallization. Light corn syrup or golden syrup will both work.
Put the saucepan on medium heat and stir using a rubber spatula until completely mixed. After this part, you DO NOT stir the mixture again.
Watch closely as when it starts to get amber in color, the browning really happens fast. I’d like to stop when my caramel turns just a bit darker than amber.
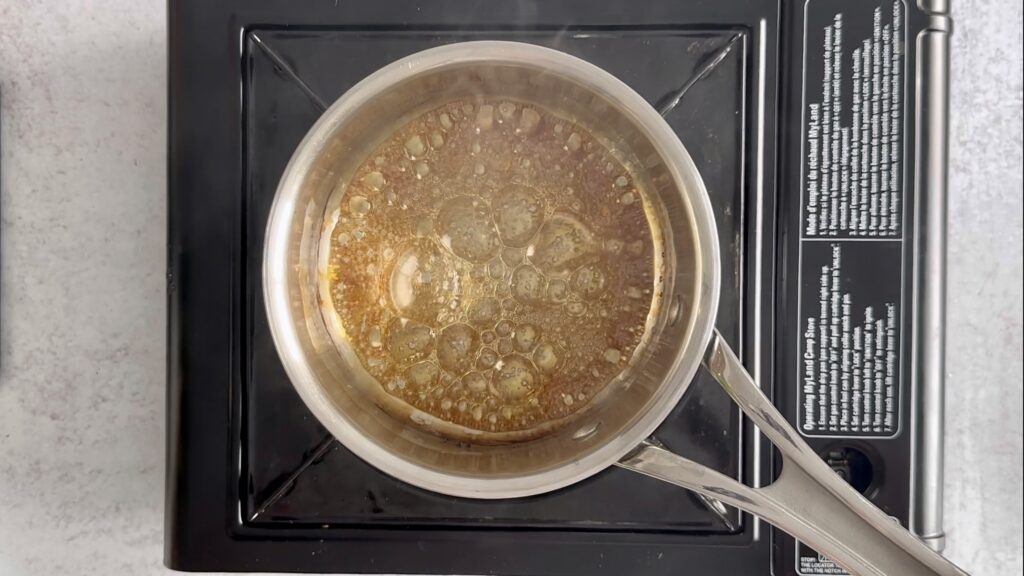
When your caramel color turns a bit darker (dark, not burned!) you’ll see little wisps of smoke coming off. Turn the heat to the lowest setting, lift your saucepan and start pouring a small portion onto the top of one crème brûlée.
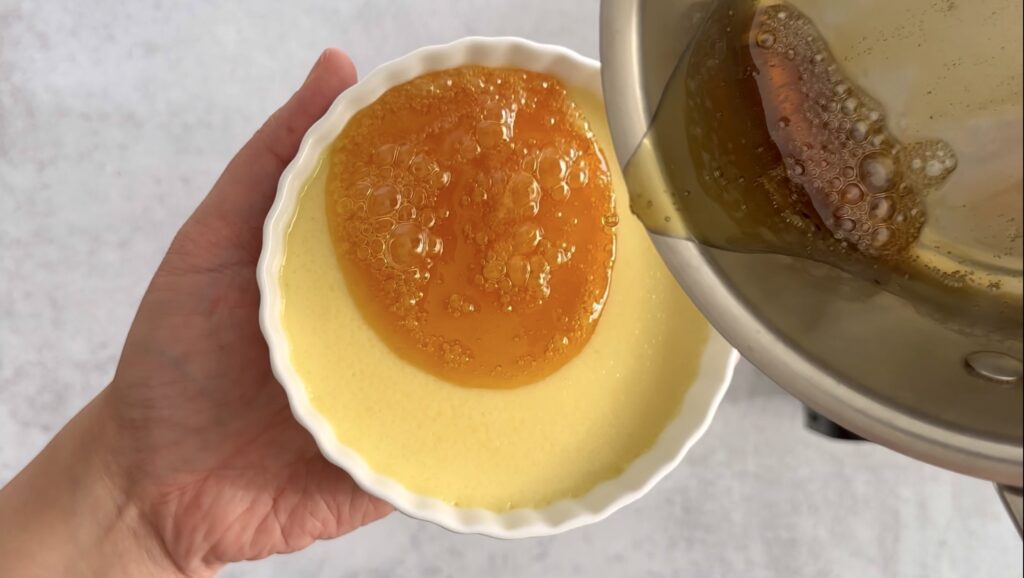
Return the saucepan to the stove (while still on lowest heat setting) then immediately swirl the caramel around the ramekin to get it even and smooth. Add more caramel if necessary to cover the whole surface of your crème brûlée.
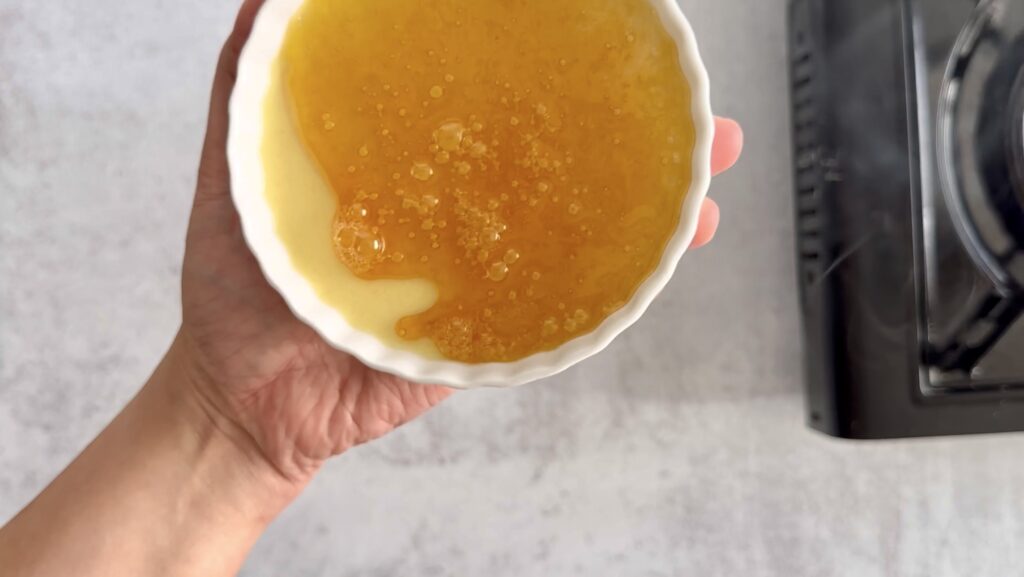
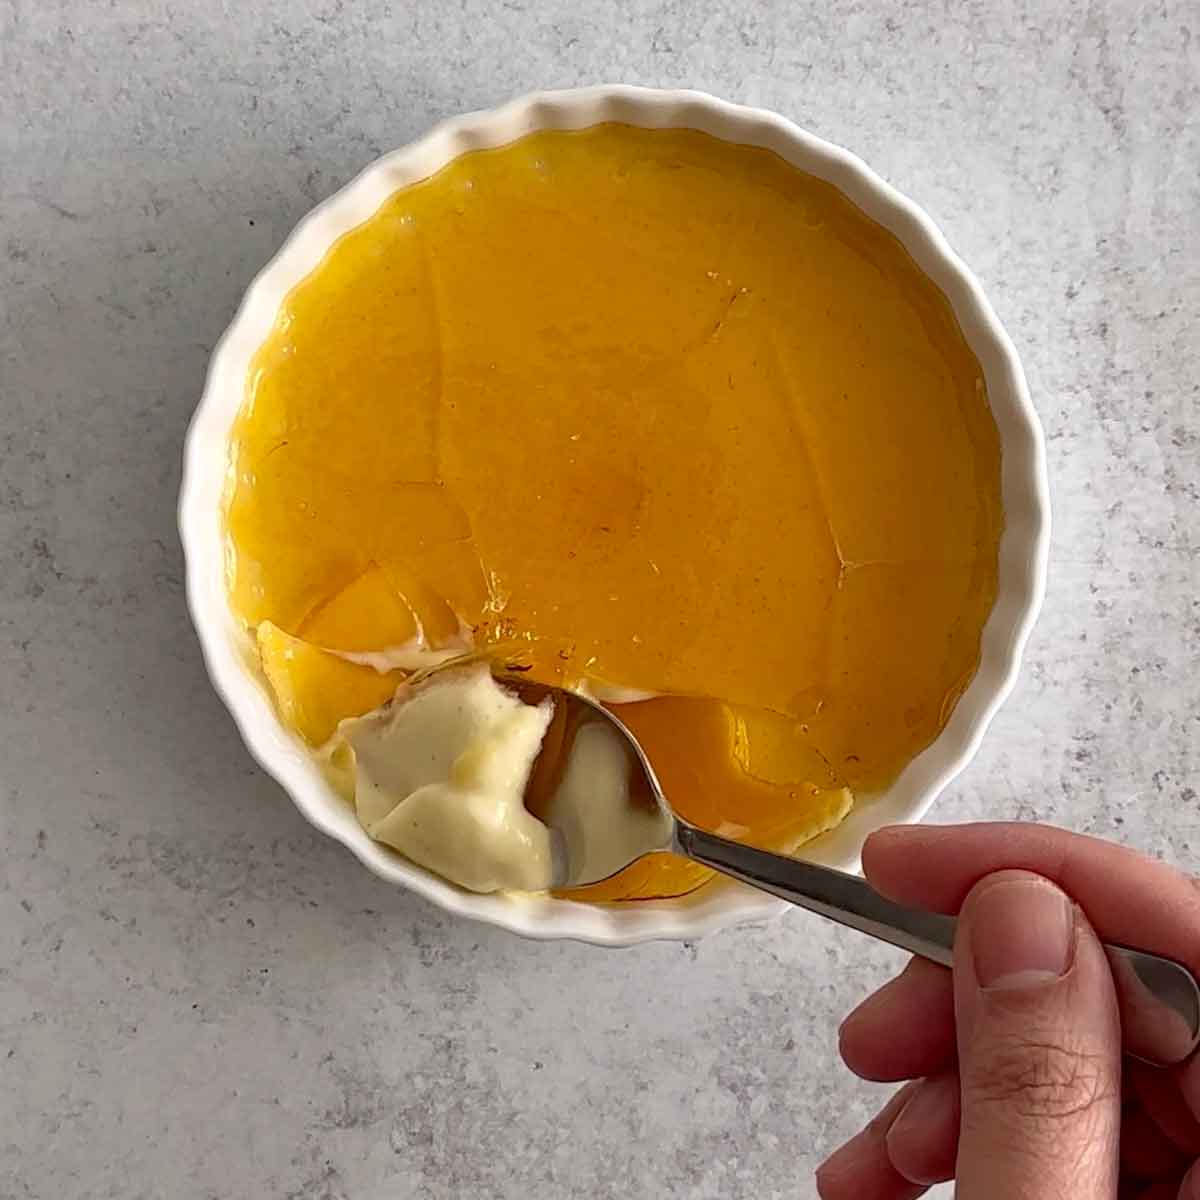
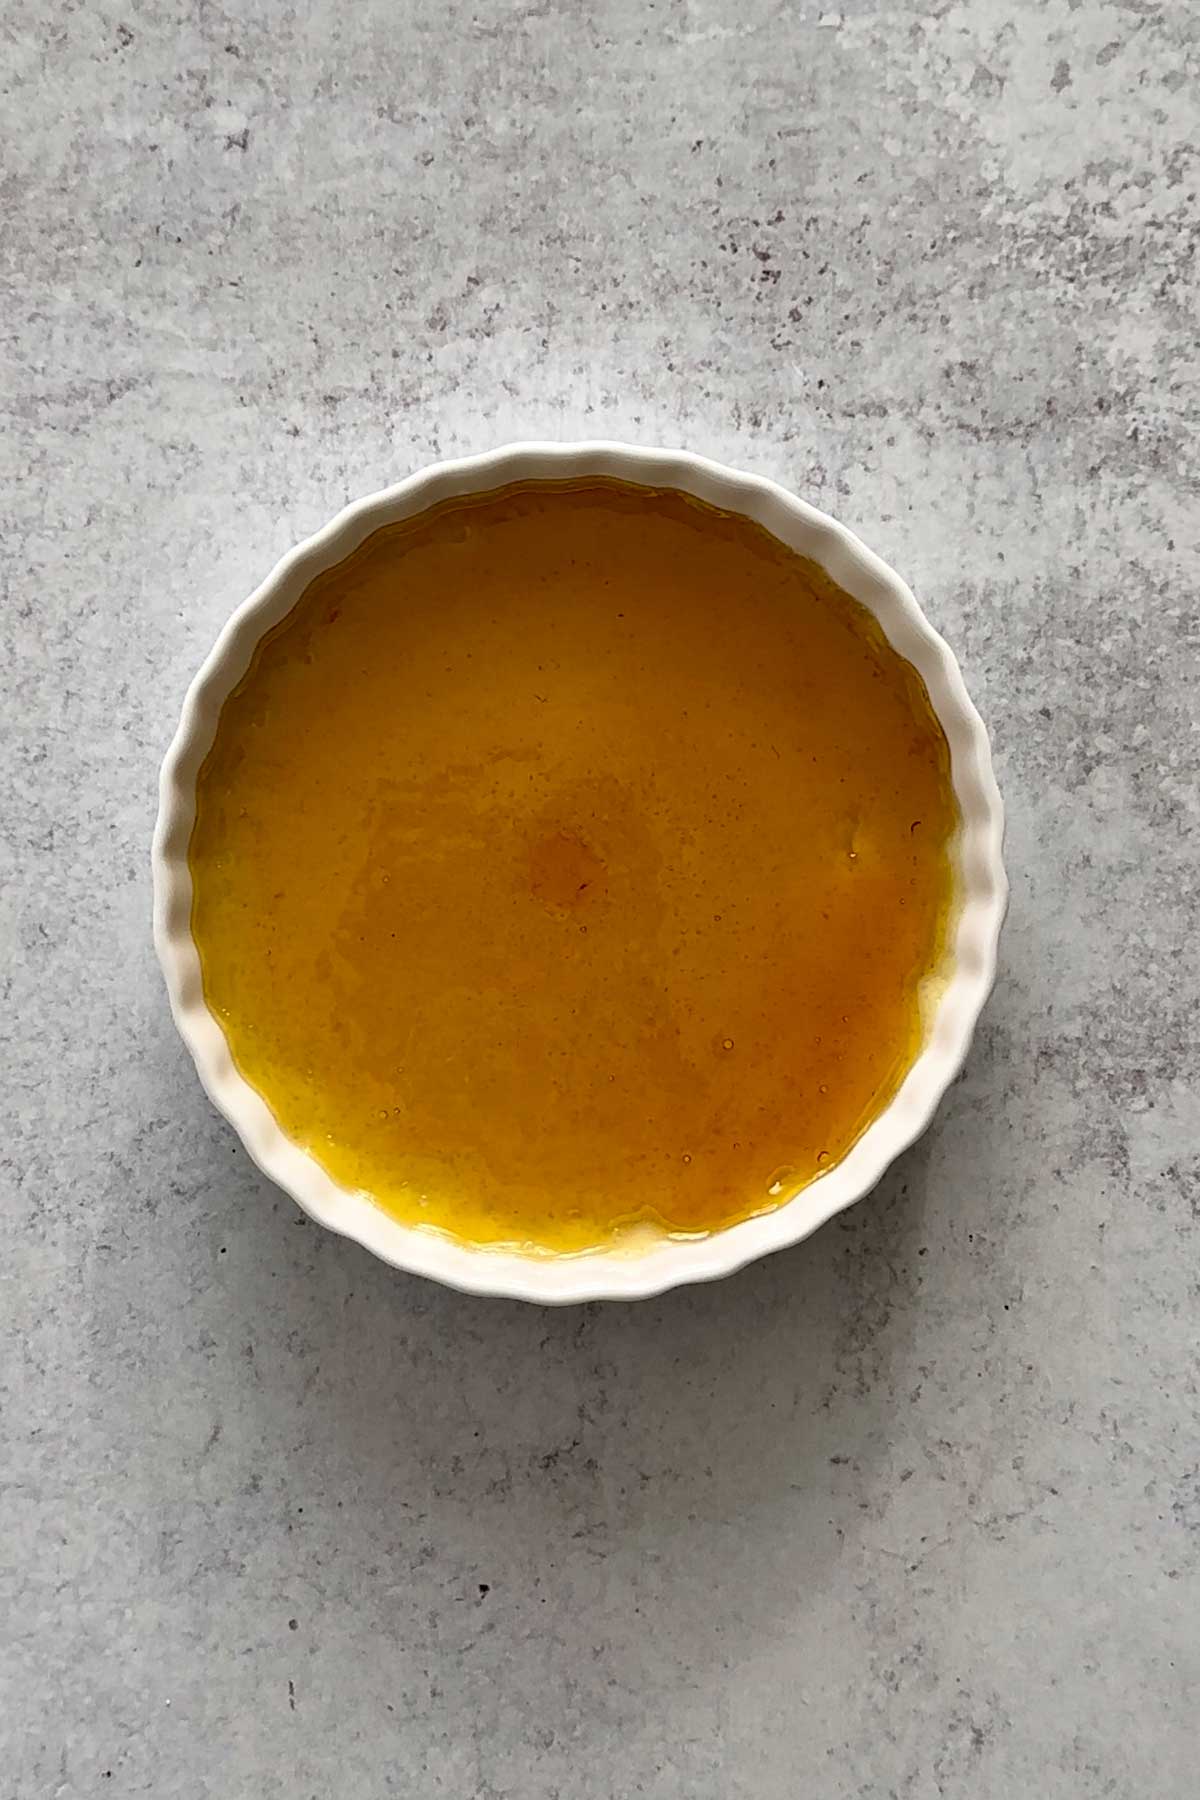
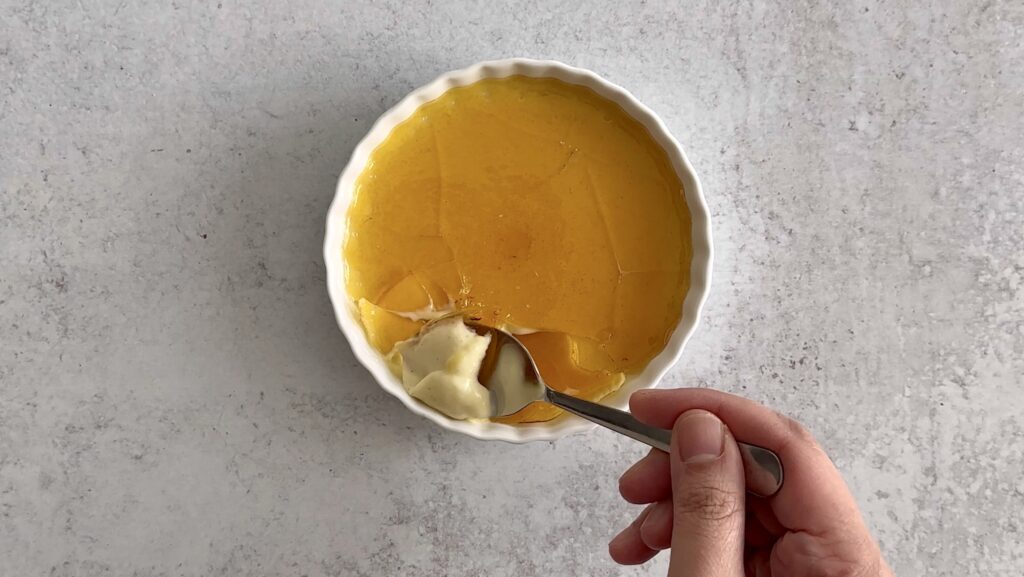
Let the caramel cool until it sets hard, about 5 minutes, then it is ready! You’ll get a cold, smooth, and creamy custard with a slightly burnt caramel topping.
Important Tips On The Caramel Pour Method:
- When you pour the caramel over the custard, aim for a VERY thin layer or the sugar. When it becomes too thick it will make the top layer hard too eat
- Work on each ramekin one by one. Finish one crème brûlée first before pouring caramel on to the next ramekin. The caramel hardens really fast so you need to spread it immediately after pouring.
- Make sure to put back your saucepan into the stove on low heat to keep the caramel liquid while you are working your way through each ramekin.
Pros and Cons
The biggest advantage of using the broil method is that you don’t need to buy a culinary blow torch. It is also a very simple and straightforward process.
The caramelization though might not be even, depending on your broiler. Even after rotating the pan, some parts didn’t get a good crust. I also noticed that after broiling, the custard becomes too warm so you slightly lose the contrast between the cold custard and the warm crunchy caramelize topping which, for me, what sets crème brûlée apart from other desserts.
This is just a minor thing though. For some people this might not be an issue at all. Your crème brûlée would still still be delicious – nothing is changed on the flavor!
Now on to the Caramel Pour Method…this is a great option if you neither have a blow torch nor a broiler.
It gives you a caramel that is crunchy but has a a clear and glassy effect instead of like a torched look.
In comparison to the broil method, the custard didn’t get soft as much. So when this method is done right, you’ll get a cool, soft, creamy custard with a thin caramelized sugar topping.
Just like when making these classic French crepes, it might take one or two tries before you get the hang of it. Even if you’ve been making crepes so many times, your first and/or second crepes will always be not as good but after that, it’s perfect!
It took me a couple of tries before I nailed the caramel pour route. Fortunately, it is easy to start over again and I knew what not to do on my next attempt. On my first try, the sugar got too dark and so it tasted quite bitter. The second try, I placed too much caramel.
Remember to refer to the Important Tips on the Caramel Pour Method above.
Conclusion
Using a culinary blow torch is still the best option, but the broil and caramel pour methods are great alternatives. They all have their pros and cons, so it all comes down to personal preference when it comes to choosing which one to use.
Personally, I enjoy eating crème brûlée when the custard is cold and the topping is warm so I go for Method #2 whenever I ran out of butane for my torch.
What is your preferred method between the two? Please let me know thru the the comments section below!

Equipment
- ramekins (4-ounce to 7-ounce)
Ingredients
For the Vanilla Crème Brûlée
- 320 grams (1½ cups) heavy cream
- 48 grams (4 tablespoons) white granulated sugar
- pinch fine sea salt
- 4 egg yolks from large eggs about 80 grams
- ¾ teaspoon vanilla bean paste
For Method # 1: Broil Method
- 4 tbsps white granulate sugar ( tablespoon for each ramekin
For Method # 2: Caramel Pour
- 8 tbsps white granulated sugar
- 4 tablespoons water
- a squeeze of corn syrup or honey
Video
Instructions
Make the custard
- PREP. Adjust oven rack to middle position and heat the oven to 300F/ 150C. Bring a kettle of water to a boil for the water bath and set aside until needed.
- MAKE THE EGG YOLK MIXTURE. Whisk the egg yolks and vanilla bean paste together. Set aside.4 egg yolks from large eggs¾ teaspoon vanilla bean paste
- SIMMER THE CREAM MIXTURE. In a medium saucepan, combine heavy cream, granulated sugar, and salt while stirring occasionally to completely dissolve the sugar. As soon as it begins to simmer, remove from heat.320 grams (1½ cups) heavy cream48 grams (4 tablespoons) white granulated sugarpinch fine sea salt
- TEMPER THE EGGS. Slowly add in about 1/4 cup of the cream mixture, while constantly whisking, into the yolks until evenly colored and thoroughly combined. Then in a slow and steady stream, pour and whisk the remaining cream mixture. Keep those egg yolks moving so they don’t scramble.
- STRAIN. Pour mixture through a fine-mesh strainer into a large liquid measuring cup with a spout or a pitcher or medium bowl; discard solids in the strainer. Pour or ladle mixture evenly into ramekins. Pop any air bubbles that might have surfaced to the top, with a toothpick.
- WATER BATH. Place a paper towel on the bottom of a baking pan or sheet pan large enough to hold the two ramekins. (This keeps the ramekins from slipping.) Set the ramekins on the paper towel. Carefully place the baking pan with the ramekins on the oven rack. Gently pour boiling water into the dish, taking care not to splash water into ramekins, until water reaches halfway up the side of the ramekins.
- BAKE. Bake until the centers of the custards are barely set and jiggles slightly when the baking pan is nudged, about 20 minutes for shallow ramekins like the ones pictured above or 30 minutes for deep ramekins. For a more accurate sign, they're done when an instant food thermometer inserted registers between 170F to 175F (77C to 80C), Begin checking temperature about 5 minutes before recommended time. Over-baking can cause the custard to curdle, so take care not to leave it in the oven longer than it should.
- COOL. Remove ramekins/dishes from the water-bath and transfer to a wire rack. Since my ramekins are thin, I used two tongs to remove them (watch the video to see this). Cool custards to room temperature, about 2 hours. Cover each ramekin with plastic wrap, and refrigerate until cold, at least 4 hours but preferably overnight.
NO TORCH METHOD # 1: BROIL
- When ready to serve, remove the creme brulee from the refrigerator, discard the plastic wrap, and place the ramekins on a sheet pan. Leave on your kitchen counter for about 10 minutes, while you preheat your oven. Position your oven rack at least 4 to 6 inches away from the broiler and preheat on high for 10 minutes. Sprinkle about 1 tablespoon of granluated sugar evenly on top of the creme brulee. Broil for 5 to 10 minutes, or until the sugar melts completely and most of it caramelizes, rotating the pan occasionally to even the browning. Cool for about 2 minutes to allow the sugar to harden, then serve immediately.4 tbsps white granulate sugar
NO TORCH METHOD # 2: CARAMEL POUR
- In a small saucepan, add sugar, water and corn syrup or honey. Put the saucepan on medium heat and stir using a rubber spatula until completely mixed. After this part, DO NOT stir the mixture again. Watch closely as when it starts to get amber in color, the browning really happens fast. When your caramel turns just a bit darker than amber. you'll see little wisps of smoke coming off. Turn the heat to the lowest setting, immediately lift your saucepan and start pouring a small portion onto the top of one crème brûlée. You want a thin layer of caramel on top. Return the saucepan back to the stove (that is still on lowest heat setting so the caramel remains liquid) then immediately swirl the ramekin around to get the poured caramel even and smooth. Pour more caramel if necessary to cover the whole surface of your crème brûlée. This part should happen pretty fast because caramel hardens fast too. Do the same for the remaining 3 ramekins. Let the caramel cool until it sets hard, about 5 minutes, then it is ready to be eaten.8 tbsps white granulated sugar4 tablespoons watera squeeze of corn syrup or honey


This was my first time making crème brûlée and it turned out amazing, thanks to your clear instructions! The custard was silky smooth, and the caramelized sugar on top gave the perfect crack. I didn’t have a torch so I used the broiler tip and it worked like a charm. Definitely making this again for our next dinner party!
Yay, I’m so glad it turned out great—especially on your first try! That broiler hack really comes in handy, right? Sounds like you nailed it. Hope it’s a hit at your next dinner party too!
This was amazing! I used the caramel pour method and it came out delicious. It was intimidating but actually really easy to do. It’s also really easy to get too much caramel so be extra careful, but if it’s only a little too much then it’s still lovely!
The caramel pour is such a great hack, right? Thank you so much for sharing your experience!:)