
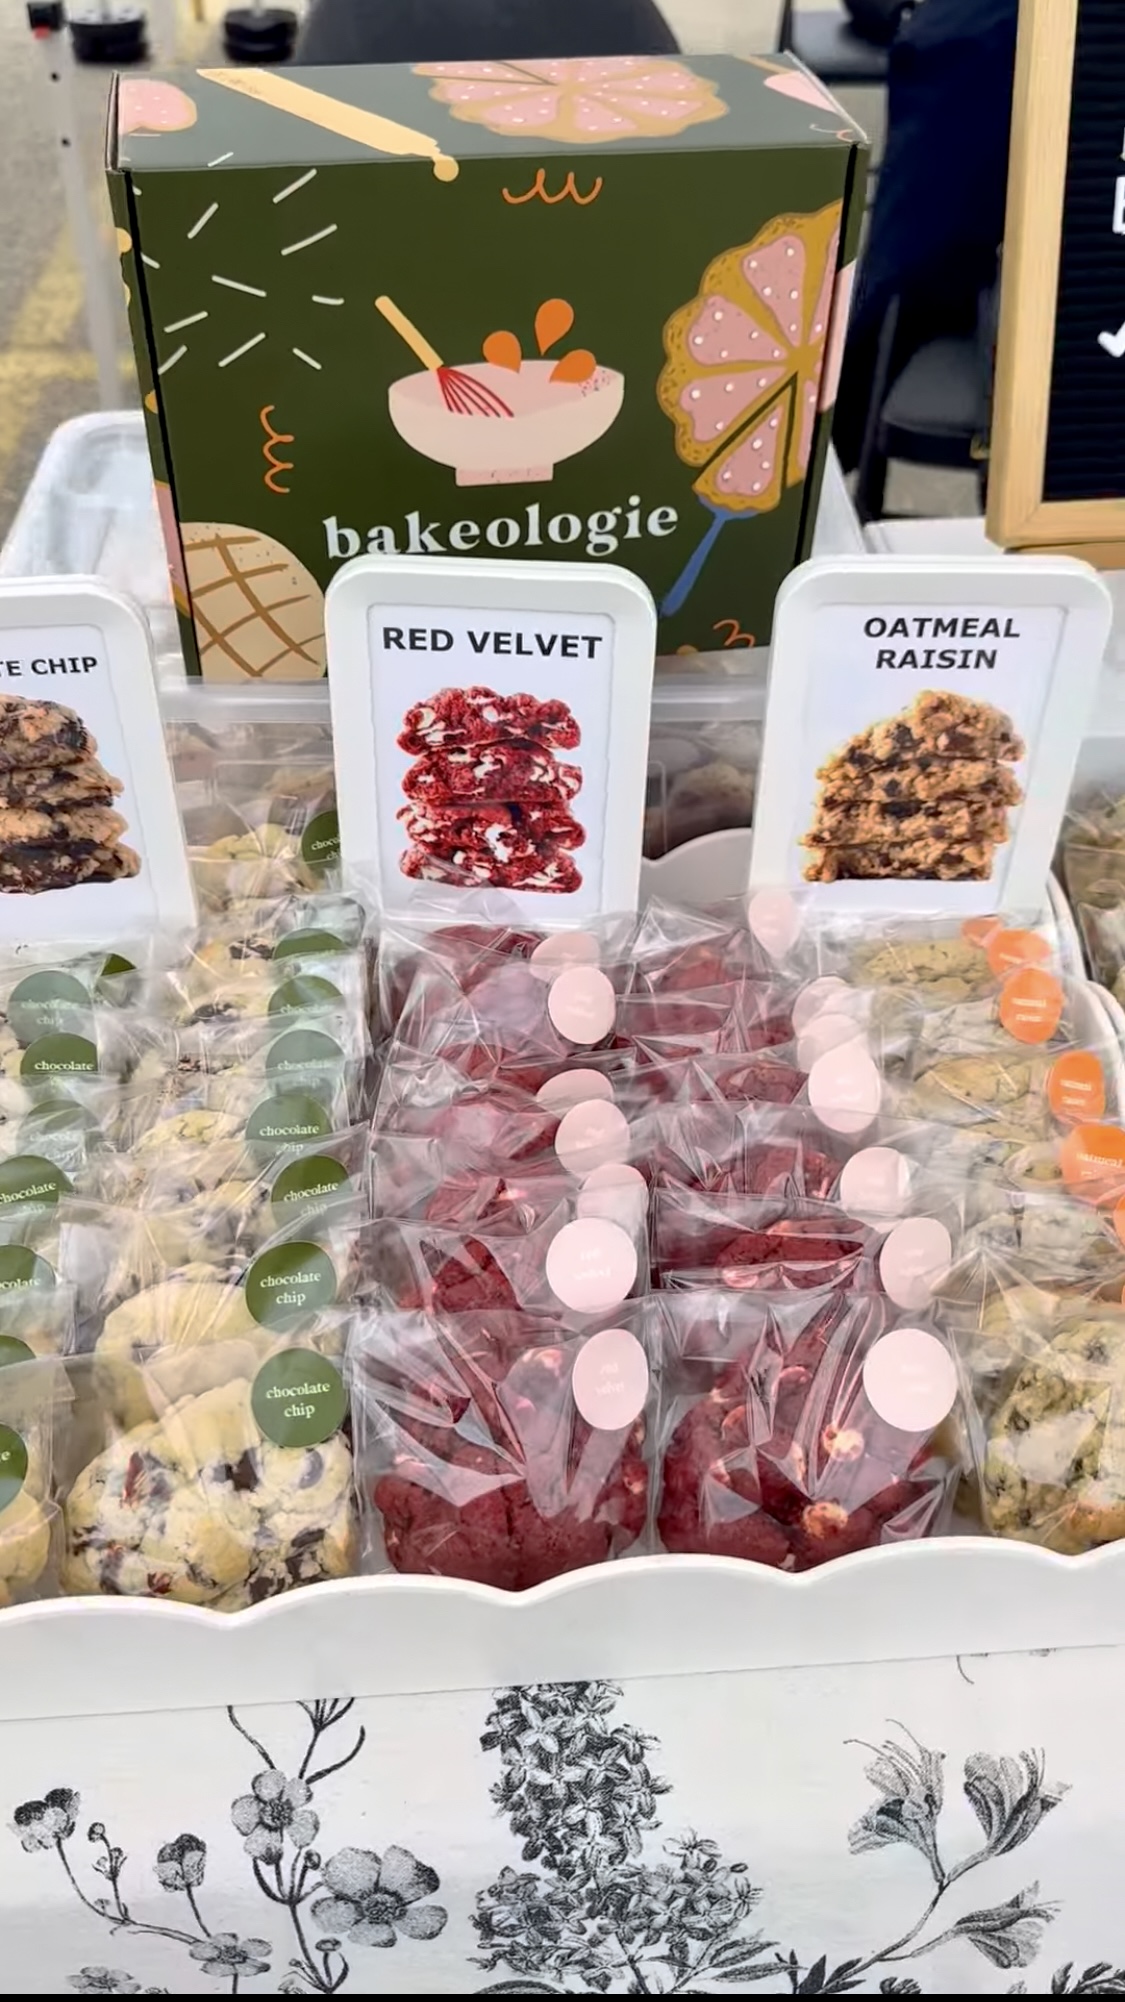
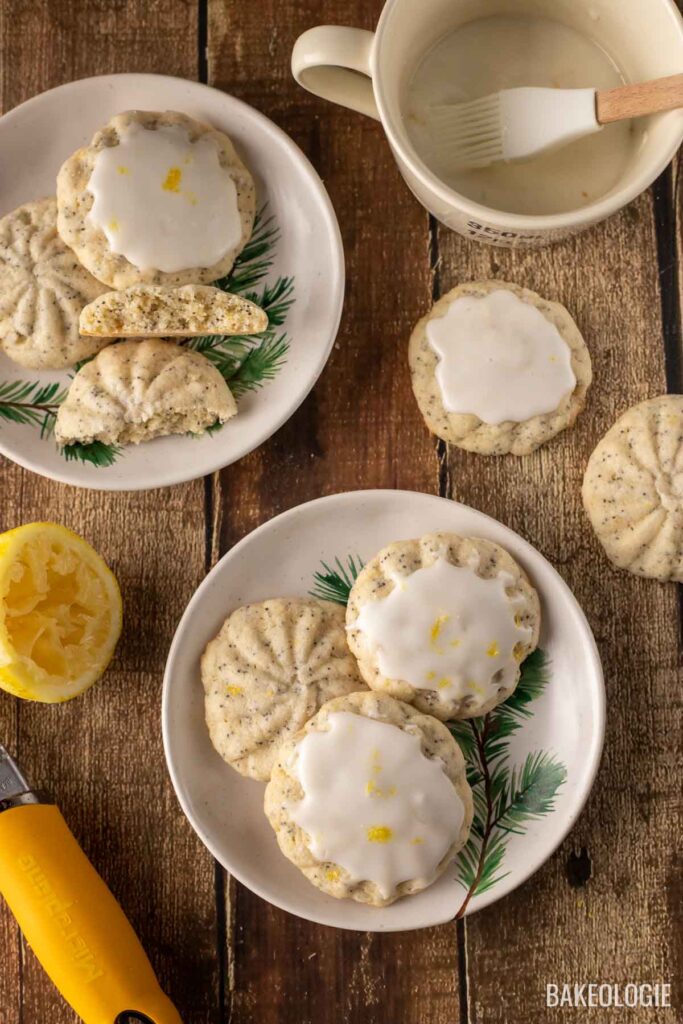
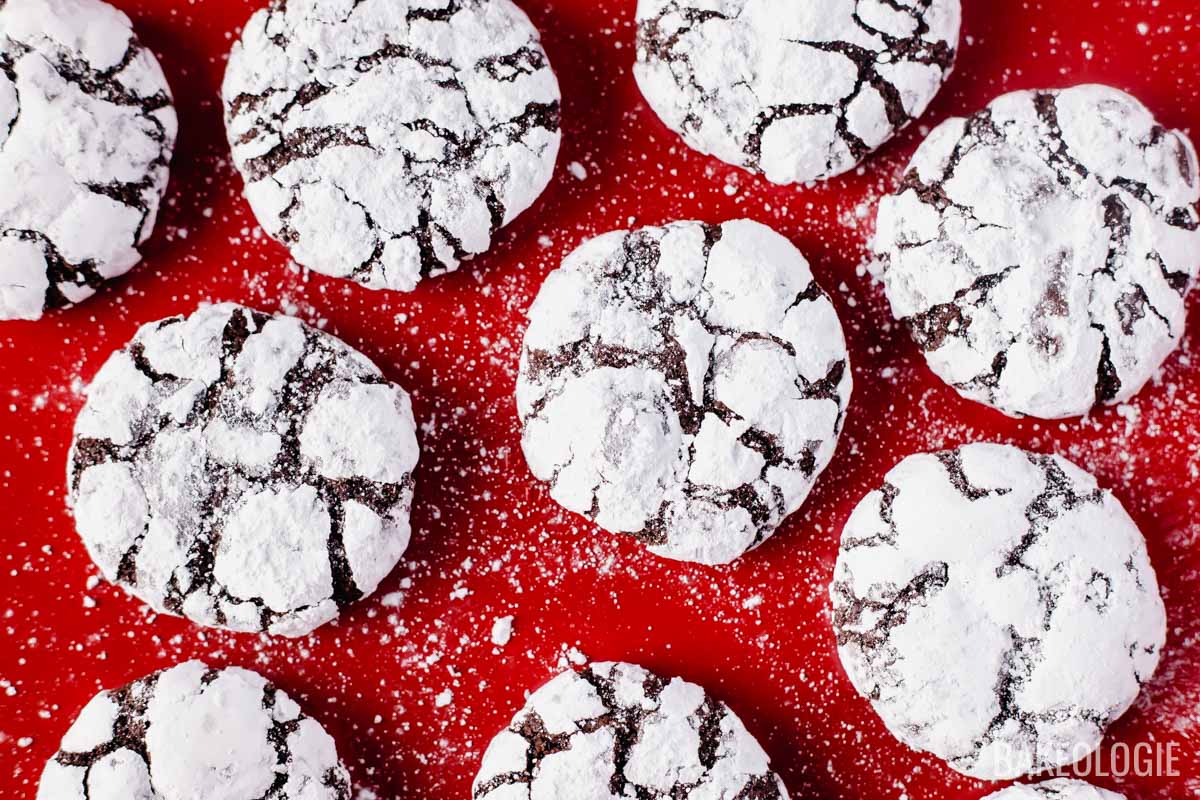
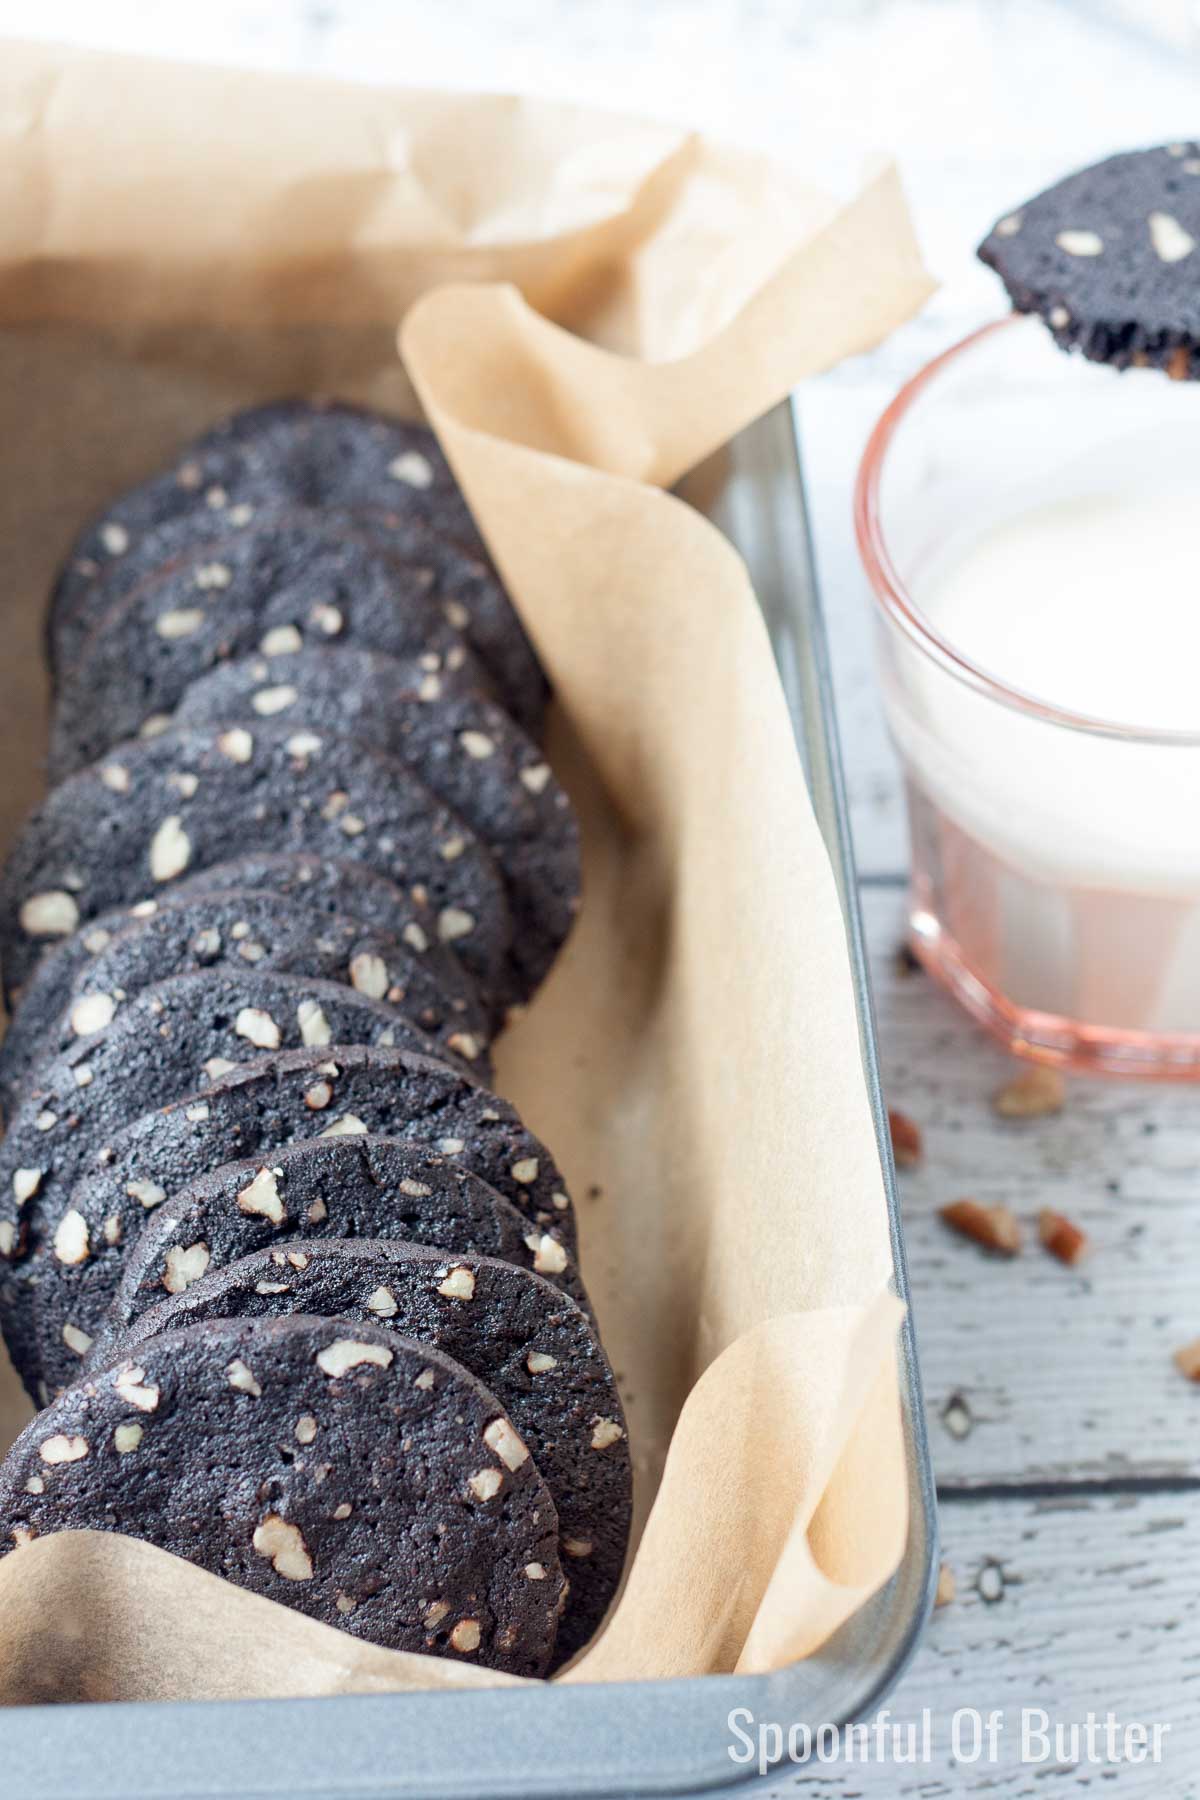
A Farmers’ Market Favorite

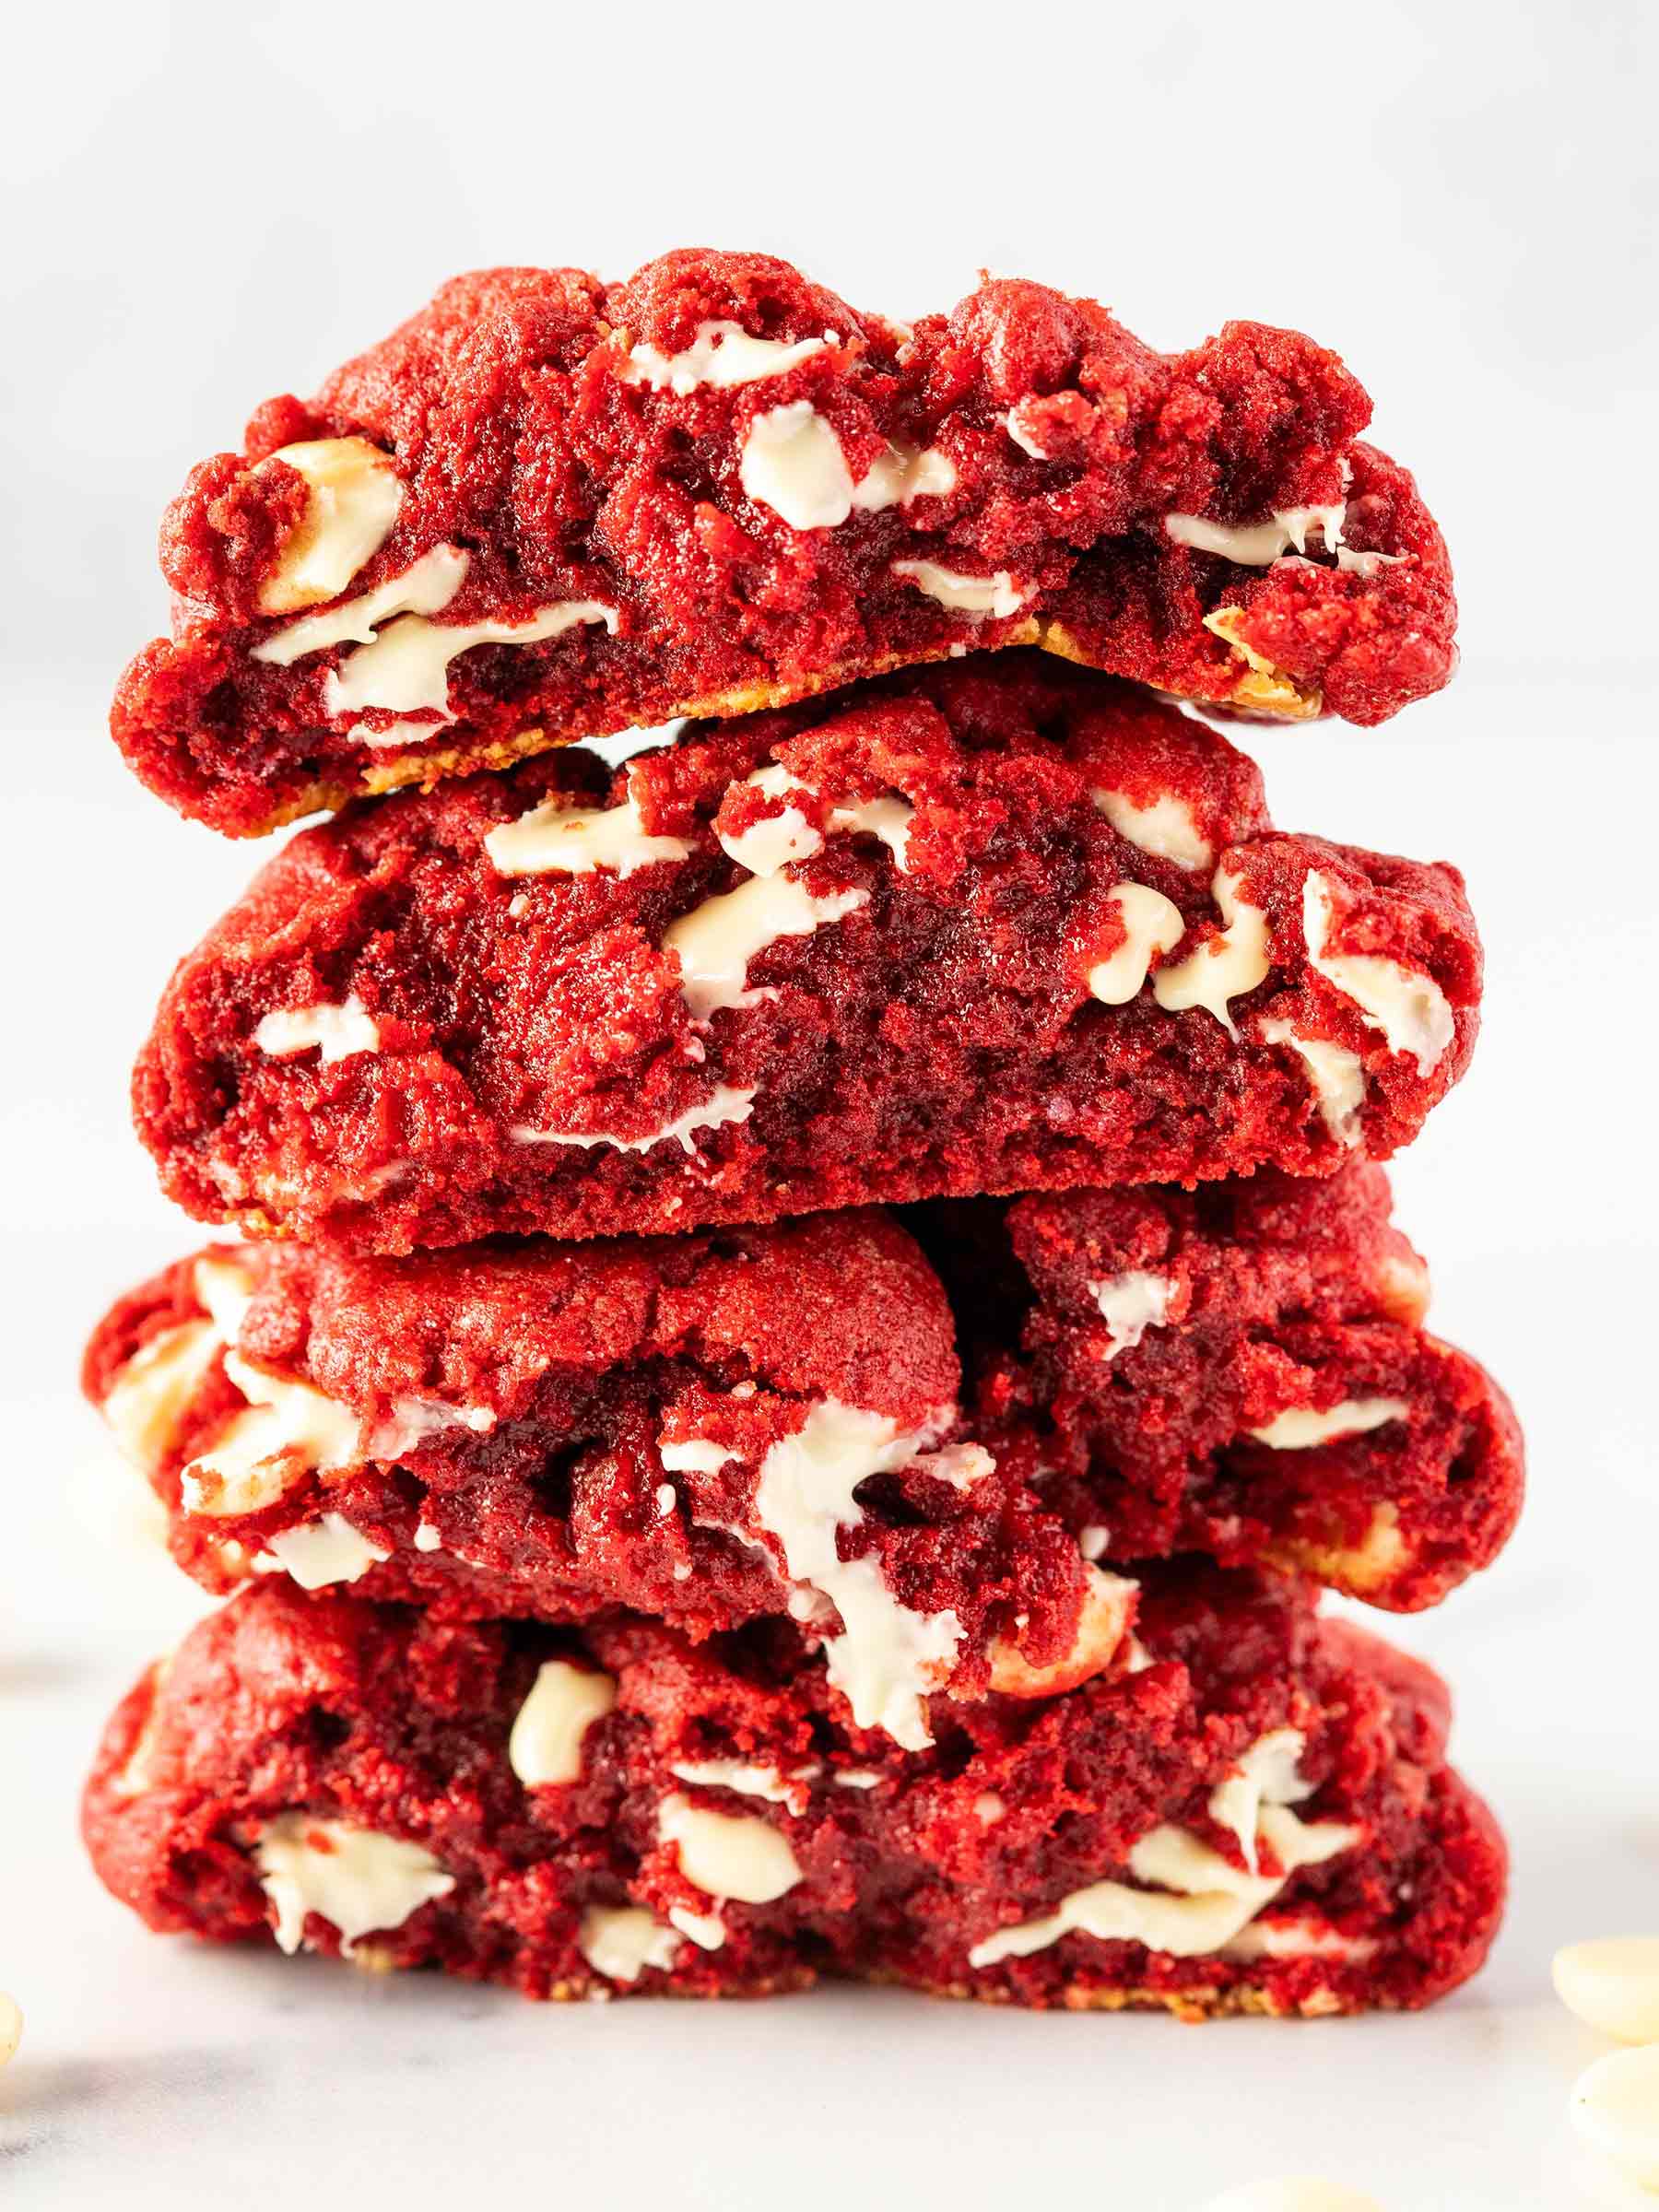
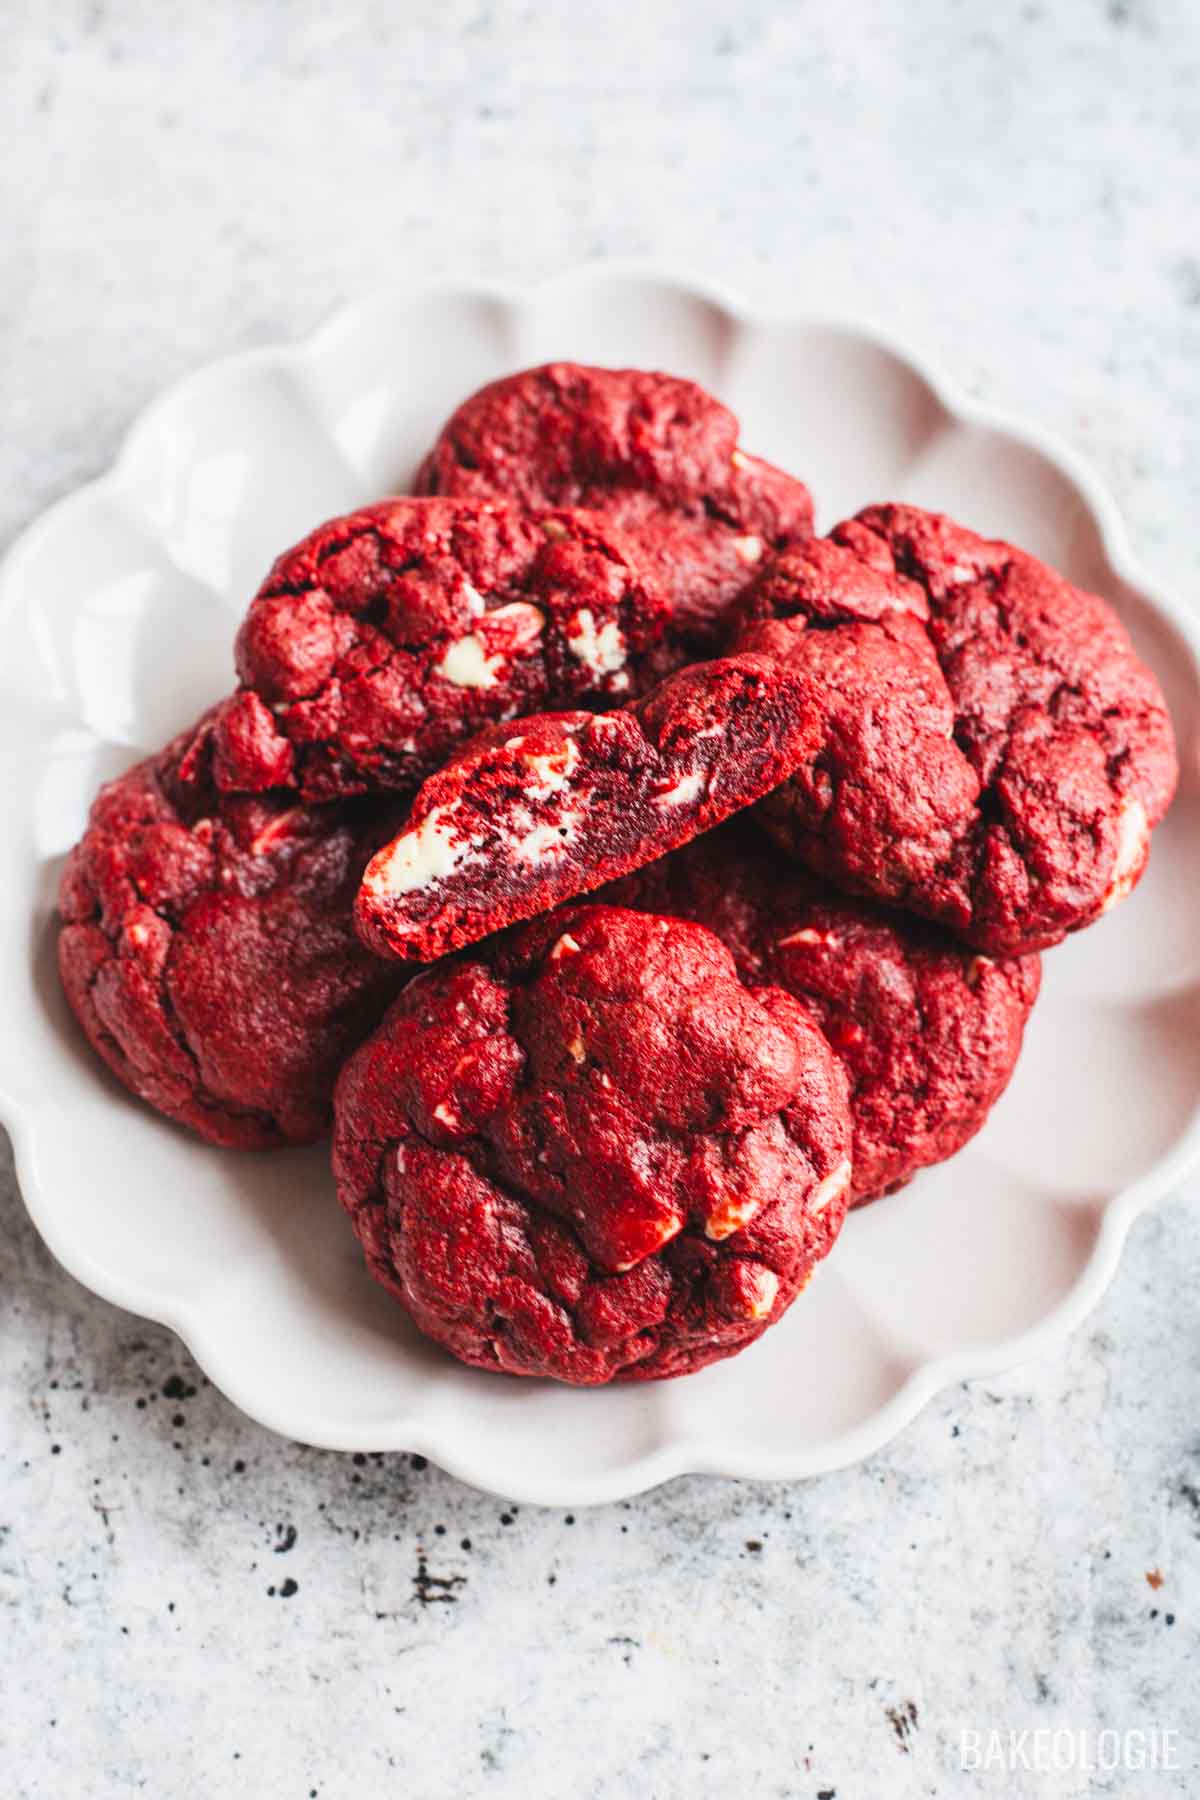
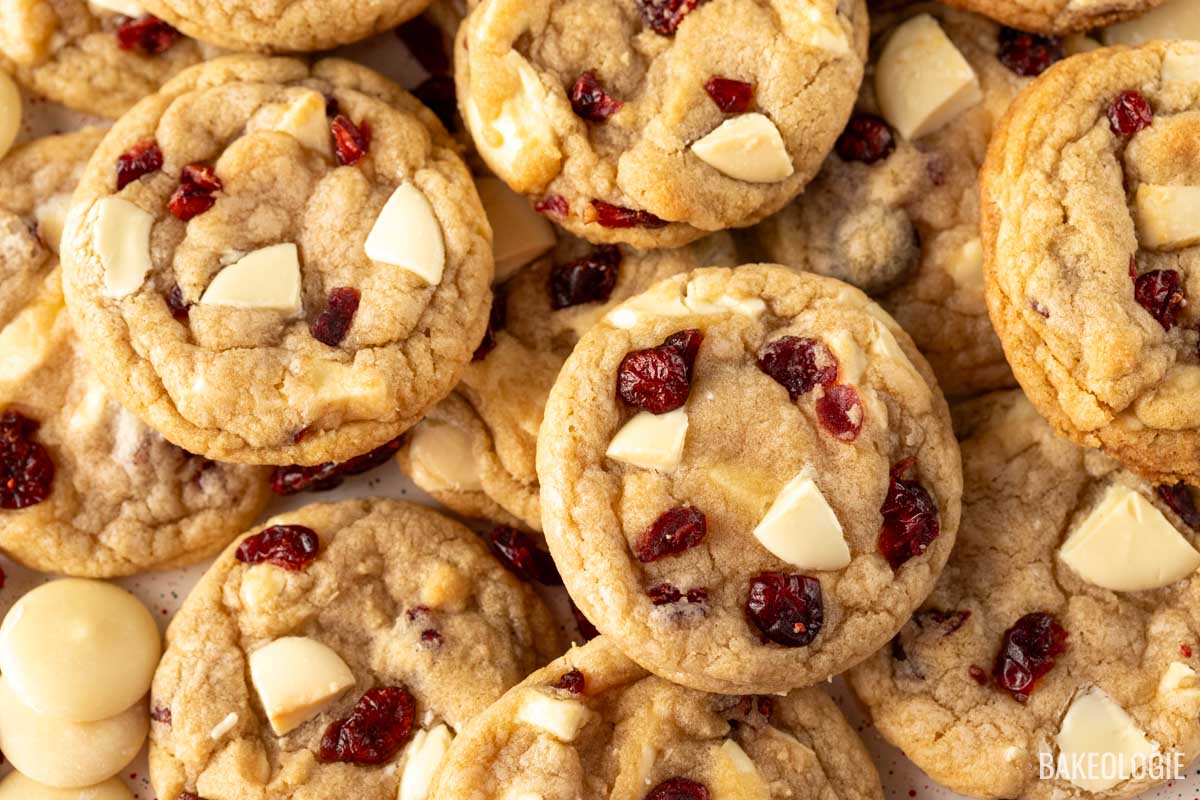
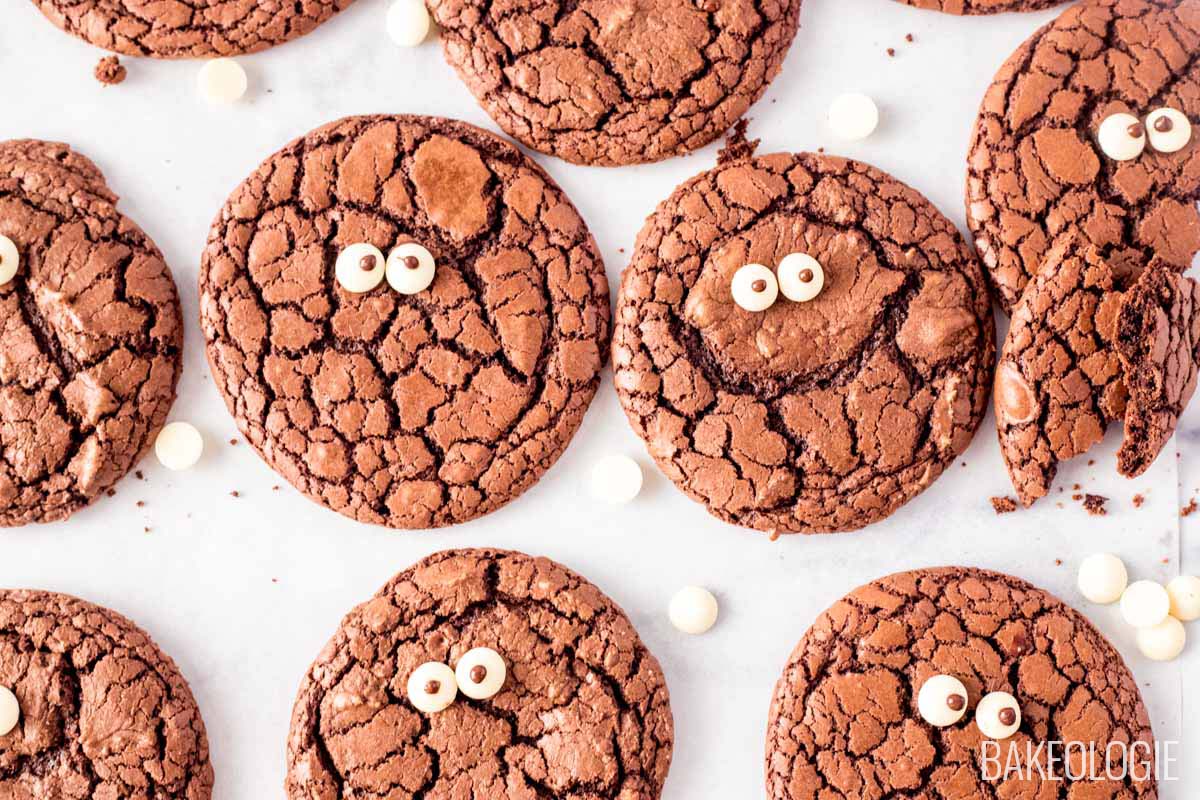
These red velvet cookies have been one of my most popular cookie recipes—and for good reason. They bake up with crisp edges, a soft and chewy center, and pockets of creamy white chocolate in every bite!
I first made these for a local farmers’ market, and they were the very first cookie flavor to sell out. My guess is that combination of rich buttery flavor, bakery-style texture, and gooey center kept people coming back for more.
Each cookie is generously sized at 100g, giving you that thick New York-style bakery cookie experience at home. The dough does need a good freeze before baking, but the result is a cookie that’s beautifully thick, chewy, and absolutely worth the wait!
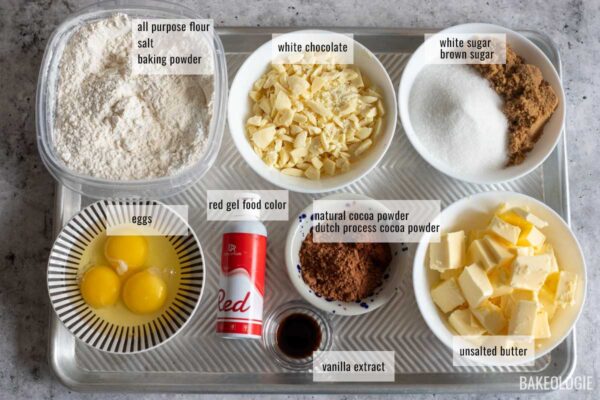
Ingredients
- 226g unsalted butter, COLD
- 150g (¾ cup) granulated white sugar
- 150g (¾ cup) brown sugar
- 250g white chocolate chunks sub with white chocolate chips
- 475g (3½ cups + 5 tbsps) all-purpose flour / plain flour spooned and leveled if measuring by cups
- 15g (3 tbsps) natural cocoa powder
- 10g (2 tbsps) dutched process cocoa powder
- 1 tsp fine sea salt
- 3 tsps baking powder
- 100g eggs (weight is without shell) about 2 large eggs if you're in North America
- 1 egg yolk from a large egg (about 17g)
- 1 tsp pure vanilla extract
- 1-2 tsp red food color (gel based, preferably)
Video
Instructions
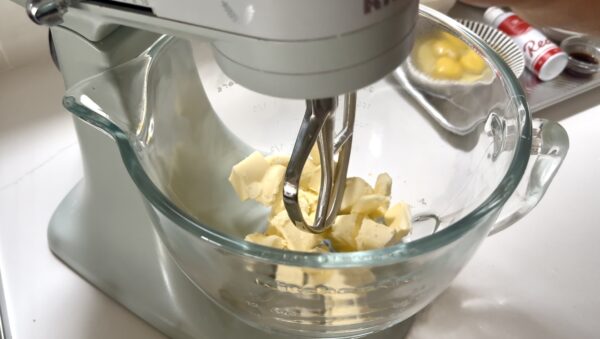
- Before You Begin: Measure all ingredients. One of my favorite things about this recipe is that it requires cold butter – like straight from the fridge. No need to take it out ahead of time!
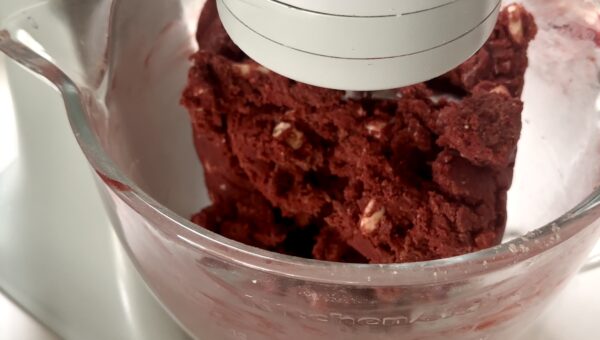
- In a mixing bowl fitted with paddle attachment, add the cold butter and mix on low speed for about 10 seconds. We just to break and loosen up the butter so there should be chunks left; we don't need to cream it.226g unsalted butter, COLD
- Add the white sugar and brown sugar and mix on medium low speed until they are evenly mixed together, about 10 seconds.150g (¾ cup) granulated white sugar150g (¾ cup) brown sugar
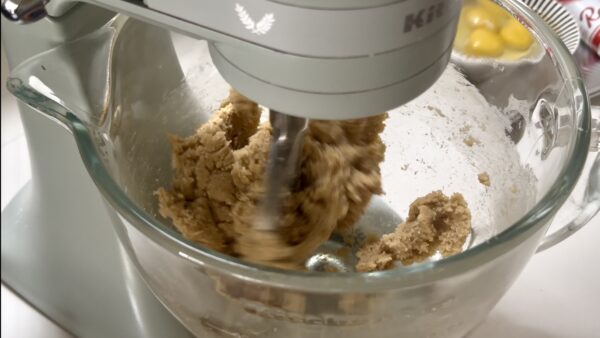
- Add the white chocolate chunks and mix again on low speed until the chocolate is distributed, about 10 seconds.250g white chocolate chunks
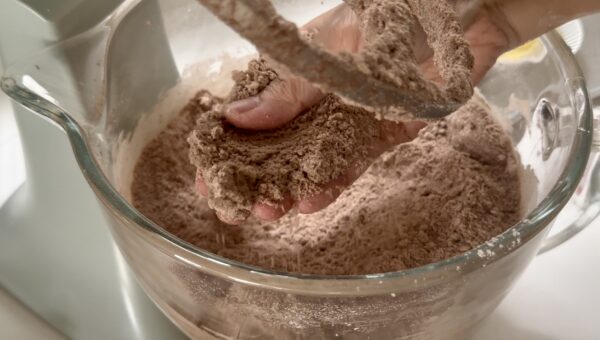
- In a medium bowl, whisk together the flour, natural cocoa powder, dutch processed cocoa powder, salt and baking powder. Switch to low speed and add the flour mixture. Mix until you get a sandy consistency.475g (3½ cups + 5 tbsps) all-purpose flour / plain flour15g (3 tbsps) natural cocoa powder10g (2 tbsps) dutched process cocoa powder1 tsp fine sea salt3 tsps baking powder
- In a small bowl, mix together the whole eggs, egg yolk, vanilla extract, and 1 tsp of red food color. Pour this egg mixture to your mixing bowl and mix on low speed until it comes together as a dough and the mixture is pulling away from the sides of the bowl.100g eggs (weight is without shell)1 egg yolk from a large egg (about 17g)1 tsp pure vanilla extract1-2 tsp red food color (gel based, preferably)
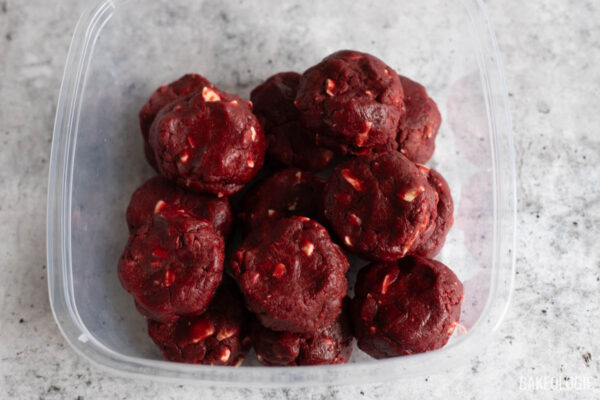
- Portion the dough into 100g pieces and shape each one into a thick puck, about 1 inch (2.5 cm) tall. This helps the cookies bake up thick with crisp edges and a soft, gooey center. Place the dough pucks in an airtight container and freeze for at least 4 hours, preferably overnight. If you don't have a kitchen scale, divide the dough into 12 equal portions.
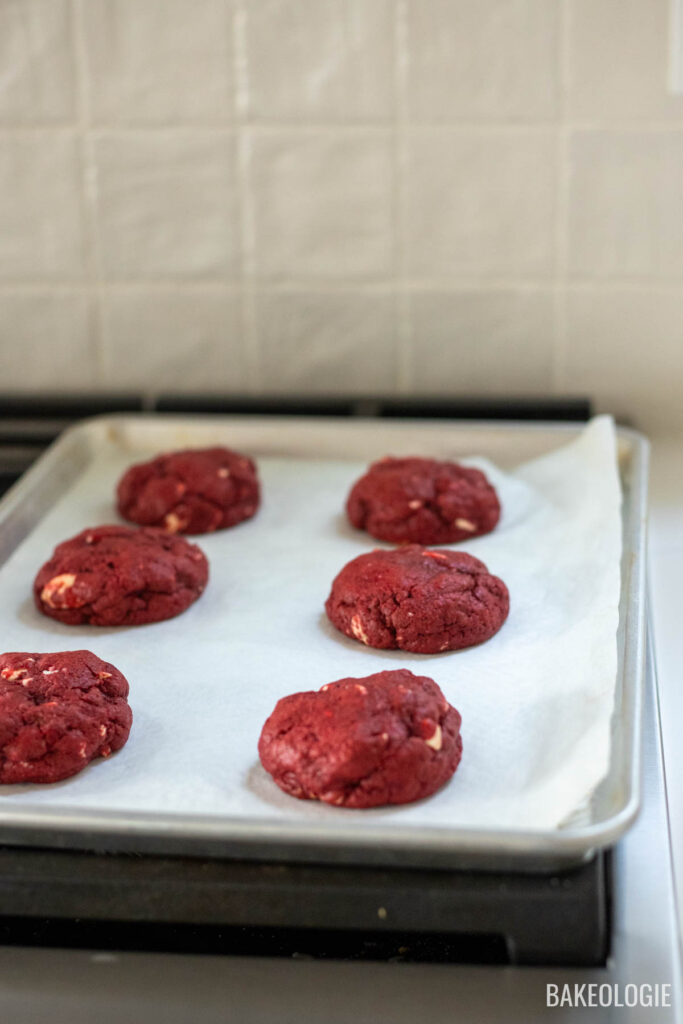
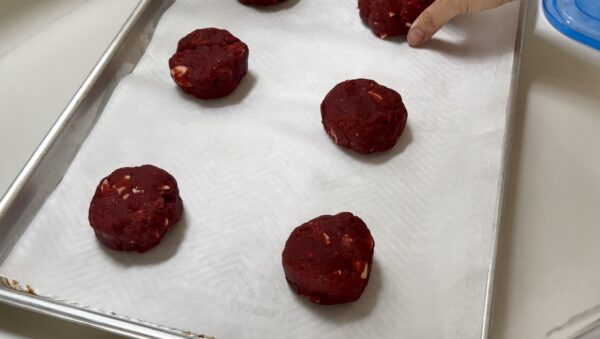
- About 20 minutes before you start baking, preheat oven to 375℃ (190℃). Put 6 cookie dough in a half baking sheet.
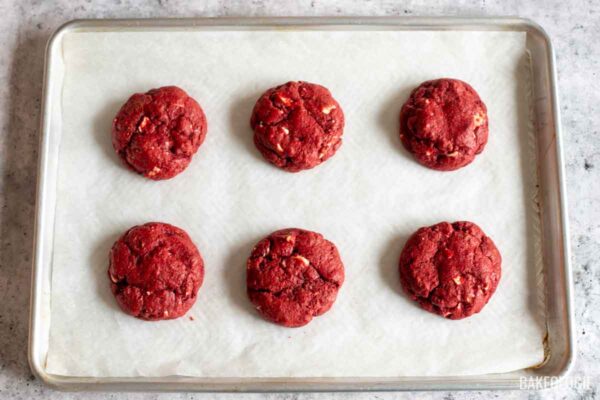
- Bake for 14 minutes or until the edges are set and the centers are still a bit soft. Remember that cookies continue to cook as it cools so don't overbake them. Leave on the baking sheet for at least 30 minutes. They make look a little raw when they come out – but the residual heat will finish the cooking. This also prevents overbaking your cookies.
Troubleshooting & Tips
- One of the most important things when it comes to red velvet is using the correct food colouring. This is the brand I use right now. The liquid red food coloring the you normally see in groceries won’t work!
- These are best eaten on the day of baking, but can be revived by microwaving for 15-30 seconds, or putting into a hot oven for 2-3 minutes.
- Store leftover cookies in an airtight container at room temperature for up to 5 days.
- These cookies are meant to be baked from frozen. If you are baking straight from frozen after some time, add an extra 1 or 2 minutes to the baking time.
❤️ Tried this recipe and loved it? If you made this recipe or any other recipe on this site, please leave a ⭐️⭐️⭐️⭐️⭐️ rating + review below – or tag @thebakeologie on Instagram and hashtag it #bakeologie !


I am hoping for some troubleshooting advice! I rolled the dough into 100g cookie balls and froze them overnight. When baking them, they did not flatten at all, even when adding 2 minutes and cooking a total of 16 minutes. Any ideas? Should I take the dough out of the freezer and let it come to room temp for 15-20 minutes before baking?
Hi Amy! These cookies are meant to be thick and chunky, so they won’t spread or flatten much—especially when baked from frozen. That part is totally normal 😊
If you’d like them a little less tall and round, try shaping the dough balls a bit more rustic (not perfectly round) and gently press the tops slightly before freezing. You are also right – You can also let the frozen dough sit at room temperature for about 15-20 minutes before baking to encourage a touch more spread, but they’ll still stay nice and thick by design. I would love to know how it turns out – thank you!
Love the cookies must try them! and the sign that u put the pics of the cookie in!! Where can I buy those!?
Thank you, they’re delicious! The white frames were from ikea!
I just made these and WOW—they’re even better than they look! The cookies are soft and fudgy with just the right hint of cocoa, and those melty white chocolate chunks take them over the top. These are going straight into my cookie rotation. Thanks for another winner!
Ahh yay, that makes me so happy to hear! So glad you loved them—and honored to be part of your cookie rotation!