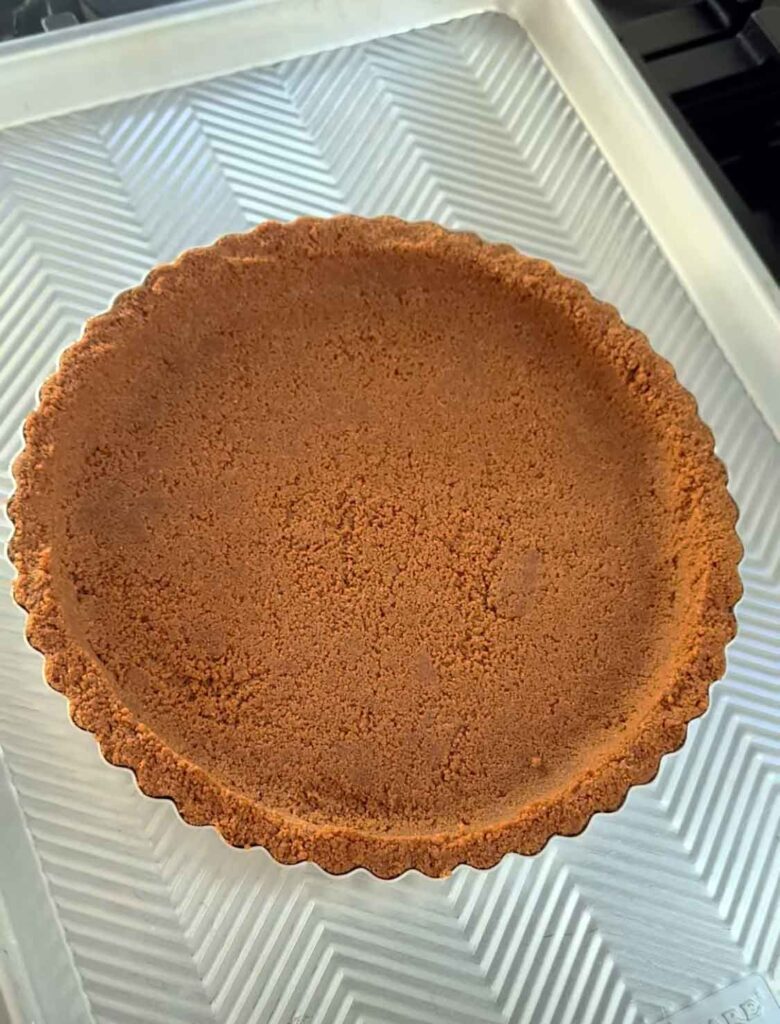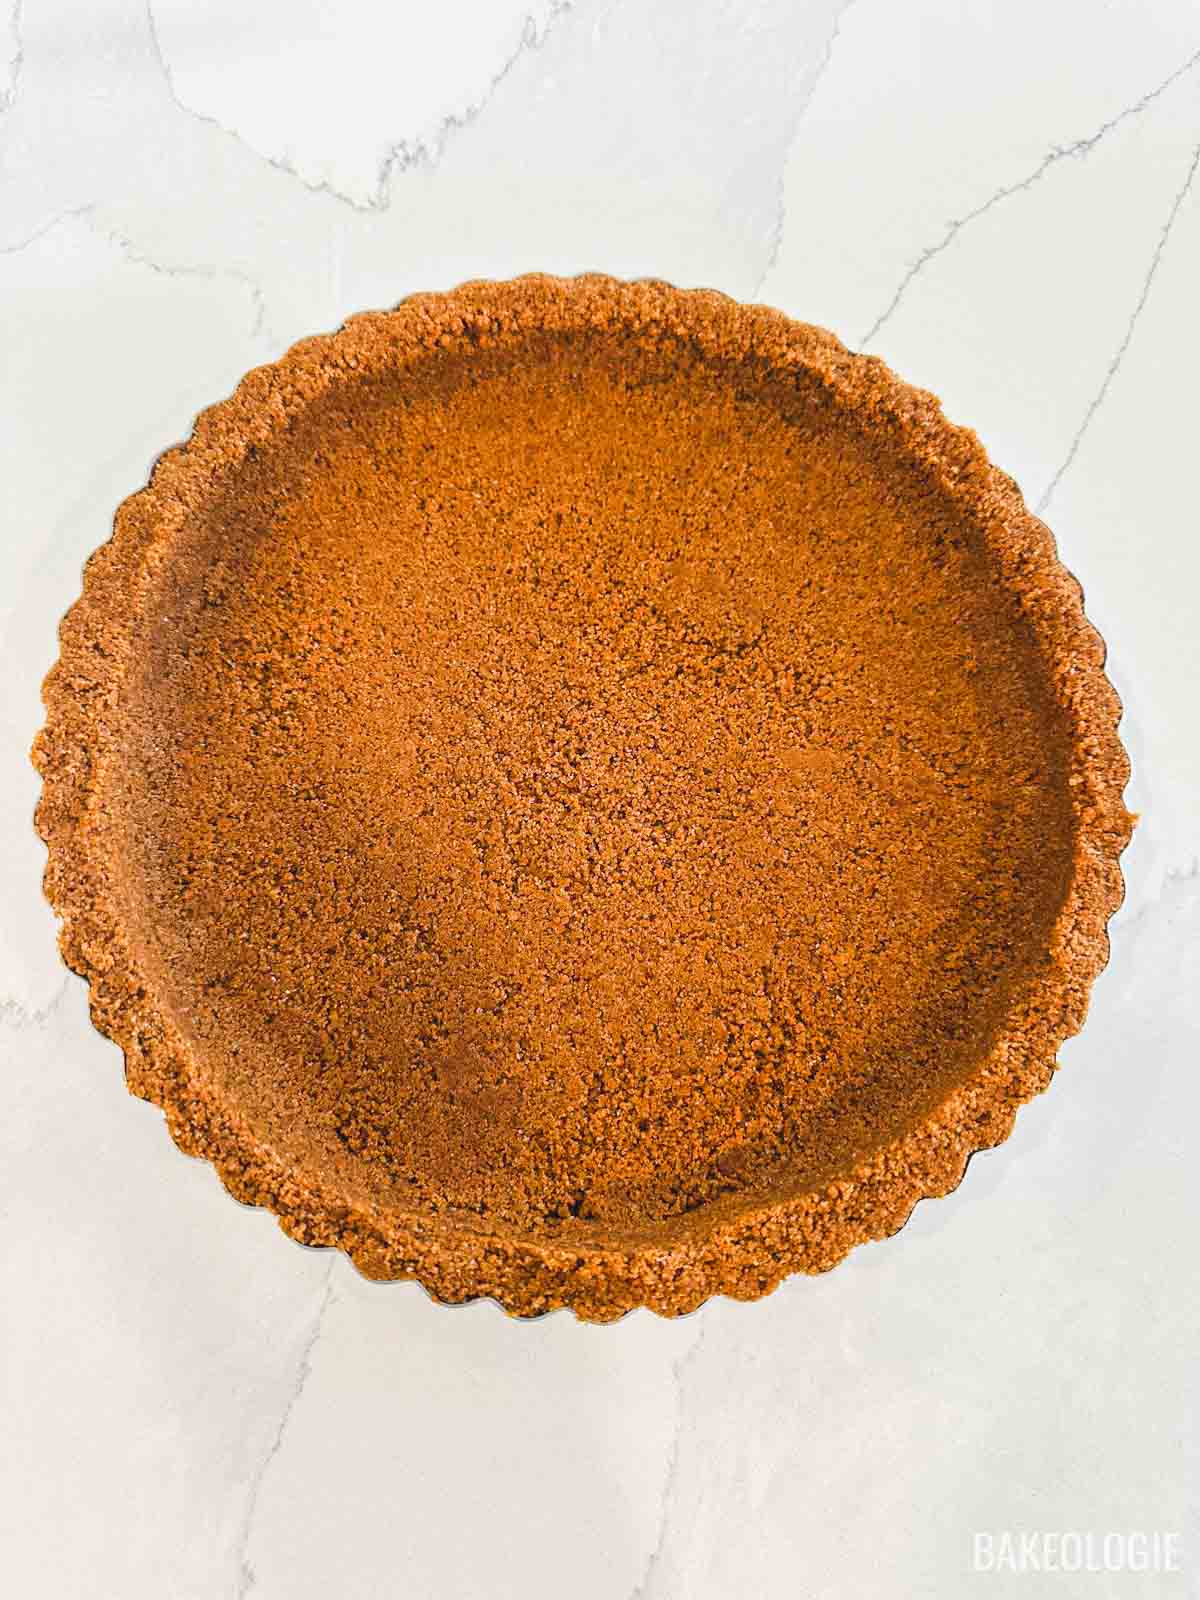
This super easy homemade graham cracker crust is made with just graham cracker crumbs, a little sugar, and melted butter. It bakes into a buttery, crisp base that’s perfect for cheesecakes, pies, and tarts. Chilling the crust for at least 10 minutes before baking helps it set, making it less likely to crumble or slide down the sides as it bakes.
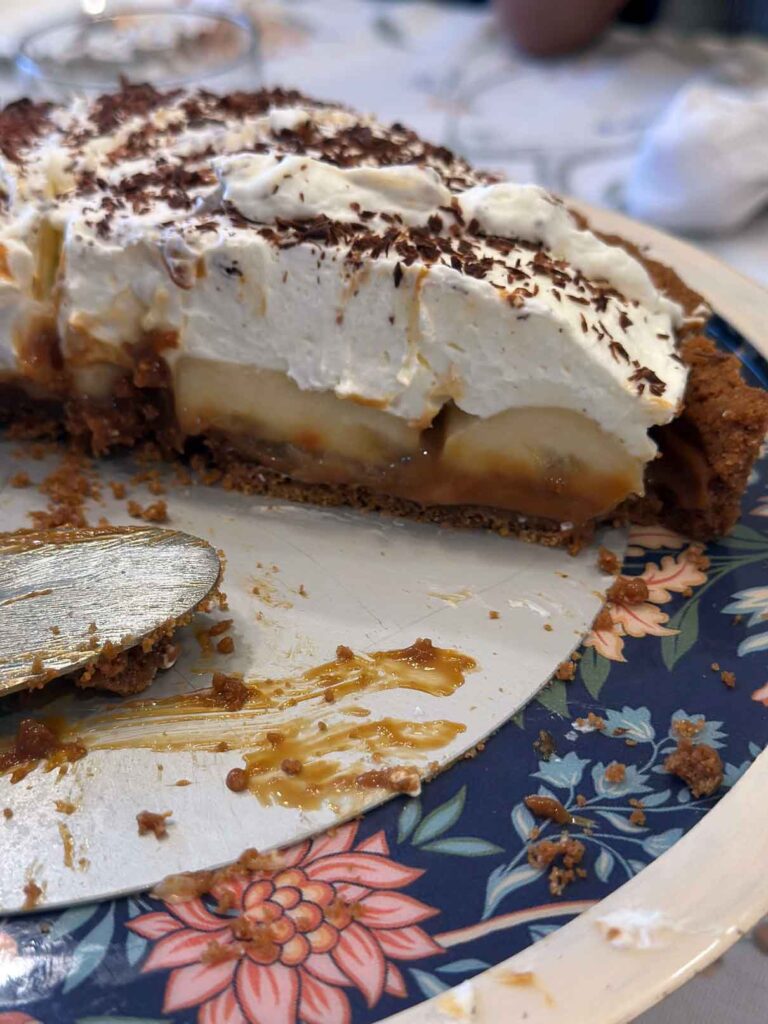
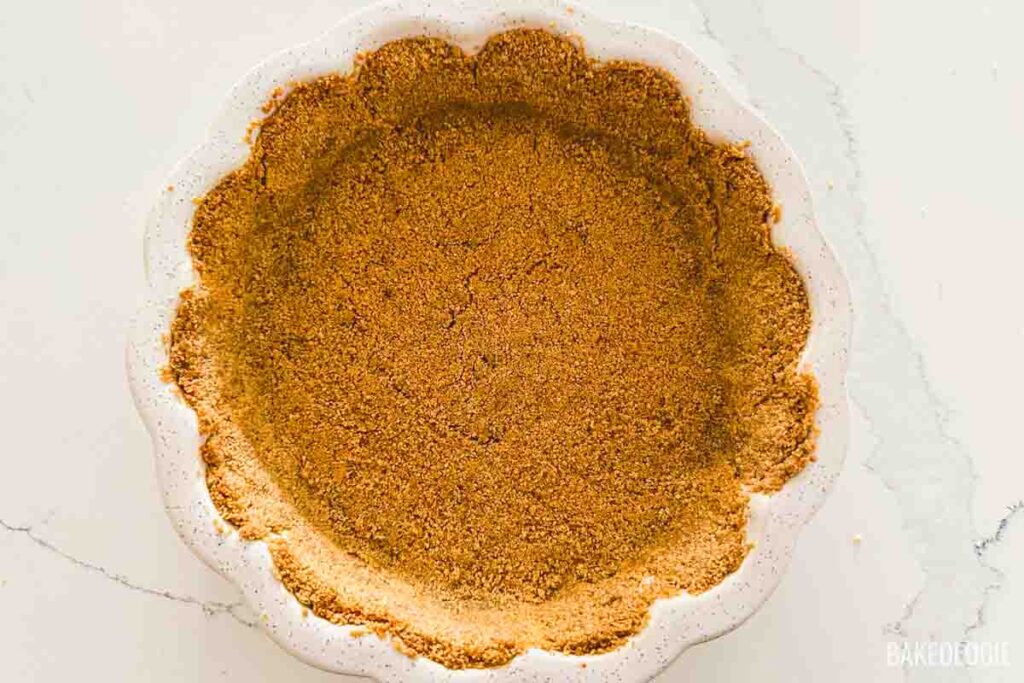
The recipe makes a thick, sturdy crust that fits an 8- or 9-inch (ceramic, avoid non-stick metal pans ) pie dish, and it also works beautifully in a removable-bottom 9-inch metal tart pan—sticking to the fluted sides for a picture-perfect edge (as you see in the photo. Whether you’re making a no-bake cheesecake or a classic cream pie, this homemade graham cracker crust is a quick, reliable choice. *See notes for alternatives to graham crackers.
|
Yield |
Prep Time |
Bake Time |
Ingredients
For the crust:
- 200g (2 cups) crushed graham cracker crumbs, *can also use biscoff cookies, processed into fine crumbs
- 95g (7 Tablespoons) melted, unsalted butter, *melt the butter before measuring it
- 25g (2 Tablespoons) granulated white sugar
Instructions
Step 1.
Preheat the oven to 350°F (177°C).
*This recipe makes enough for an 8-inch or 9-inch pie crust, or a slightly thinner 10-inch pie crust. This crust works best on a removable bottom 9-inch tart pan as the fluted sides (as you see in the photo above) makes a nice pattern. Ceramic is okay too, which you will see in the step-by-step photos below. Please do not use a non-stick, metal pie pan as the non stick coating makes the crust slide down.
Step 2.
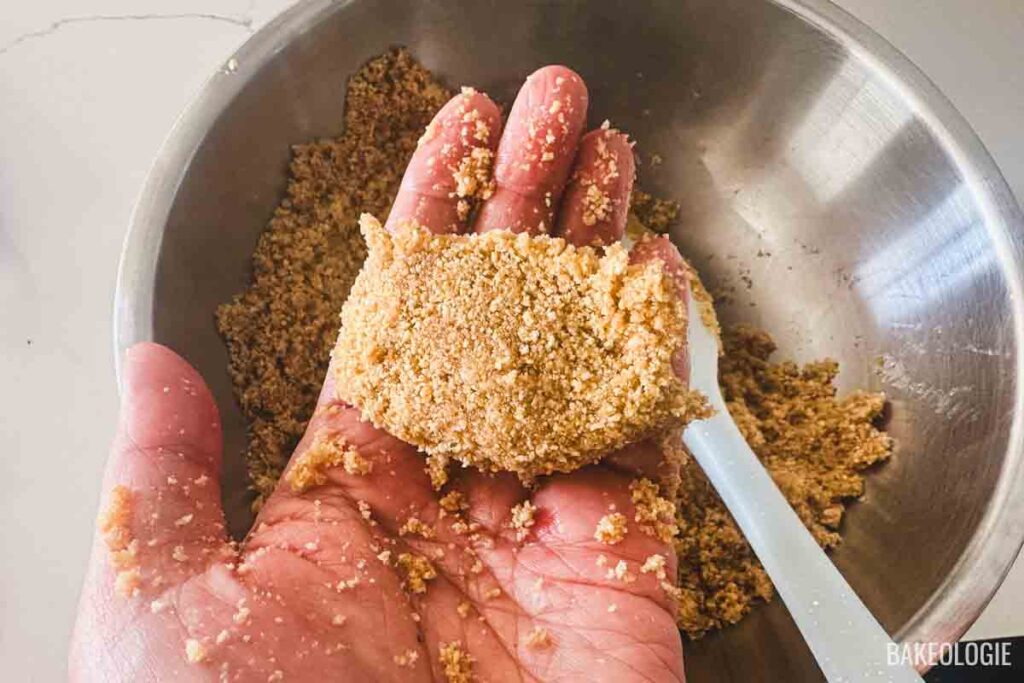
To make the crust, In a medium bowl, stir together the graham cracker crumbs, sugar, and melted butter. The mixture should look like wet sand, but not be overly wet. Since some graham crackers absorb butter differently, adjust slightly if needed—add a touch more butter if too dry, or a sprinkle of crumbs if too wet.
- 200g (2 cups) graham cracker crumbs
- 95g (7 Tablespoons) melted, unsalted butter, *melt the butter before measuring it
- 25g (2 Tbsps) granulated sugar
Step 3.
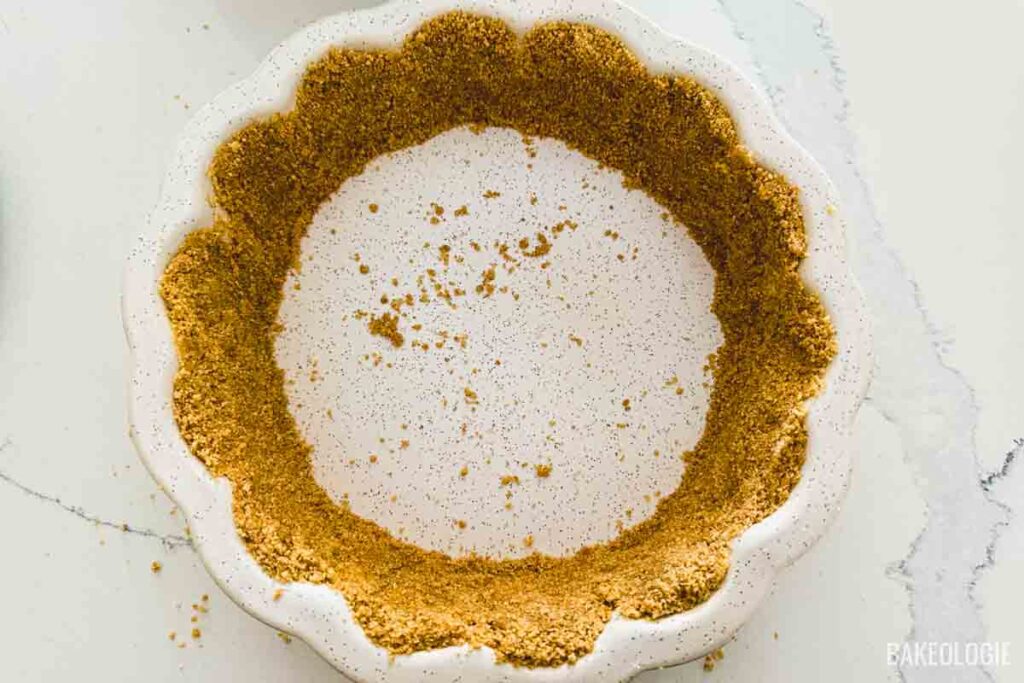
Scoop about 160 g of the crumb mixture into your pan to form the sides of the crust. Gently pat the crumbs along the edges, then use a straight-sided measuring cup or drinking glass to press them firmly and evenly against the pan. Pack the crumbs tightly so the sides are compact, and use your fingers or thumb on the opposite hand to keep the top edge neat and even.
Step 4.
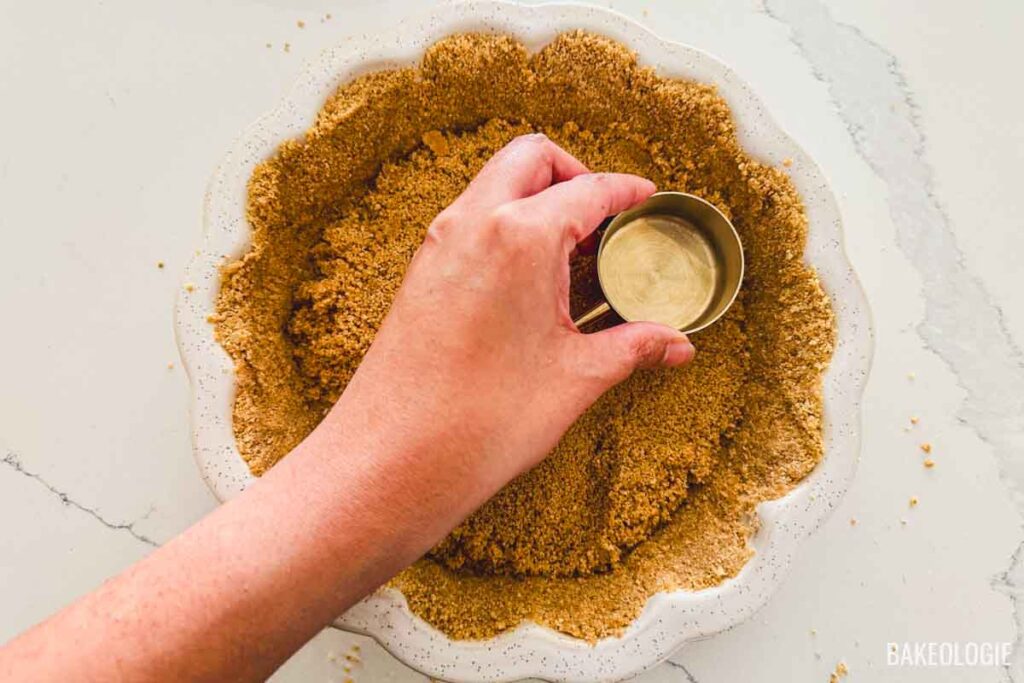
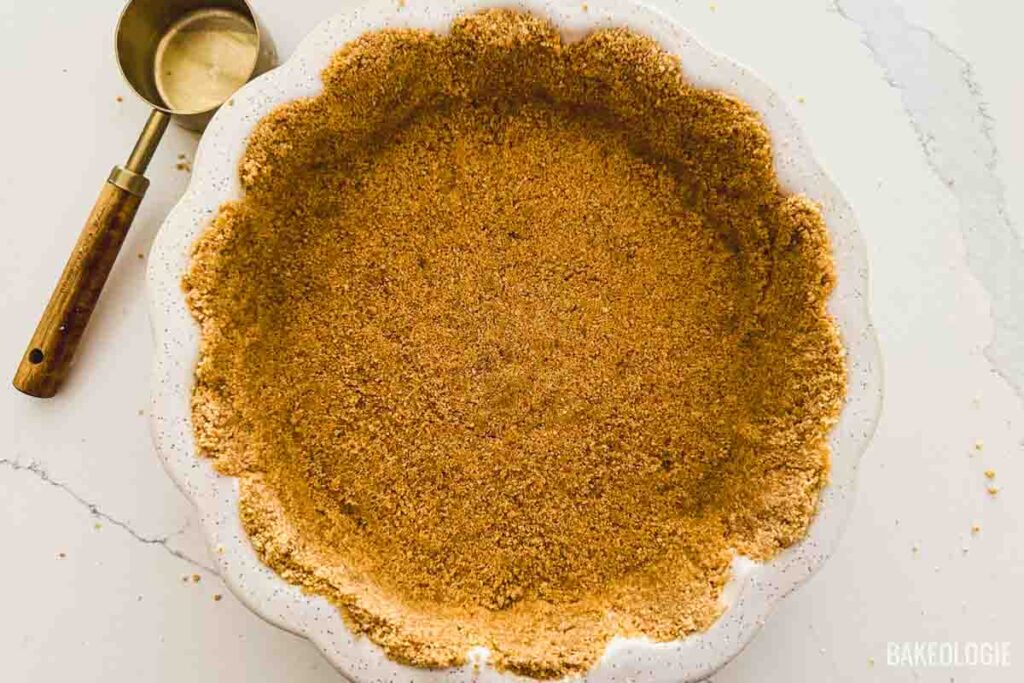
Add the remaining crumb mixture to the pan and spread it evenly across the bottom. Press it down firmly with your flat tool of choice to compact the base. Be sure the bottom and sides connect seamlessly—use your fingers if needed to press and seal the join so the crust is sturdy and well-formed.
Step 5.
Chill for clean edges. Refrigerate the crust for at least 10 minutes before baking. This step helps the butter firm up so the crust is less likely to crumble or slide down the sides in the oven.
Step 6.
Bake at 350°F (177°C) for 10 minutes, until lightly fragrant and just beginning to deepen in color. If you’re making a no-bake pie – like this Bannofee Pie, extend the bake time by 2–3 minutes until the crust is a deep golden color. For pies where the crust will bake again with the filling, remove it from the oven once it’s lightly golden, since it will continue to bake along with the filling.
Step 7.
Use immediately in recipe, or store in the fridge until ready to use.
Baker’s Notes
Whisk, Snap, and Share
This space isn’t just for our photos — We’d love to feature yours too! If you’ve made this recipe, tag us on Instagram @thebakeologie or email your photo to [email protected] with the recipe name in the subject line.
📸 By sending a photo, you’re giving us permission to feature it here.