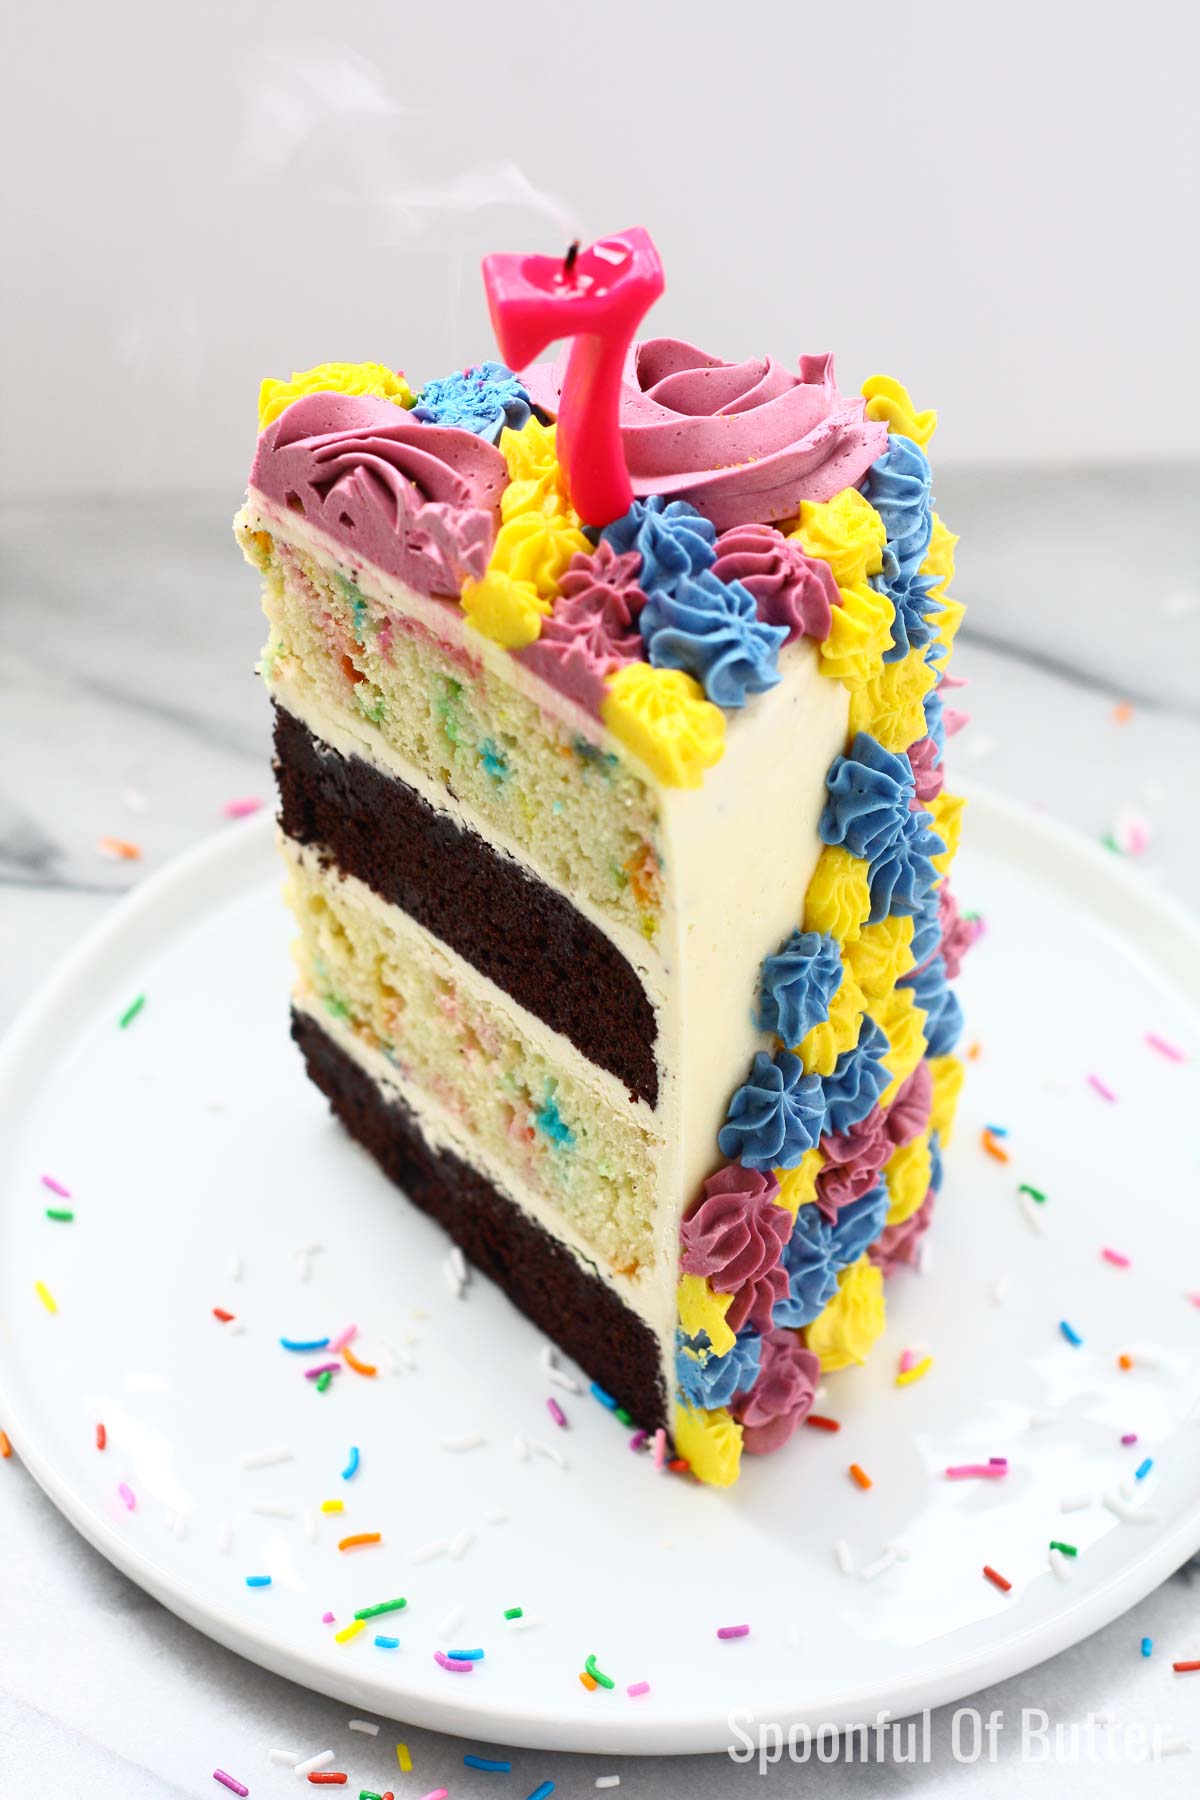
An easy funfetti and chocolate unicorn birthday cake adorned with colorful buttercream flowers. I’ve shared resources, tips, and recipes that helped me make this cake easier and faster!

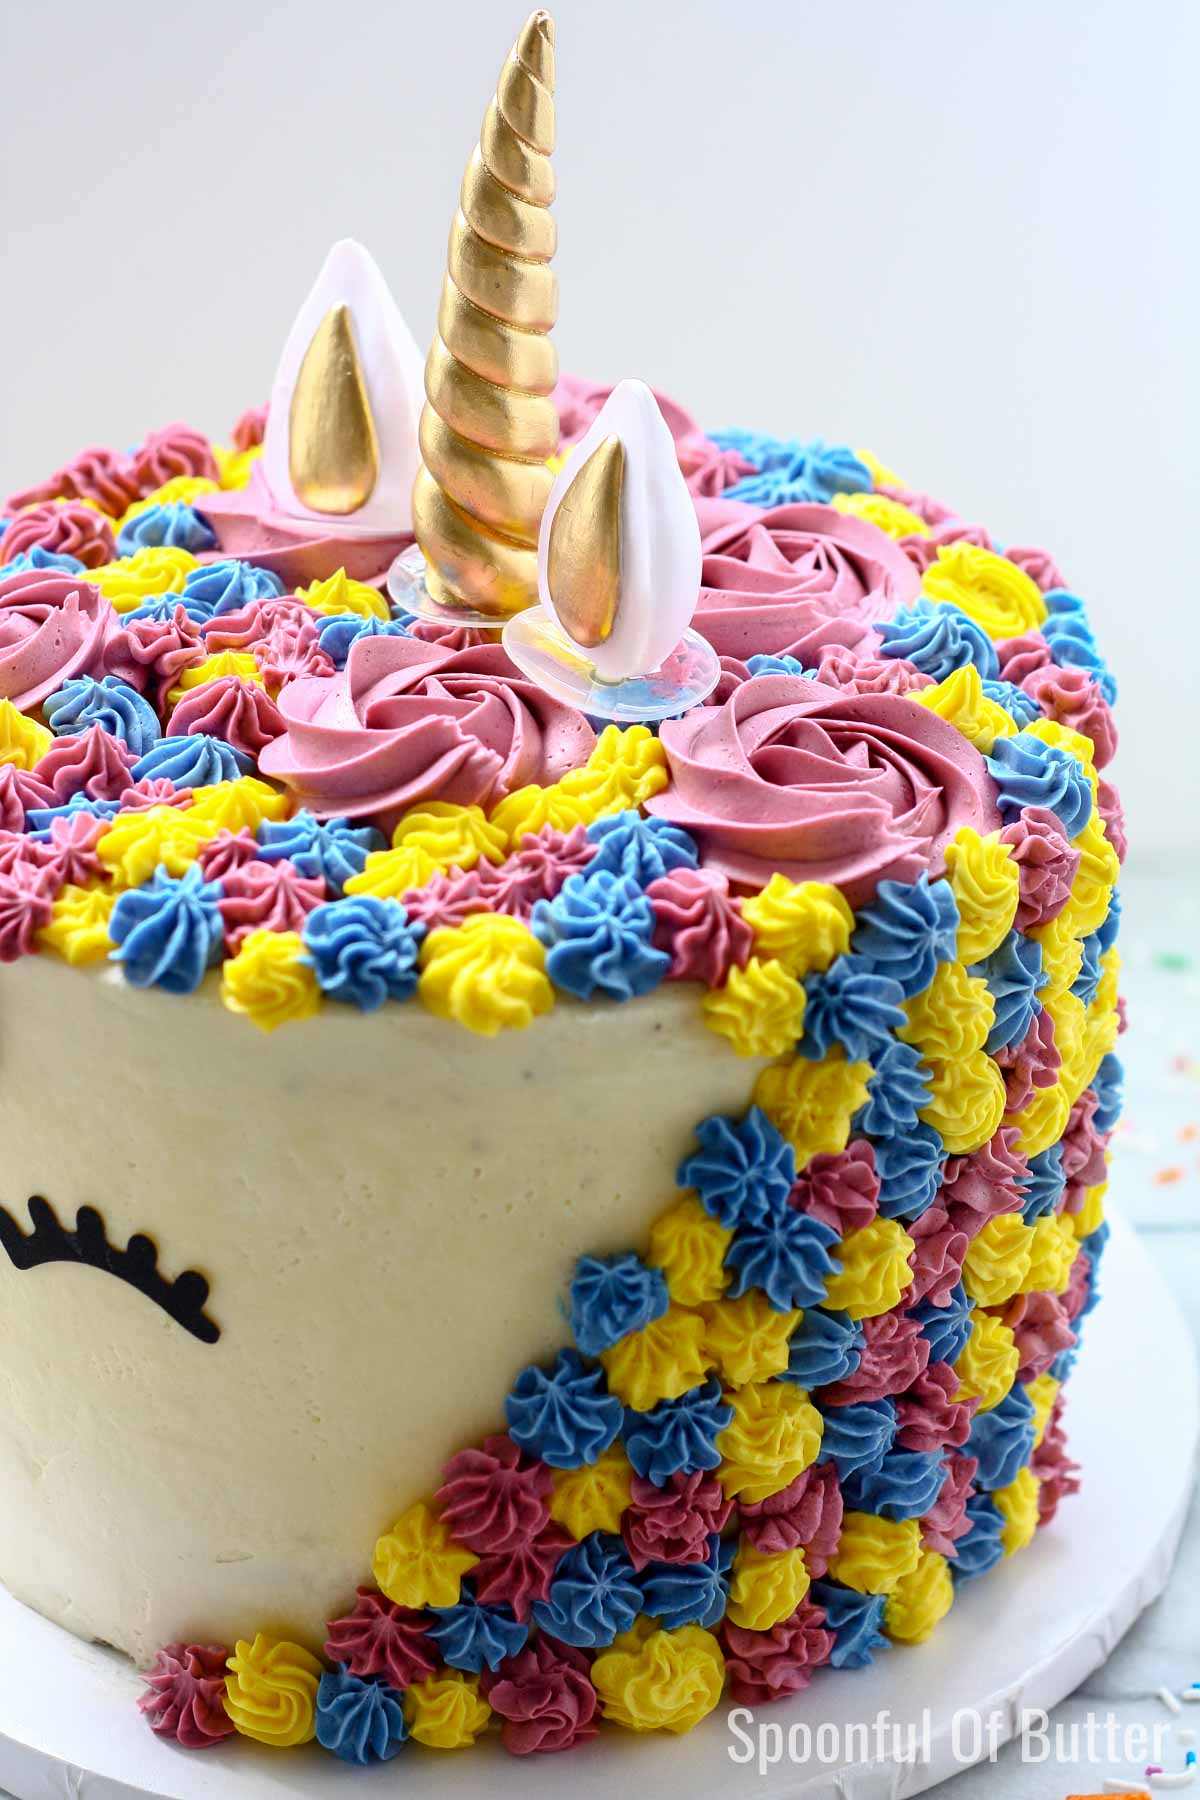
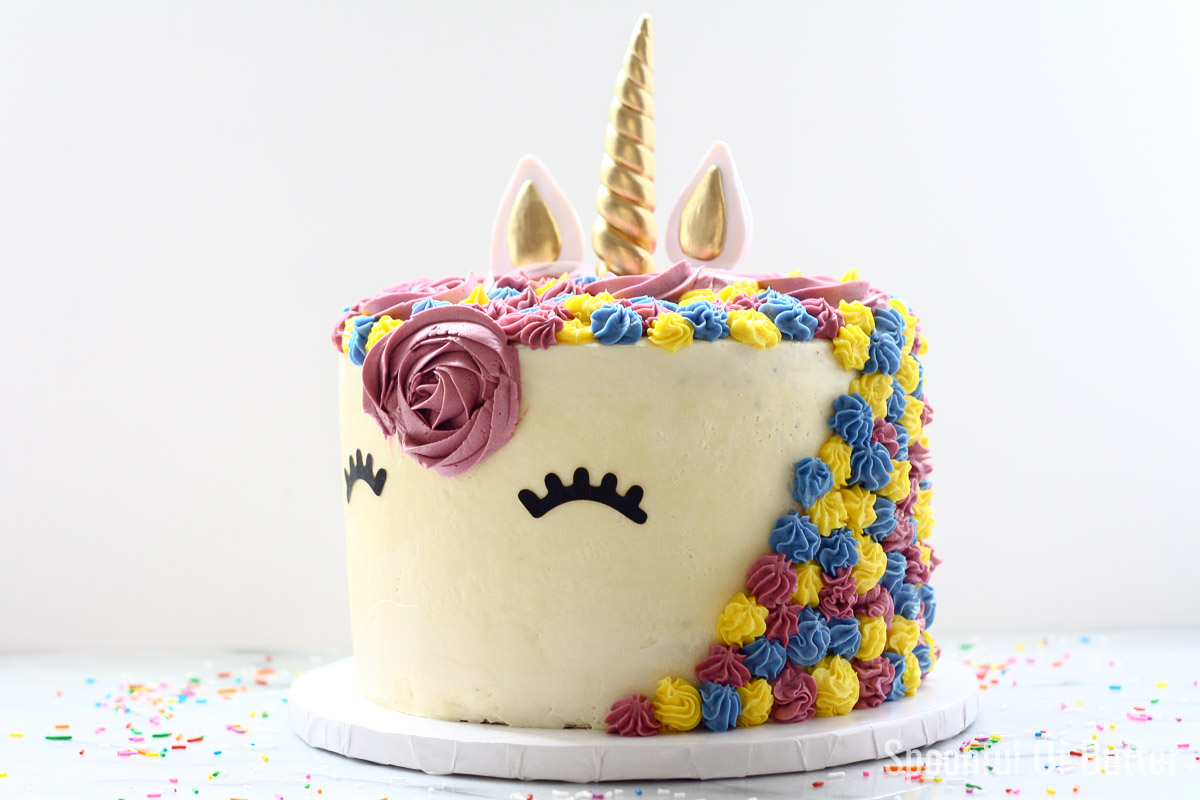
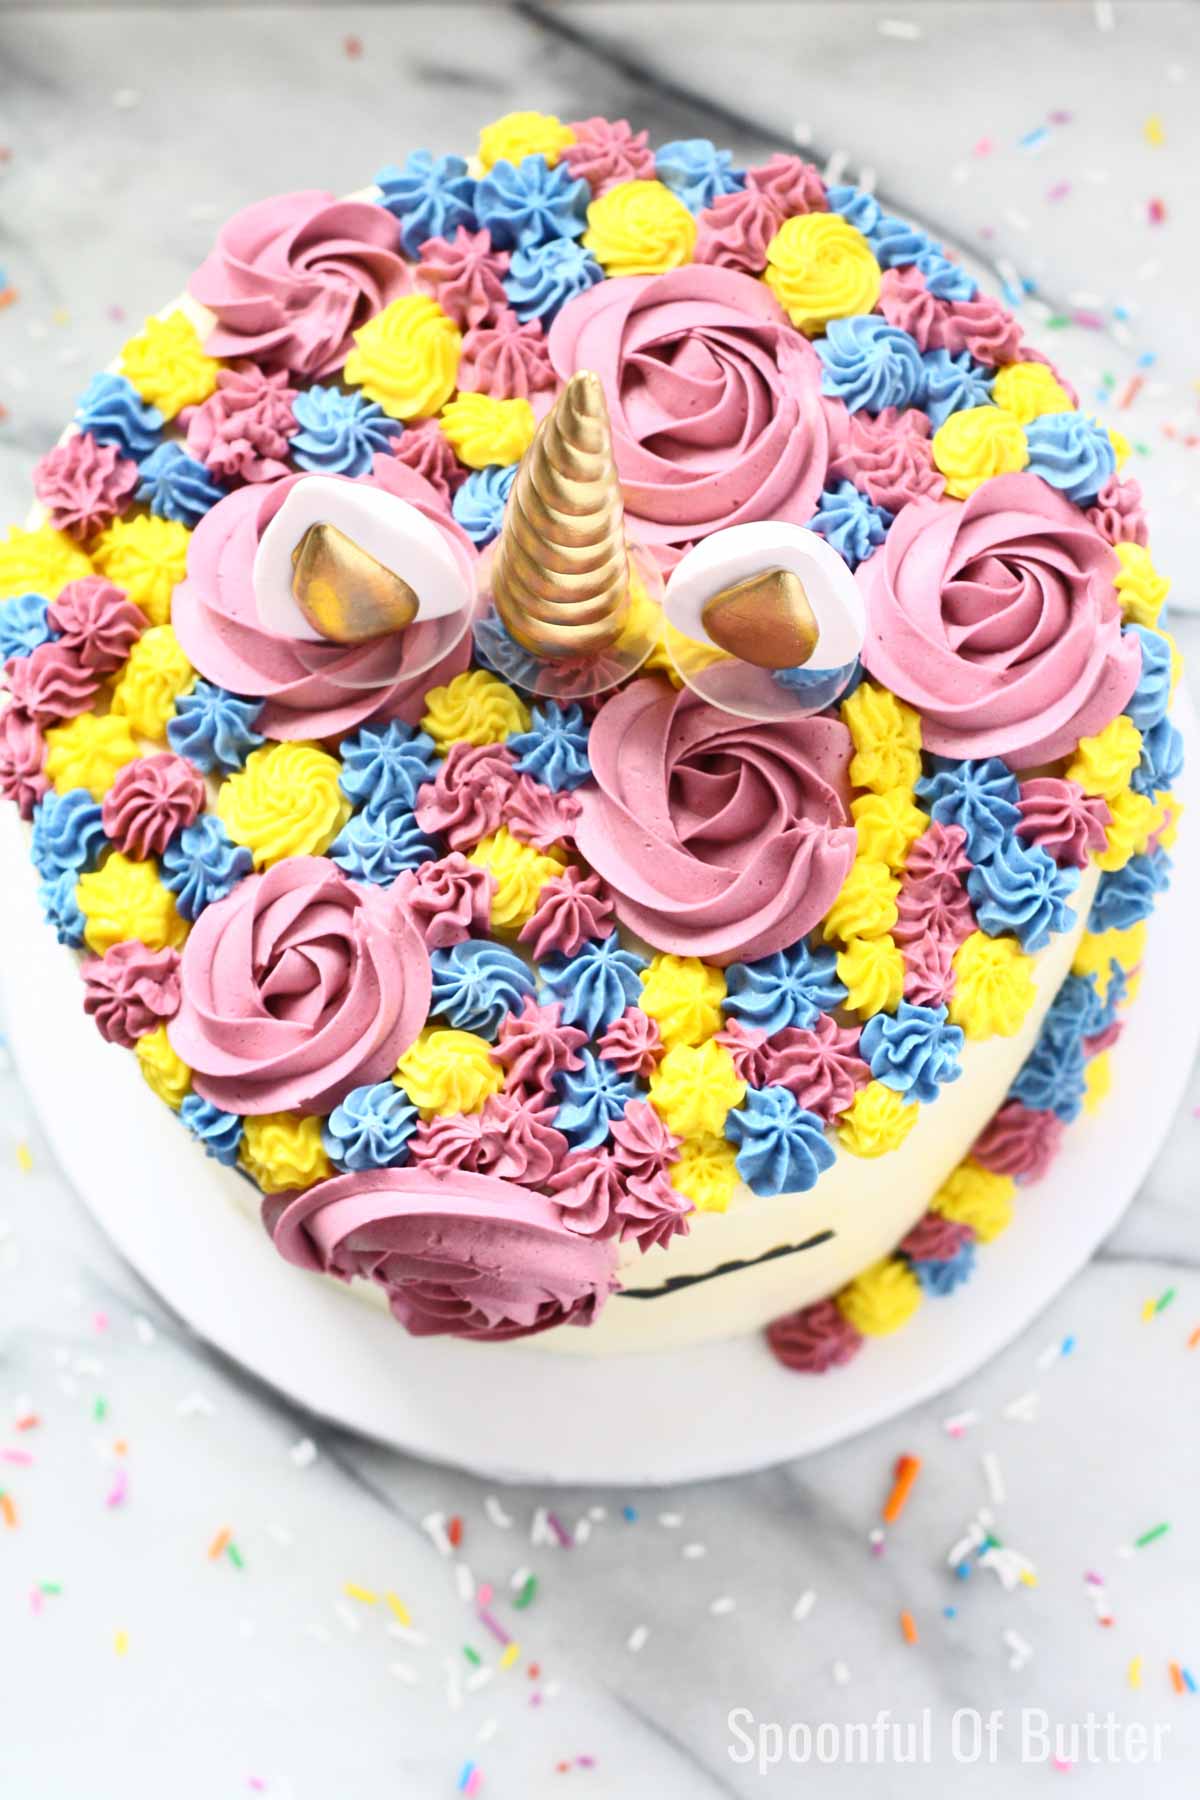
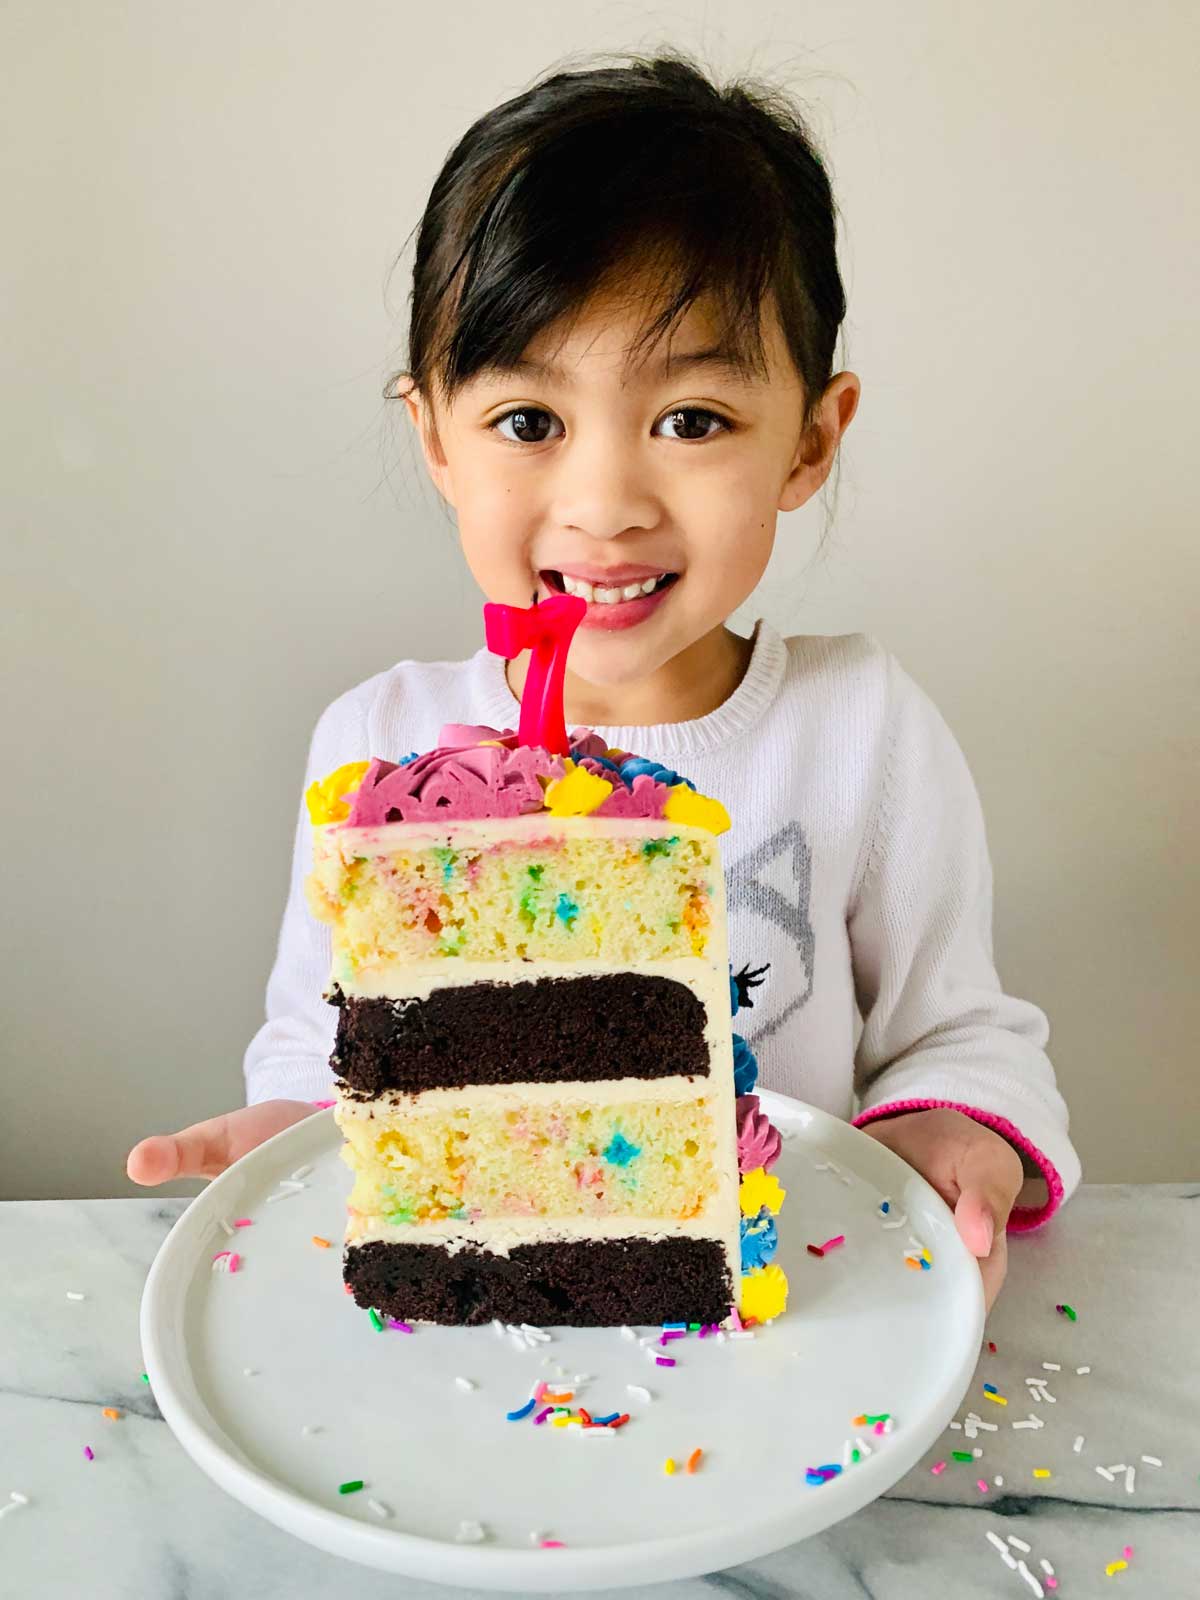
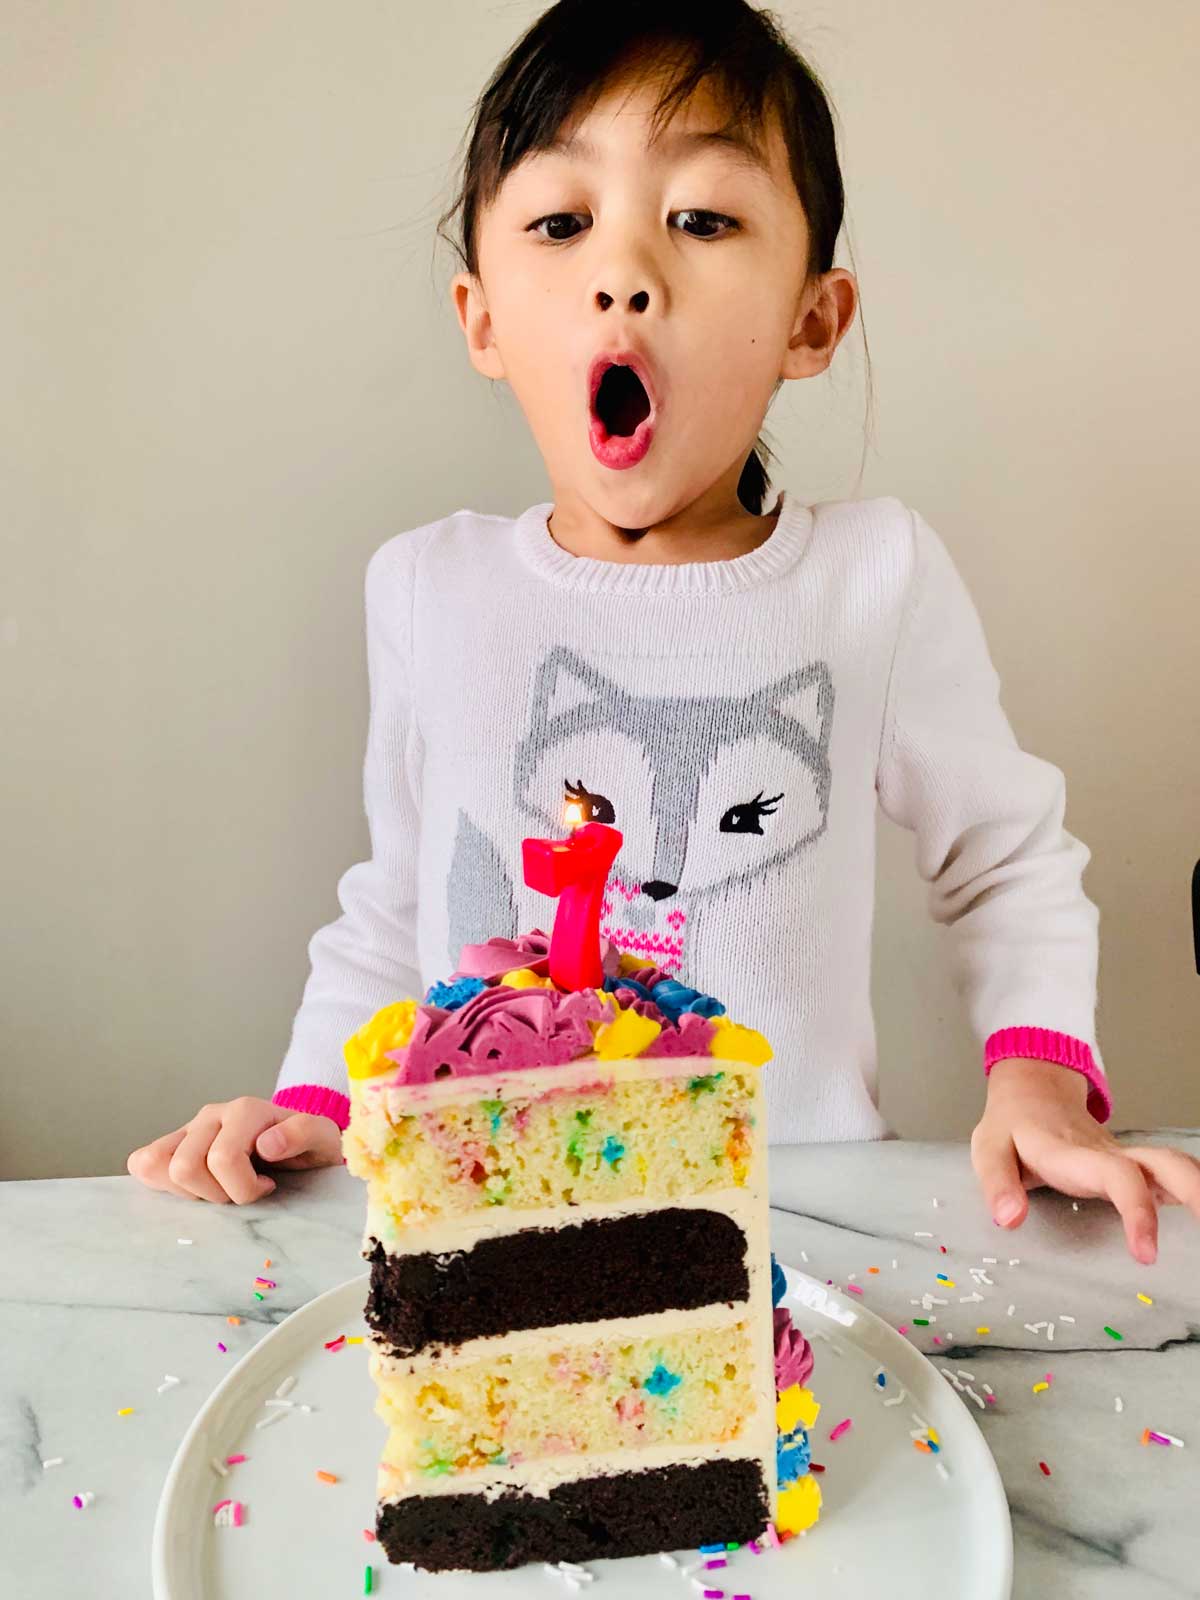
My daughter turned seven last December and her birthday theme of choice was unicorn. I loved the unicorn theme myself. They’re incredibly fun, magical and bright, don’t you think? I’ve spent hours and hours looking at unicorn themed cakes and parties in Pinterest – soooo many cute ideas! Then after I felt bad for spending so much time in social media. =| Do you get that same feeling too?
Months ago, I was very confident that I could make this cake myself. But with a newborn baby in the house, I’ve been tempted many times to just order a cake instead. I’m also not very good with fondant so I’m not sure how my unicorn horn and ears would turn out.
The one thing that held me back was that I find custom cakes quite expensive. So, I told myself that I just have to plan ahead, break down the steps and divide the tasks into several days (like what I did when I made this 3-tiered wedding cake) so I don’t have to spend all day in the kitchen.
And you know what? I’m glad I pushed through with making a homemade unicorn birthday cake! Not only was I able to save money, but I was also able to ensure that we have the cake that we really wanted. Moist, delicious 2-flavored cake layers, a not toothachingly-sweet buttercream in my daughter’s choice of colors (She was the one who mixed the food coloring. She said my pink was too light.) for the unicorn hair.
The Simple Plan
2 days before the party: Bake the funfetti and chocolate layers.
1 day before the party: Make the “Swiss Meringue” Buttercream and assemble the cake.
RELATED POST: Stand Mixer Speed Control Guide
The Cake Layers
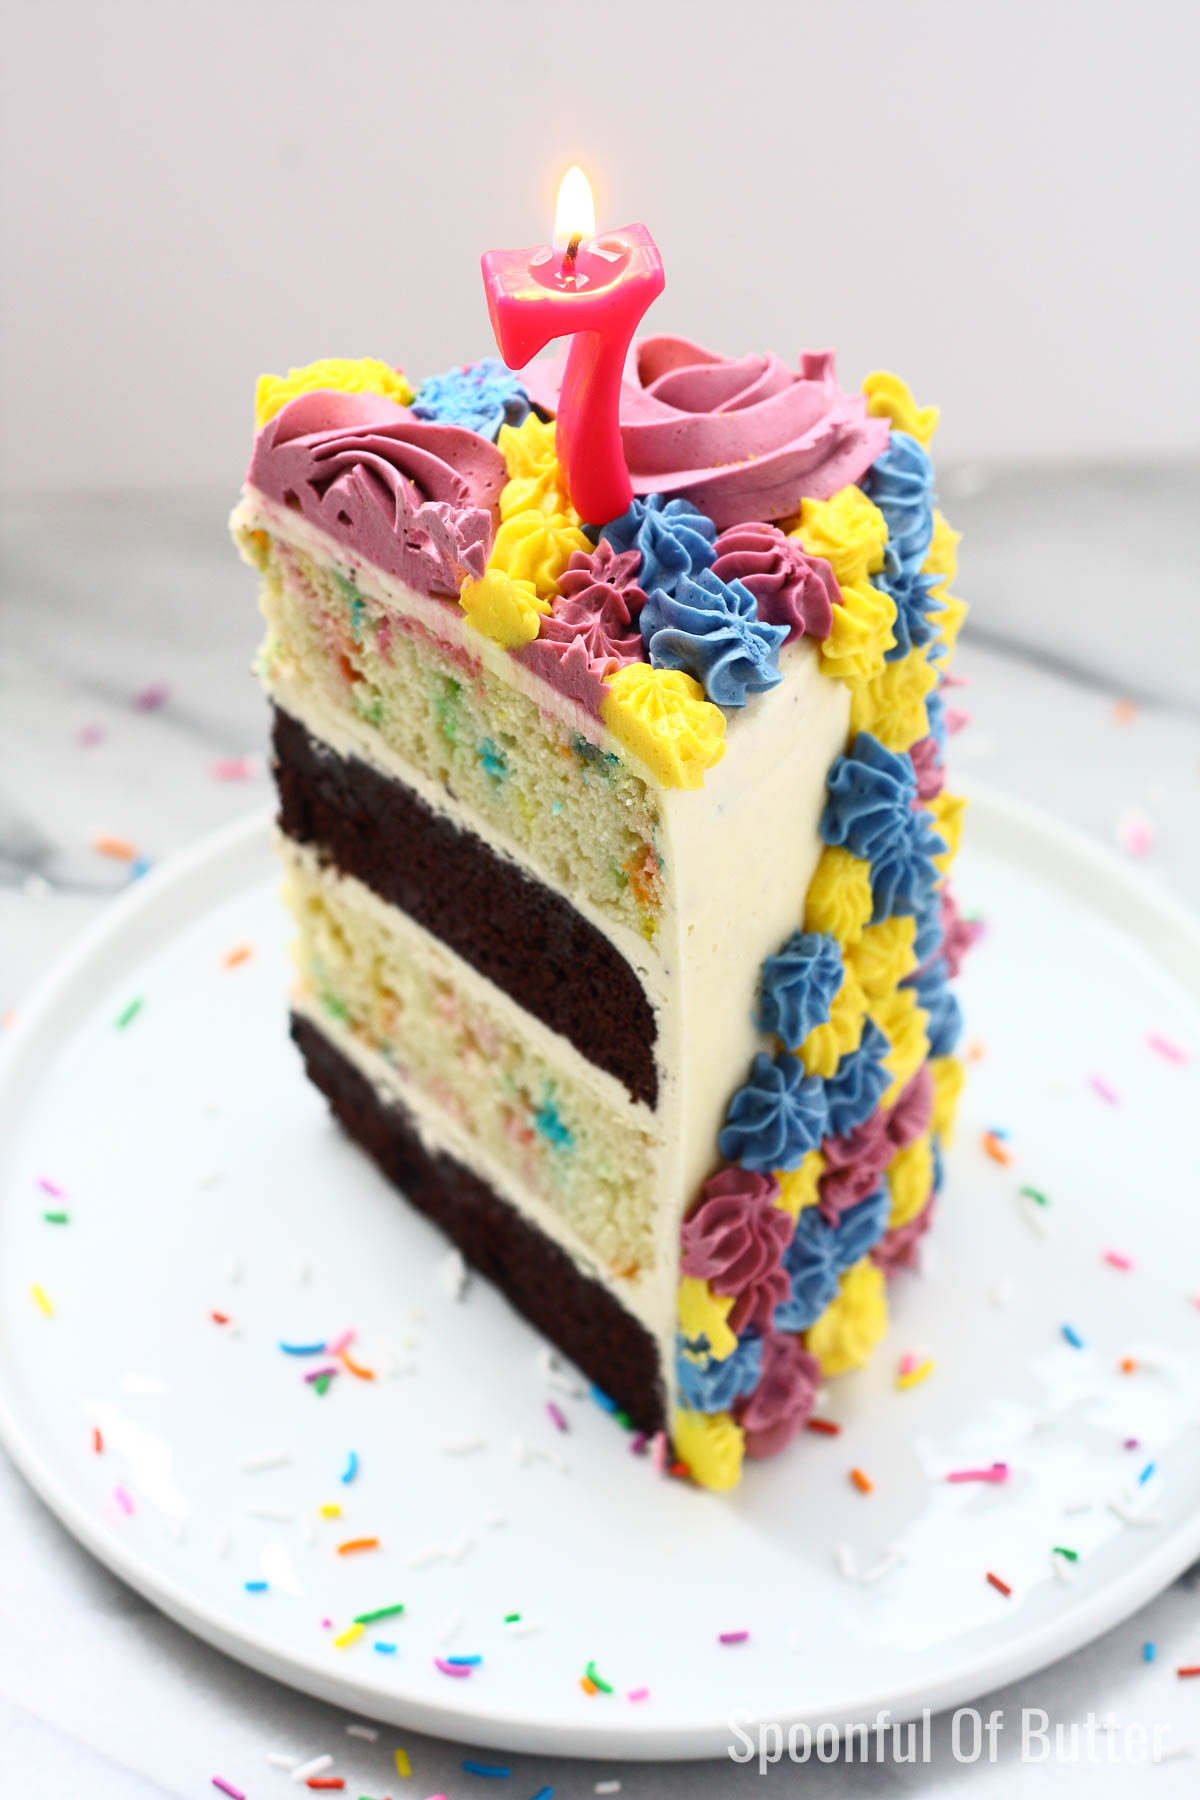
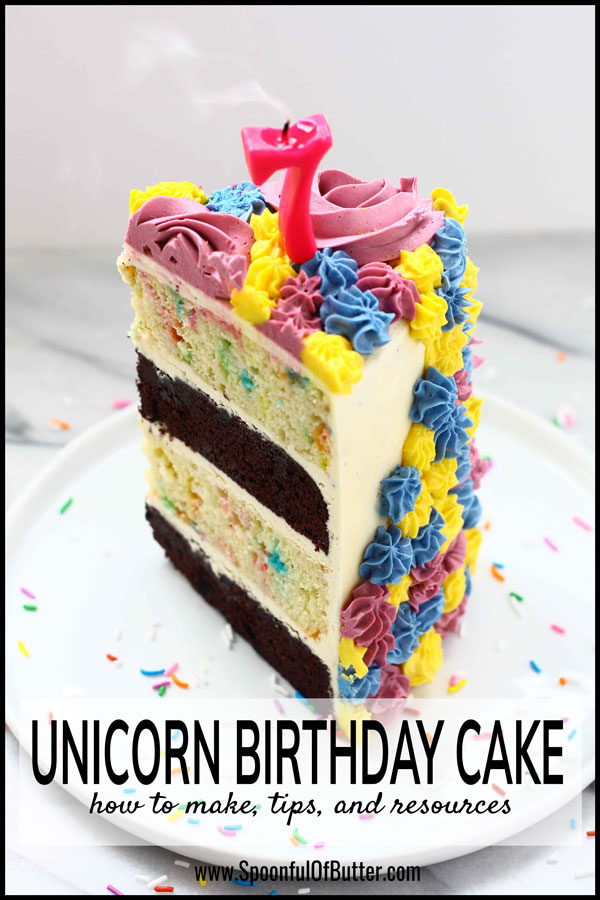
My little girl wanted to have both vanilla and chocolate cake layers so, as she said, each of her guests would get what they like. I decided to go for alternating layers of vanilla funfetti cake and this incredibly delicious chocolate cake.
This chocolate cake is my go-to recipe; it is extremely moist and has a deep chocolate flavor without being too sweet.
The funfetti vanilla cake was from Cupcake Jemma. Her recipe was for a 9-inch cake and I adapted it to make an 8-inch. What can I say, it has a nice buttery flavor, just the right amount of sweetness, and bright, happy colors from the sprinkles!
For both flavors, I baked the cake layers 2 days ahead, wrapped them in cling plastic wrap (leave the cakes as they are – untrimmed and unleveled), and stored in the fridge. I find that the cakes are less delicate to handle and level when they are cold.
TIP: You can even bake them a week ahead, wrap them tightly in cling plastic wrap and store in the freezer. Thaw them in the fridge 24 hours before assembling the cake.
The Buttercream
Now for the buttercream, I always prefer to use Swiss Meringue buttercream because it’s silky and not too sweet. The problem is that it’s a bit tedious to make. Having a newborn in the house at the moment, I know I just have to find a quicker and easier alternative.
I found this Swiss Meringue Buttercream (aka Cheater’s Swiss Meringue) recipe from Sugar Hero and let me tell you, it really tastes like the traditional Swiss Meringue! The big plus is that it uses pasteurized egg whites, which means it’s gonna save me time and effort in separating the egg yolks and heating the egg whites.
I was a bit skeptical at first but I tried it anyway. Boy, was I so glad to have found this recipe! It tasted really good and you can get it done in few, easy steps. The only tiny difference I noticed is that the traditional Swiss Meringue is slightly lighter and silkier in texture. Having said that, the taste and texture are still great, and I’m pretty sure I’ll be making this again and again.
RELATED POST: Swiss Meringue Buttercream Recipe (traditional)
The Unicorn Decoration
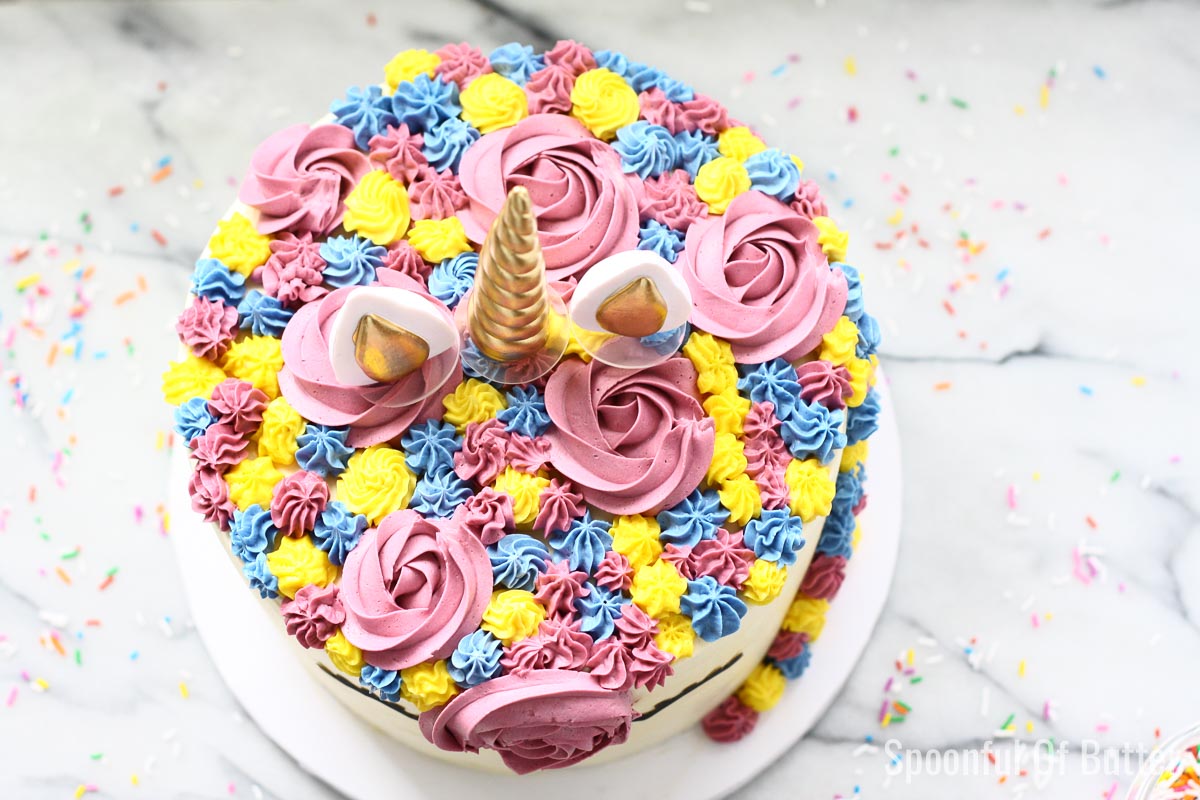
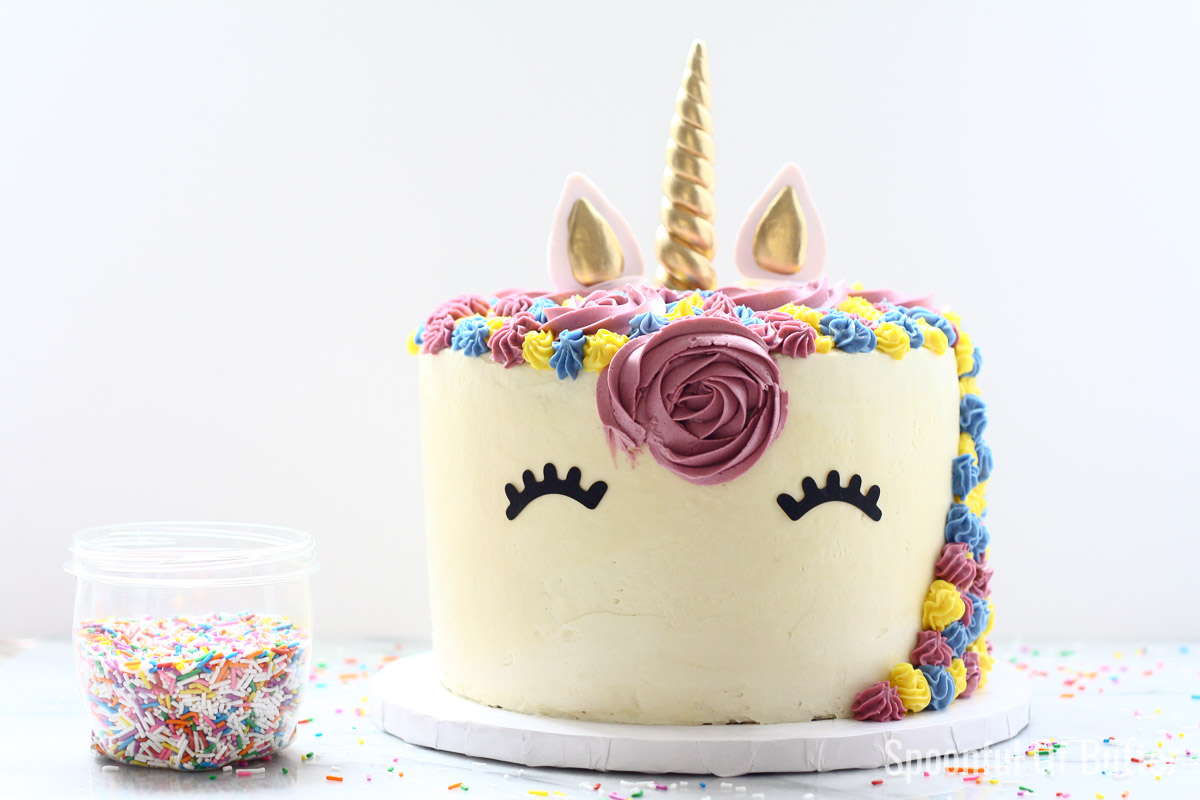
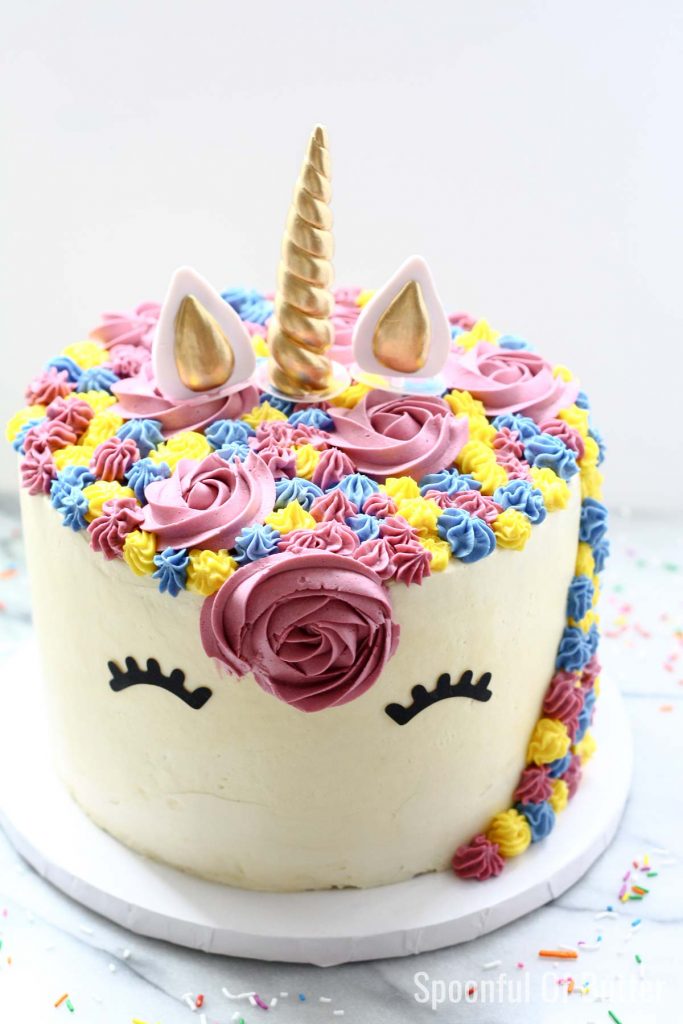
Of course, it’s not a unicorn cake without the unicorn horns, ears, eyes, and hair. I found these unicorn cake toppers online; they are nicely made, inexpensive, and reusable. Voila! Instant unicorn cake! Saved time again by skipping all the fondant cutting, shaping, and painting.
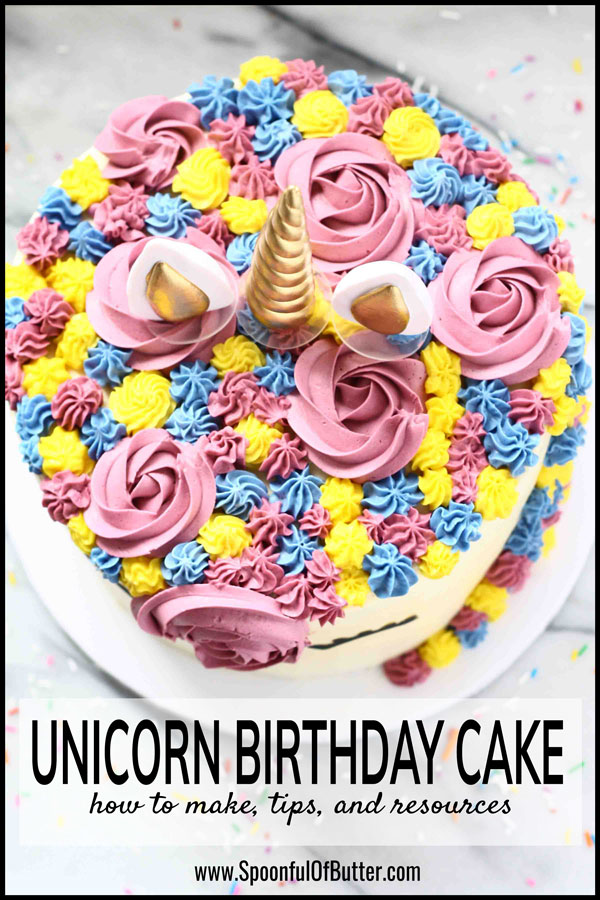
For the unicorn hair, I piped some buttercream at the top and on one side of the cake. I only used 3 colors but you can make it more colorful as you wish. I used this gel paste food coloring.
During piping, I actually didn’t have any specific pattern. I just randomly piped wherever I felt would look good. Here are the piping tips I used:
TIP: Using piping tip couplers will make it easier to switch the piping tips. You’ll be able to use more colors with different designs.
Tools and Equipment You Might Need
To make this delicious birthday unicorn cake, here are the tools and equipment you need:
- digital food scale
- oven thermometer (to ensure your oven is at the right temperature; this is crucial, folks!)
- 2 8×2 round baking pans (I use and highly recommend these pans)
- parchment paper
- flour sifter or any fine mesh strainer
- stand mixer fitted with paddle attachment/ hand mixer
- whisk
- rubber spatula
- offset spatula
- toothpick/ cake tester
- wire cooling rack
- cake leveler and slicer
- cake scraper
- piping bags fitted with your chosen piping tips
RELATED POST: Make your own superfine sugar in less than 5 minutes
Here’s the print-friendly recipe. Happy baking!
Birthday Unicorn Cake
Ingredients
For the Chocolate Cake:
- 250 grams flour
- ½ tablespoon baking soda
- ¼ + 1/8 teaspoon baking powder
- ¾ teaspoon salt
- 355 grams hot water see note 1
- 89 grams dutched processes cocoa
- 170 grams butter unsalted (at room temperature)
- 250 grams granulated white sugar
- 3 whole eggs large (at room temperature)
For the Vanilla Funfetti Cake:
- 247 grams butter unsalted (at room temperature)
- 247 grams white sugar superfine/ caster sugar is preferred but granulated is ok
- 4 whole eggs large (at room temperature)
- 247 grams self-raising flour
- 3 tablespoons milk
- ½ teaspoon pure vanilla extract
- 60 grams sprinkles
For the Frosting:
- 1 recipe batch The Easiest Swiss Meringue Buttercream Cheater's Swiss Meringue
- food coloring gel paste (your choice of colors)
Instructions
To Make the Chocolate Cake:
- PREPARATION. Preheat the oven to 350 F/ 175 C. Grease the sides and line the bottom of 2 8x2 cake pan with parchment paper.
- MAKE THE FLOUR MIXTURE. Sift the flour, baking powder, baking soda, and salt in a medium bowl and whisk.
- MAKE THE COCOA MIXTURE. Mix together the cocoa powder and hot (boiled) water in a heatproof bowl. Whisk until you get a completely smooth mixture, then set aside to cool slightly.
- CREAM BUTTER & SUGAR. In a bowl of a stand mixer fitted with paddle attachment, beat the butter and sugar on medium speed until light and fluffy, about 8 minutes.
- ADD THE EGGS. Add the eggs, one at a time, beating until each addition is incorporated before adding the next. Scrape the sides of the bowl with a spatula as necessary.
- ALTERNATELY ADD DRY AND WET MIXTURES. Add the flour mixture in three parts, alternating with the warm cocoa mixture in two parts. Beat each addition until just incorporated before adding the next. Do not overmix!
- BAKE CAKE. Evenly divide the batter between the 2 pans. Bake until a toothpick inserted in the center comes out clean, about 35 to 40 minutes. (Note 2)
- COOL THE CAKES. Transfer the cake pans to a wire rack and let cool completely. To remove the cake from the pan, loosen the edges with a straight metal spatula, invert the pans, then peel off the parchment paper.
To Make the Vanilla Funfetti Cake:
- PREPARATION. Preheat the oven to 350 F. Grease the sides and line the bottom of 2 8x2 cake pan with parchment paper.Sift the self-raising flour at least once.
- CREAM BUTTER & SUGAR. In a bowl of a stand mixer fitted with paddle attachment, beat the butter and sugar on medium speed until light and fluffy, about 8 minutes.
- ADD THE EGGS. Add the eggs, one at a time, beating until each addition is incorporated before adding the next. Scrape the sides of the bowl with a spatula as necessary.
- ADD THE FLOUR, MILK, & VANILLA. Move to the lowest speed of your stand mixer. Dump the flour and mix them until it just comes together and no bits of dry off can be found. Immediately add in the milk and vanilla until just incorporated.
- DON'T FORGET THE SPRINKLES! While still at the lowest speed of the mixer, pour the sprinkles and do a quick mix. Careful not to mix too much; the color of the sprinkles might bleed.
- BAKE CAKE. Evenly divide the batter between the 2 pans. Level the top with a spatula. Bake until a toothpick inserted in the center comes out clean, about 20 minutes.
- COOL THE CAKES. Transfer the cake pans to a wire rack and let cool completely. To remove the cake from the pan, loosen the edges with a straight metal spatula, invert the pans, then peel off the parchment paper.
ASSEMBLE THE CAKE:
- BUILD THE LAYERS. Level each of the 4 cake layers. Place the bottom layer of one chocolate cake on a cake board or serving dish. Dollop about 1/2 cup of buttercream on top and spread with an offset spatula. Place the vanilla funfetti layer of cake on top and repeat again with the remaining chocolate and vanilla funfetti layers.
- FROST THE CAKE. Crumb coat the cake and put in the fridge for at least 30 minutes. After that, frost the cake and smooth out with a scraper.
- DECORATE. Divide the remaining buttercream into 3 bowls, add food coloring on each bowl. Using 3 different piping tips, decorate with piped buttercream flowers. Add the ready-made unicorn horns, ears, and eyes.


The cake looks wonderful ? can I use the same recipe (measurements) for 9inch cake??
I believe you can, but your cake layers would be thinner. You can also opt to make 3 layers instead of 4.