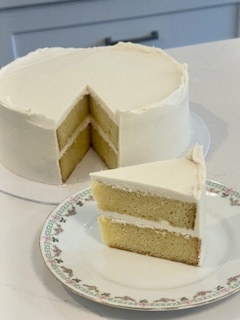
Made from scratch basic Vanilla Cake that yields tall and sturdy cake layers that are great for stacking tiered cakes. It’s buttery, tender, and full of vanilla flavor – a great base cake for all occasions!
Do you need the chocolate version? Head on to Sturdy Yet Moist and Fluffy Chocolate recipe.
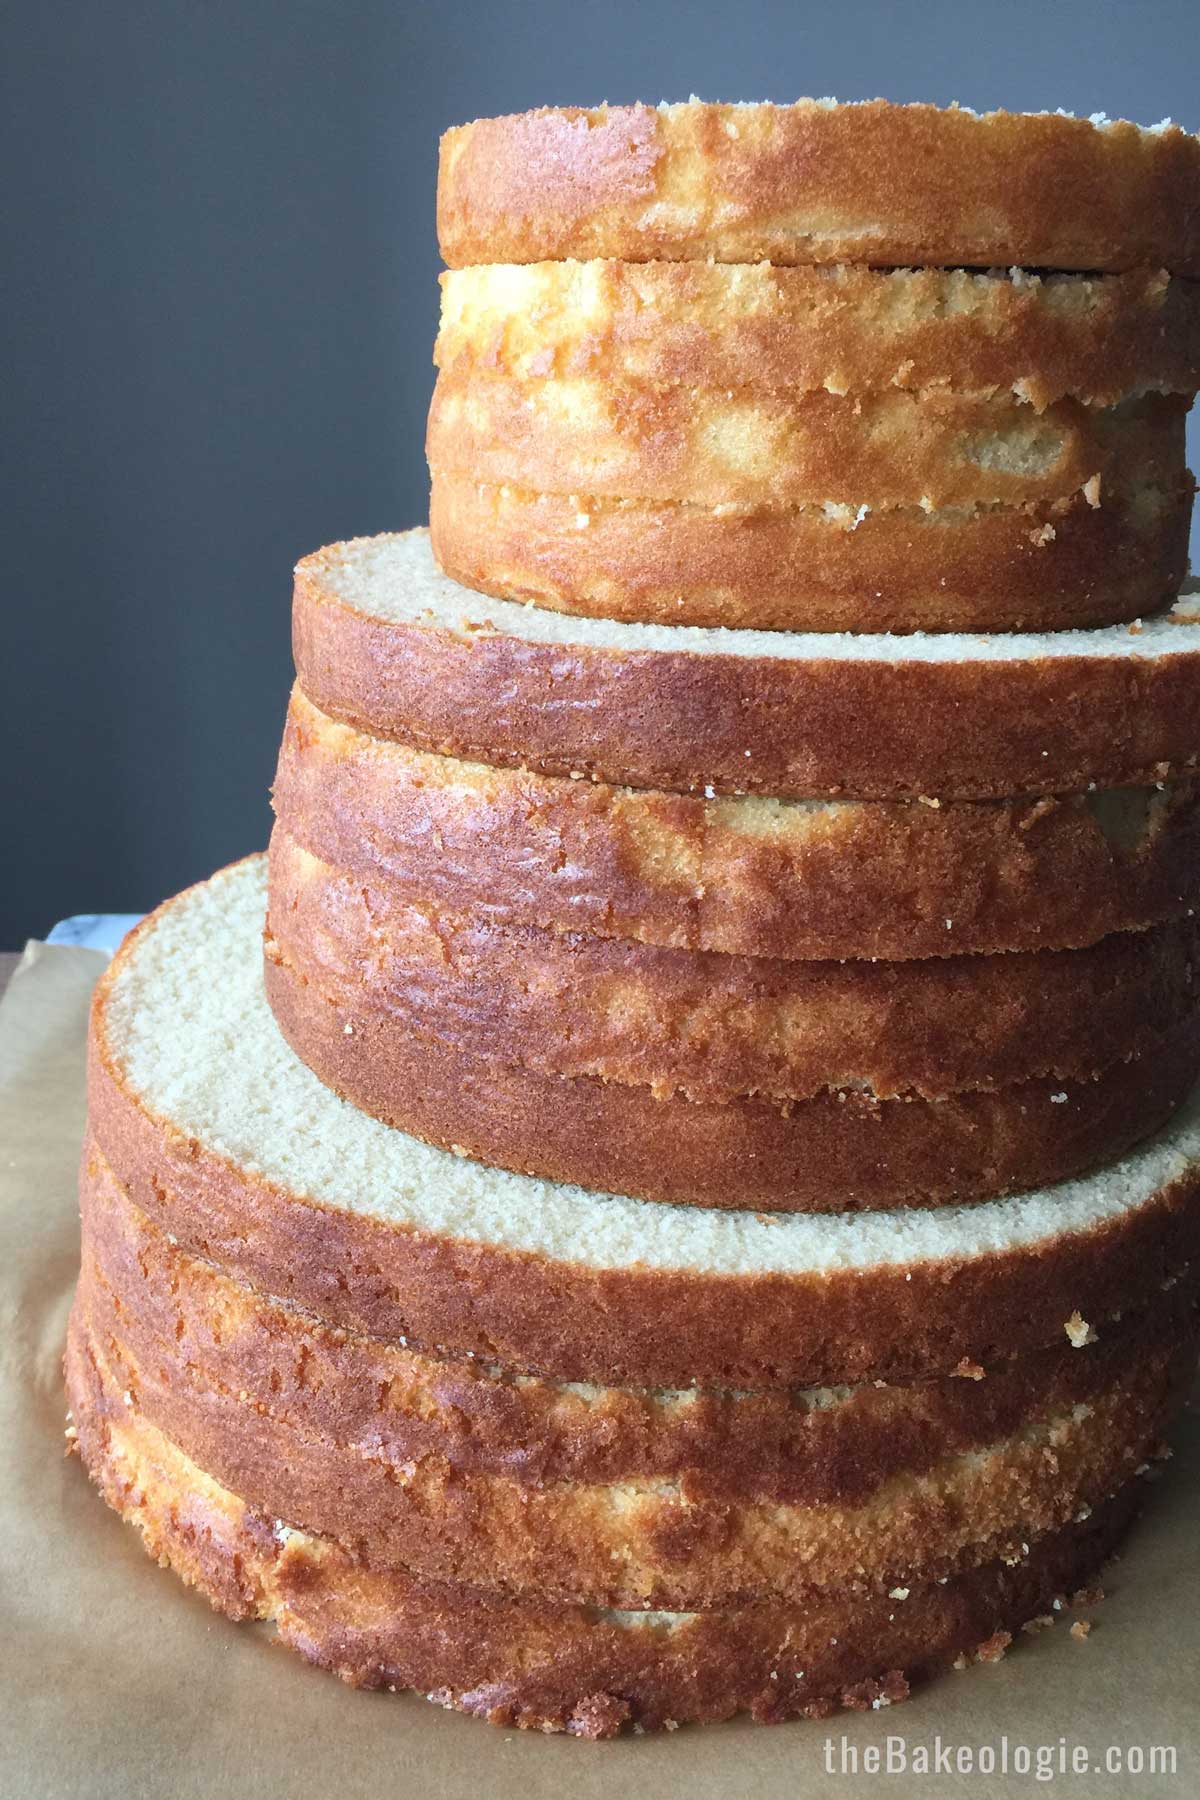
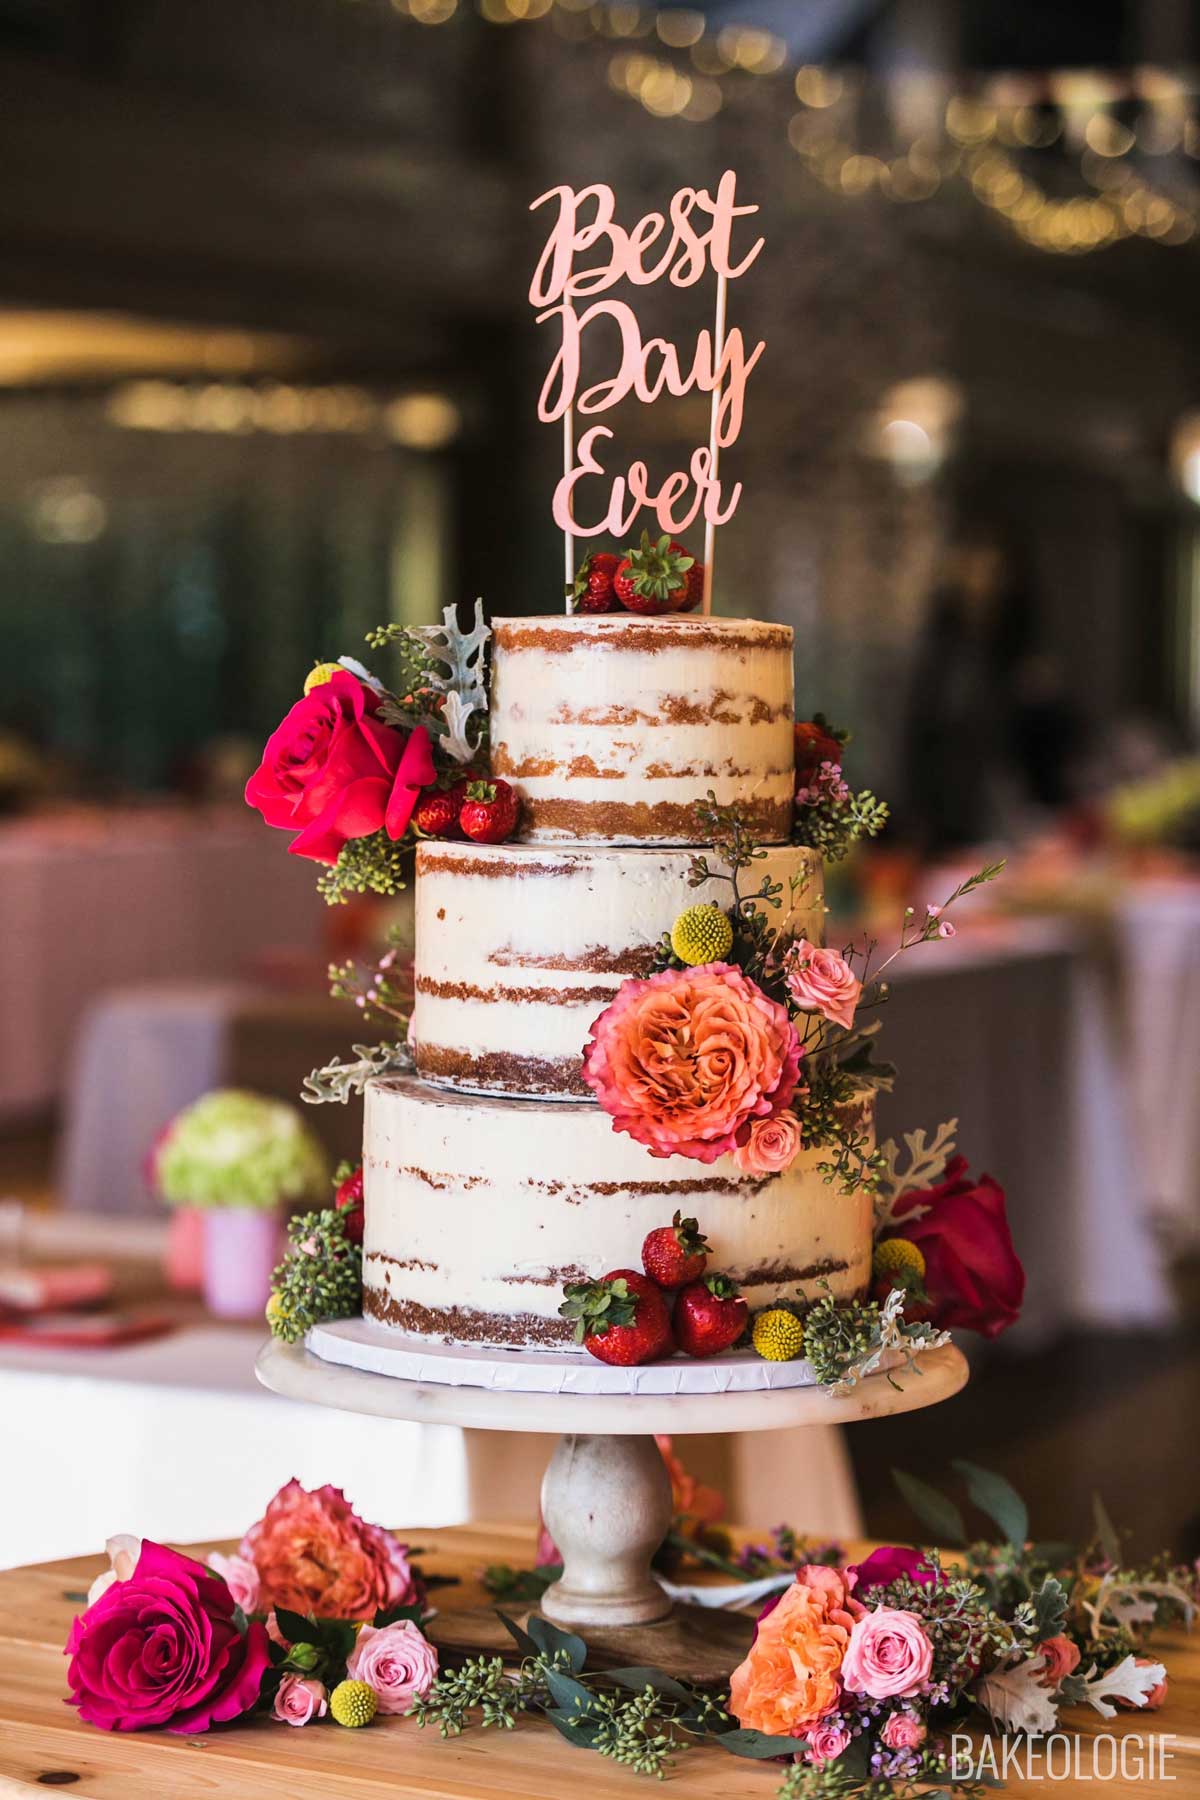
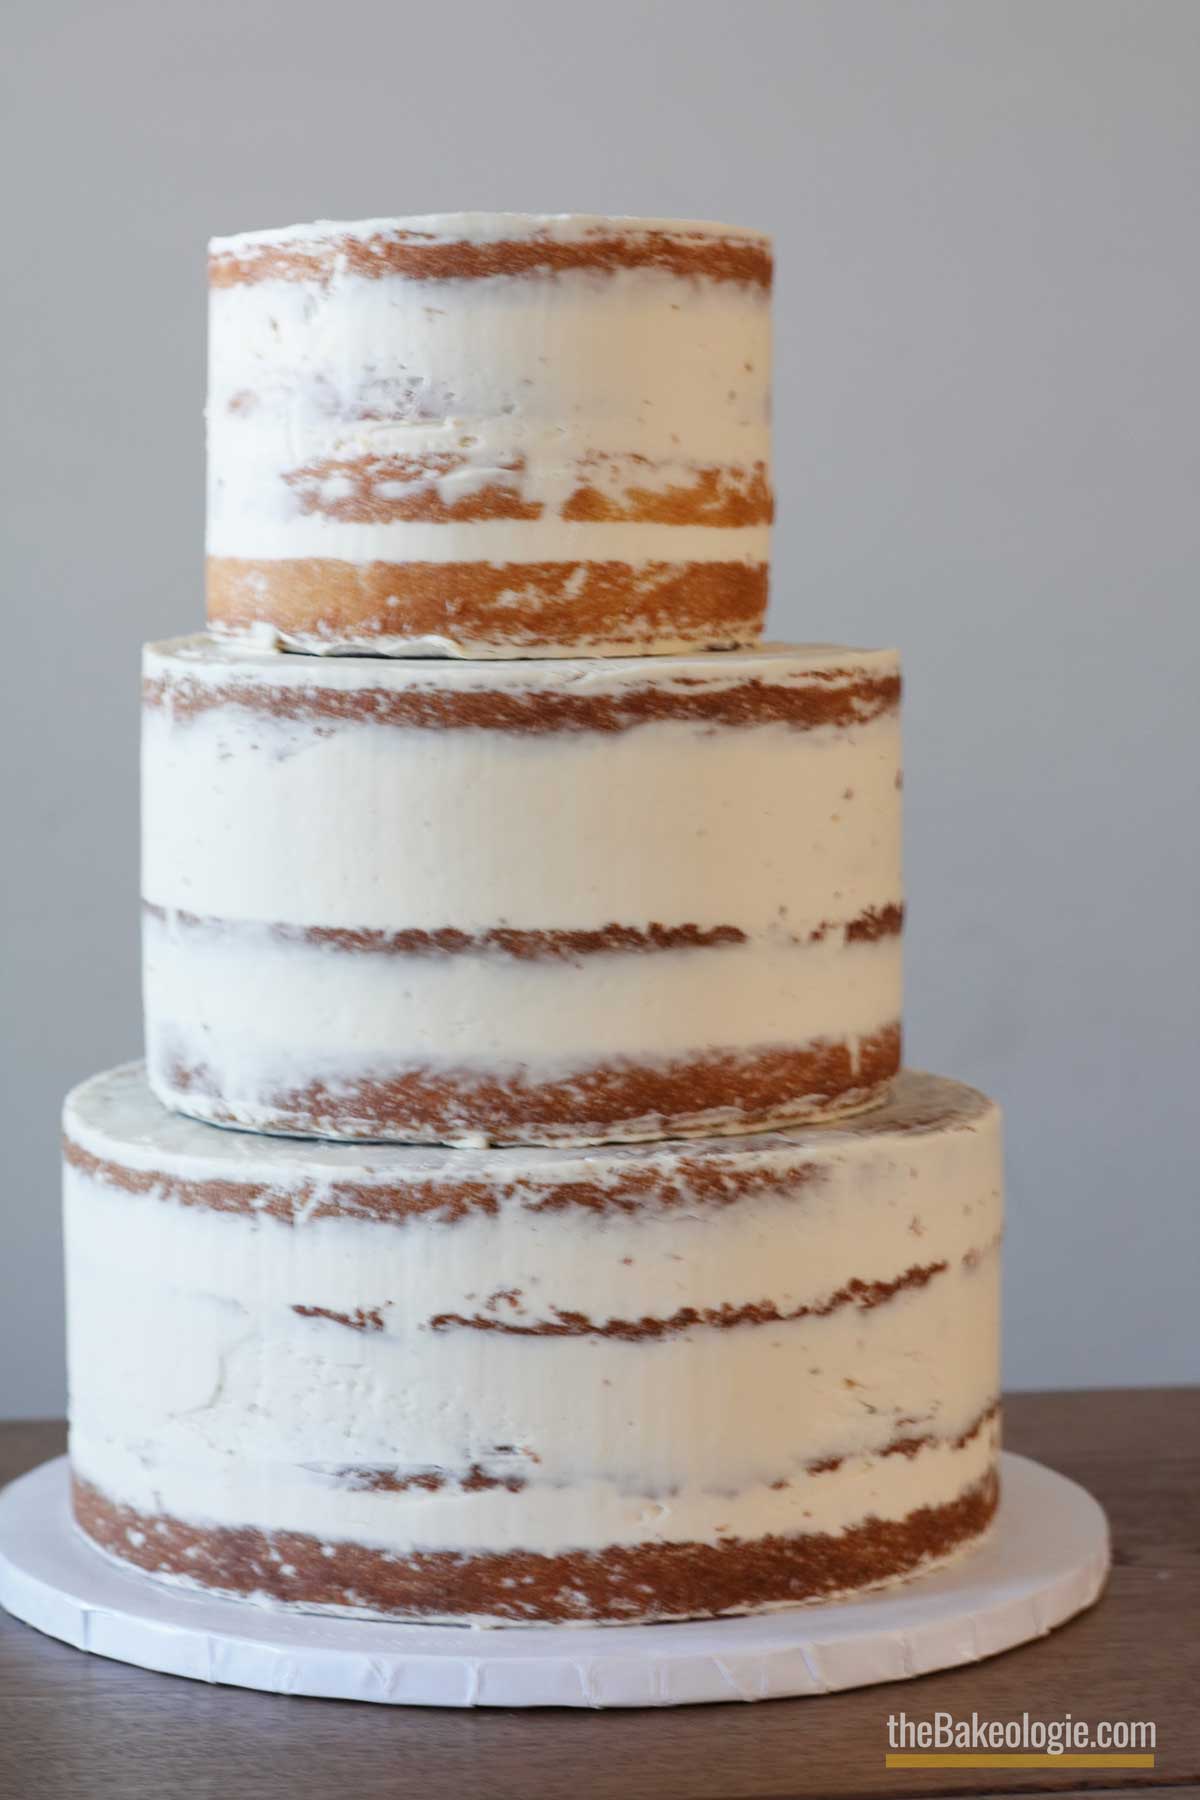
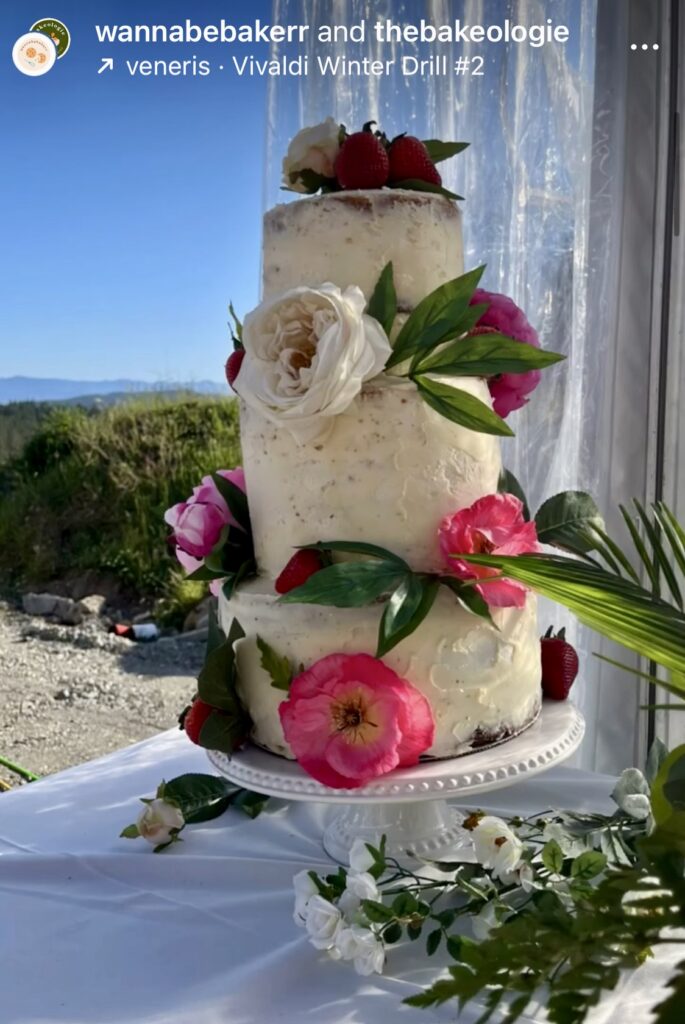
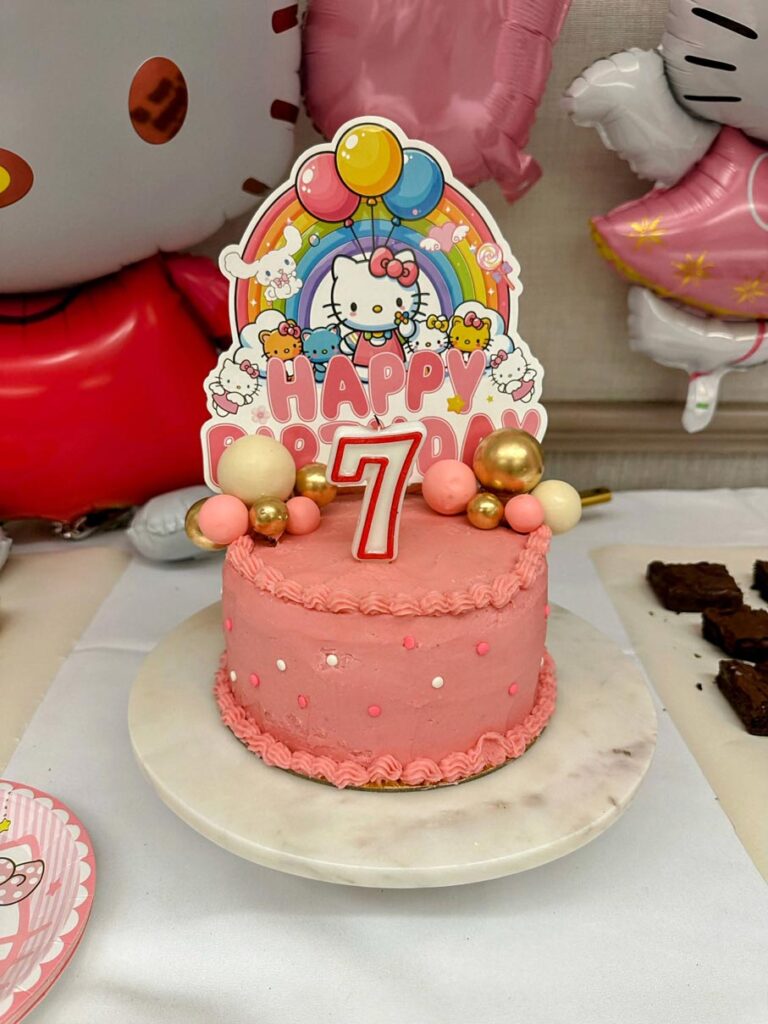
Great for Wedding Cakes and Tiered Cakes (for Stacking and Carving)
I’ve been looking for a great basic vanilla cake that can be my go-to vanilla cake recipe whenever I make tiered cakes. I tried many and never found one that is for keeps, until now.
I’ve used this recipe to make a 3-tiered wedding cake so I can say that while it is soft and fluffy, it is firm enough to use in multi-tiered cakes. As we know, for tiered cakes, it is suggested to stay clear of softer, less stable cakes and filling like chiffon cake, pastry cream, and whipped cream.
Are you thinking of doing a DIY wedding cake? I’ve shared all the recipes, timeline, resources, and tips in this DIY Wedding Cake post.
Thick layers for Tall Cakes
This recipe yields a tall vanilla cake, that’s why you would need a cake pan that is at least 3 inches in height.
If you don’t have a tall cake pan, you can line some parchment paper around the pan for extra height.
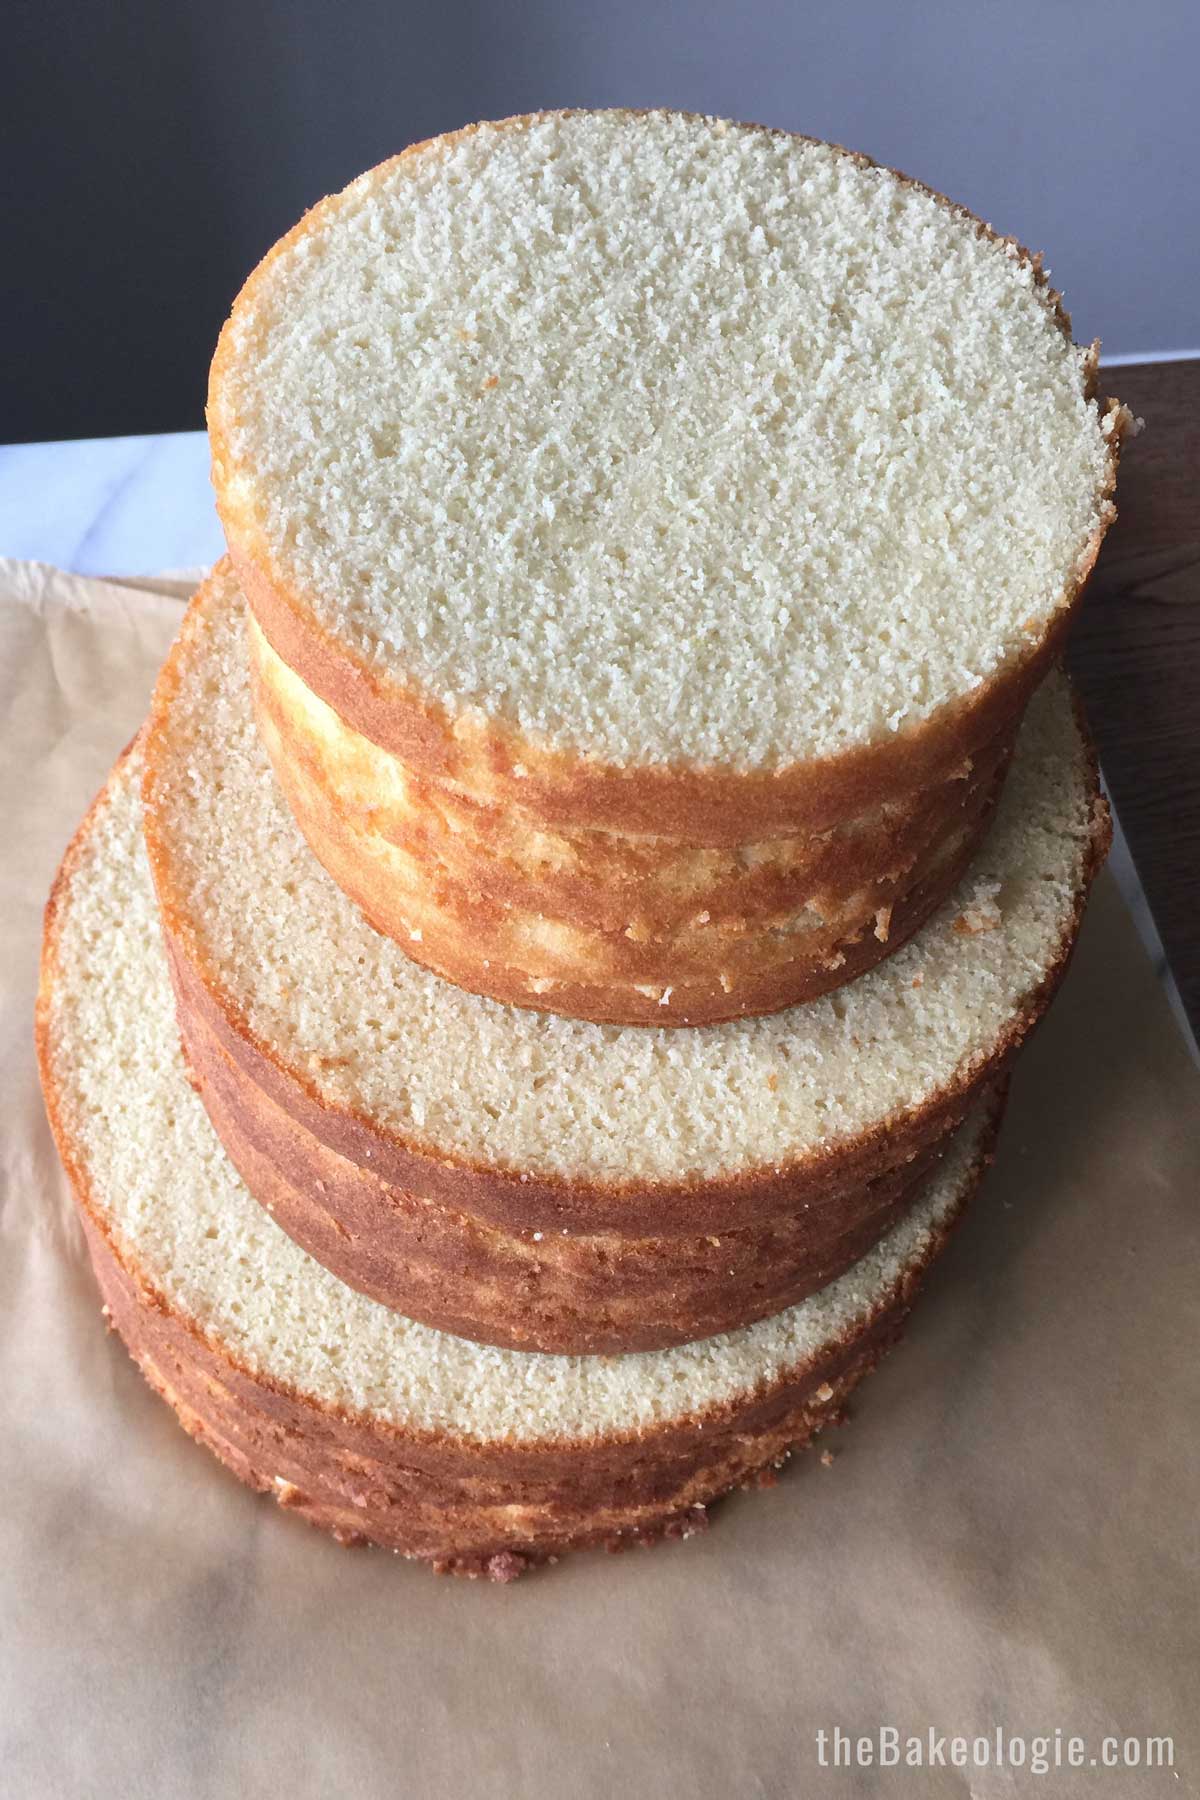
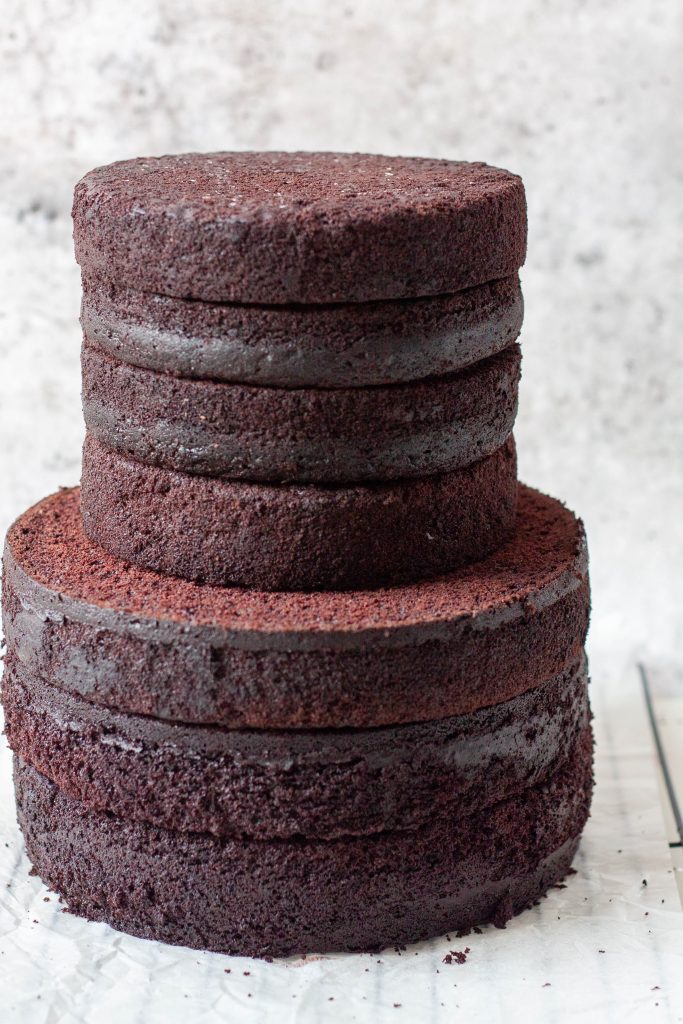
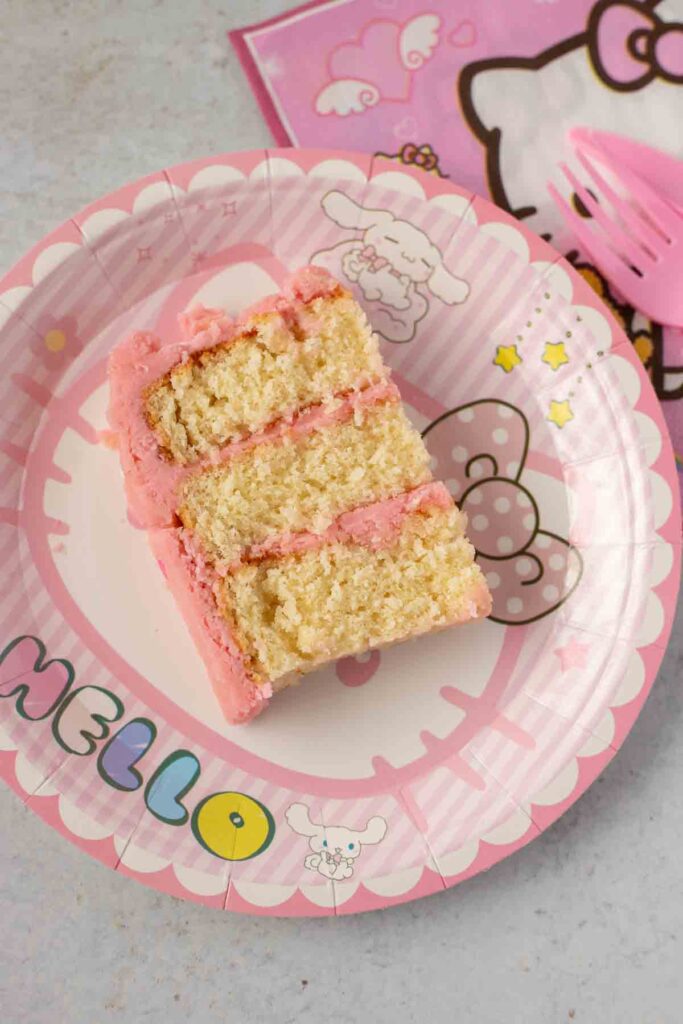
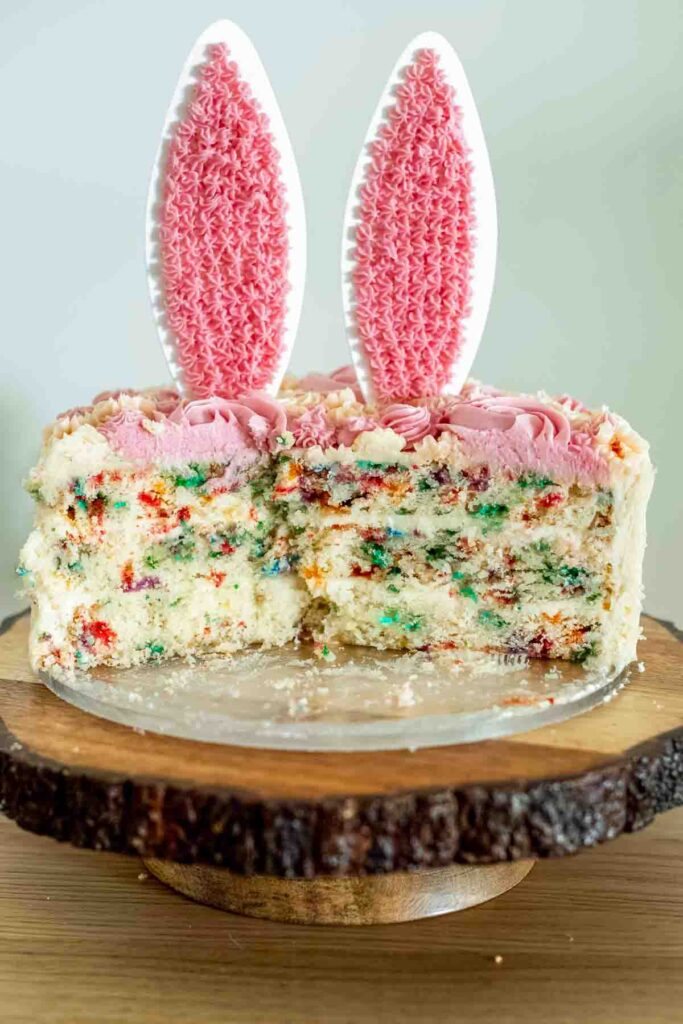
The photos you see here were taken while I was doing my final cake for my cousin’s wedding. Unfortunately, I have forgotten to take a photo of the cake right out of the cake pan.
I then further cut each round into half to give me a total of 4 layers, which is what you see in the photos.
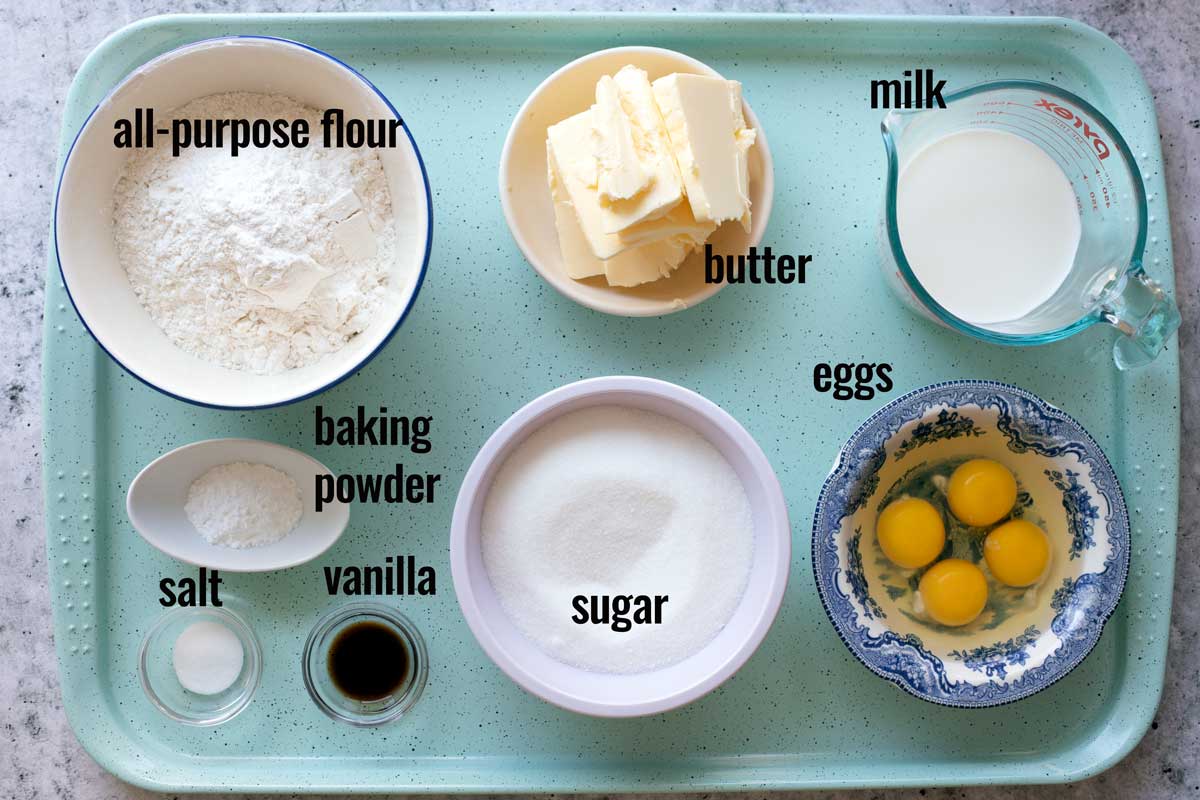
Ingredients for Vanilla Cake
- all-purpose flour
- baking powder
- fine salt
- unsalted butter at room temperature – What is room temperature butter?
- granulated white sugar
- vanilla extract
- eggs (large size) at room temperature
- fresh milk (whole / full-fat)
Tools and equipment you’ll need
Ditch your cups and weigh your ingredients – it will give you consistent results every time. Try it and you will never look back on using cups again!
There are a lot of reasons why you should measure by weight and entirely a topic of its own. This recipe uses a lot of flour – measuring it incorrectly would greatly affect the outcome of your cake.
I use and recommend Fat Daddios brand. They heat faster and cools quicker, preventing overbaking. It has straight sides for perfect layers!
If your existing pan’s height is below 3 inches, see recipe note no. 1.
- parchment paper
- flour sifter or a fine mesh strainer
- stand mixer
- toothpick or cake tester
Instructions
Preparation:
- Preheat your oven to 350 F (180 C).
- Make sure your ingredients are at room temperature.
- Grease the bottom of two 8x 3 round pans, then line with parchment paper (Note 1 in recipe card).
Make the vanilla cake batter:
Making this cake involved 3 parts: Creaming the butter and sugar, adding the eggs, and adding the remaining dry and wet mixtures alternately.
In a bowl, sift all the dry ingredients together: flour, baking powder, and salt. Set aside.
In a stand mixer bowl, cream butter, sugar, and vanilla on medium speed until light and fluffy, about 5-8 minutes.
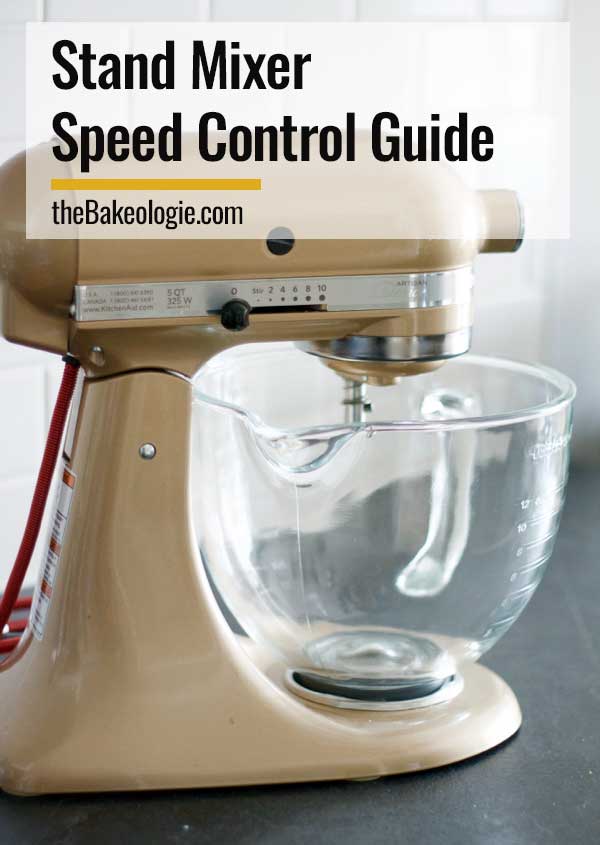
RELATED: Stand Mixer Speed Guide
Add eggs to the mixture, two at a time. Blend until incorporated and scrape the sides as needed.
Add the flour mixture in four parts alternating with the milk in three parts, starting and ending with the flour mixture. Remember to add the next flour or milk until just incorporated; be careful not to overmix!
Bake the vanilla cake
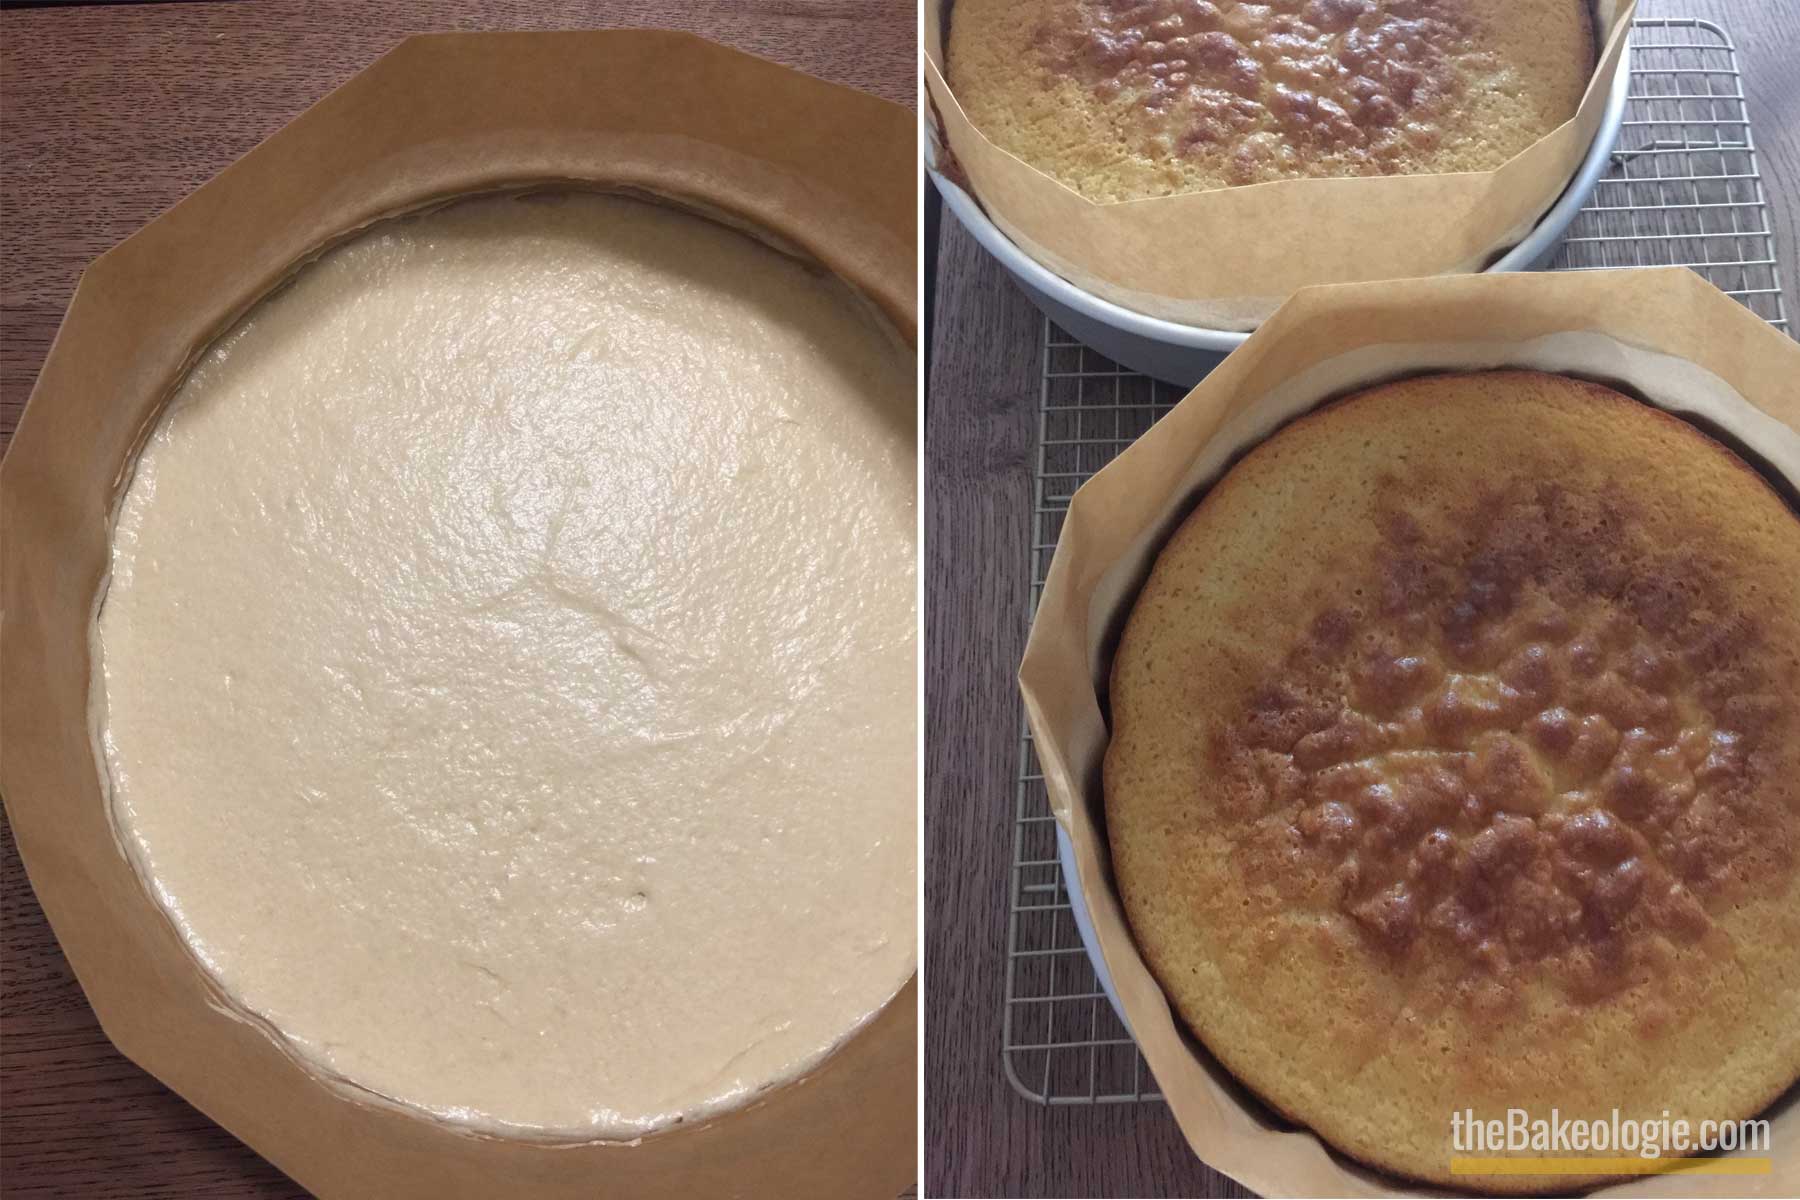
Pour the cake batter into prepared pans and spread it so that is it smooth and flat in the pans. Bake until a toothpick inserted in the center comes out clean, about 60 minutes.
Cool the cakes on a wire rack before removing them from the pan.
Torte each cake into 2 to get 4 layers like in the photo below.
Watch How To Make This Sturdy Yet Moist Vanilla Cake
FAQs
Do I really need to sift the dry ingredients?
The process of sifting breaks any lumps in flour that would weigh down the batter so your Vanilla Cake will yield a tender (not delicate) crumb. When flour is sifted with other dry ingredients, such as baking powder, sifting helps to combine them evenly before they are mixed with other ingredients. It is important not to skip this step!
Why do I need to cream the butter and sugar?
When creaming the butter and sugar together, the sugar is like punching little holes in the butter and those holes, in turn, will capture air. These little bubbles capture the gases released by your leaveners when baked, giving your cake a lighter texture. A properly creamed butter and sugar should have the color of pale yellow, not white.
Using a stand mixer, I typically whip the butter and sugar on medium speed for 5 minutes.
My cake came out dry – What did I do wrong?
There are several possible reasons why your cake came out dry. One common mistake is NOT measuring your flour correctly. If you’re still using cups to measure your flour and other baking ingredients, I can’t emphasize enough the importance of using a food scale !
Baking is an exact science, so one ingredient that’s not measured correctly can totally break the outcome.
Another common reason is overcooking them. As not all ovens are the same, remember to treat the cooking time stated in any recipe as a guide.
Your cake is perfectly done and needs to be removed from the oven when the toothpick/ cake tester comes out either clean or with a few dry crumbs.
Always begin checking your cake at the earlier doneness time specified in the recipe. I like to set my timer a few minutes earlier than the shortest baking time called for.
You can always bake something longer, but over baked or burnt products are ruined! Always check for doneness about 5 minutes before the suggested bake time.
How Can I Make This Ahead?

After the cakes have been removed from the pan and have completely cooled down. Double wrap each layer with plastic/saran wrap and keep in the fridge for up to 2 days. I did this when I used this recipe for a wedding cake.
If longer than 2 days, I suggest keeping them in the freezer instead. If freezing, double wrap it with plastic/saran wrap then wrap again in foil. The first layer keeps the cake tight and fresh and the aluminum foil ensures no condensation will seep in.
When you are ready to use the cake, transfer the wrapped cakes from the freezer to the refrigerator one day before assembling. Take them out of the freezer container to thaw, but leave them wrapped in plastic wrap/aluminum foil.
The cakes take at least 8 hours to thaw completely in the refrigerator. Make sure you’re thawing the cakes while they’re still in the wrapping. Condensation forms as foods thaw. This way the condensation will form on the wrapping, not the cake.
Can I Make This Into Cupcakes?
One of the most frequently asked questions – How do I turn this cake into a cupcake? Simply half the recipe of the 6-inch vanilla cake to get about 12 cupcakes.
I did the math for you!
To make 12 cupcakes (50g of batter for each cupcake), you’ll need:
- 175 grams all-purpose flour
- 1 teaspoon baking powder
- 1/4 tsp regular table salt
- 130 grams unsalted butter
- 150 grams granulated white sugar
- 1/2 teaspoon vanilla extract
- 2 large eggs (about 100g without shell)
- 140 grams whole milk
For cupcakes, bake at 350F for about 15-17 minutes.
Adapting This Vanilla Cake to Different Pan Sizes
The photos you see at the beginning of this post are the 6-inch, 8-inch, and 10-inch vanilla cake, with all the layers sliced and leveled.
Here is a chart of the amount of ingredients you’ll need depending on pan size.
NOTE: This is on the assumption that the height of the cake remains the same – only the circumference of the pan changes.
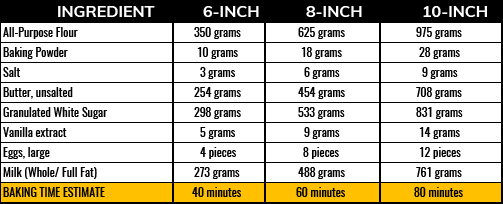
Batter Weight (before baking): 6-inch is around 1,310 grams, so 655 grams of batter per pan.
Follow the same procedure as written in the recipe but you may need to adjust the baking time. Remember that the time indicated below is only a guide as not all ovens are the same.
It is a good habit to check for doneness 5 minutes earlier than the shortest baking time called for. If the cake isn’t done yet, check again after 3-4 minutes.
Recipe for round cakes from 4-inch up to 12-inch pans
This Fluffy and Buttery Vanilla Cake is one of the most popular recipes at Bakeologie . Over the years, a lot of people made and loved this cake and have been asking how to make it in different sizes.
I’ve put together a resource with all the ingredient quantities for round cakes from 4-inch up to 12-inch. Now, no more guesswork!
NEW!!! Chocolate version is now available here.
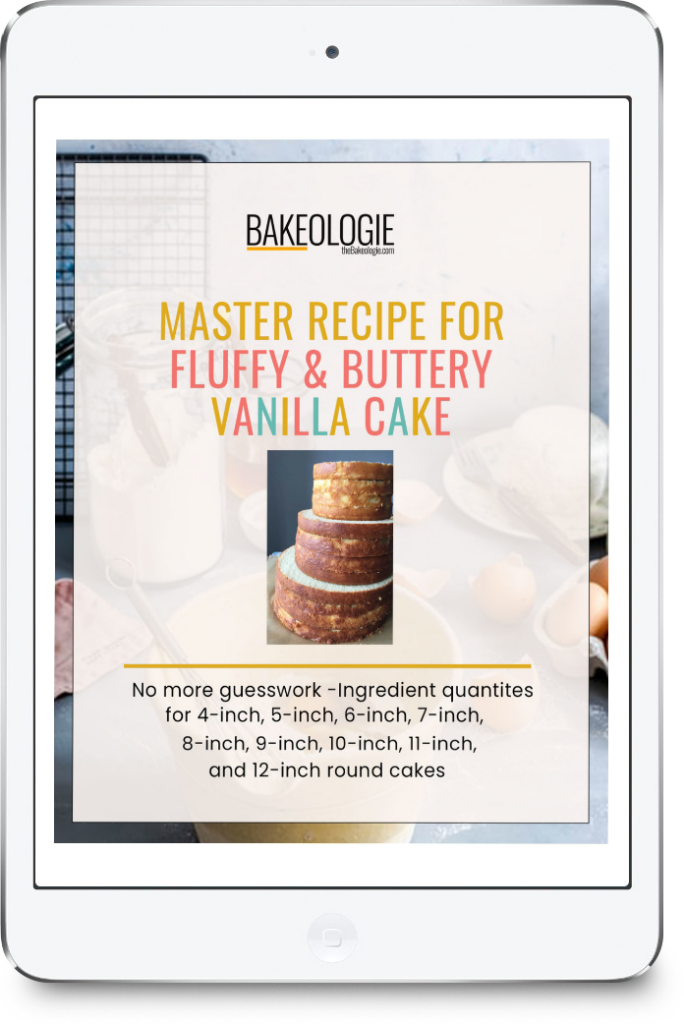
If you have tried this recipe and wanted to make it in other different sizes , this is the answer for you!
Check out my shop page or grab the Master Recipe for Fluffy and Buttery Vanilla Cake directly through this link.
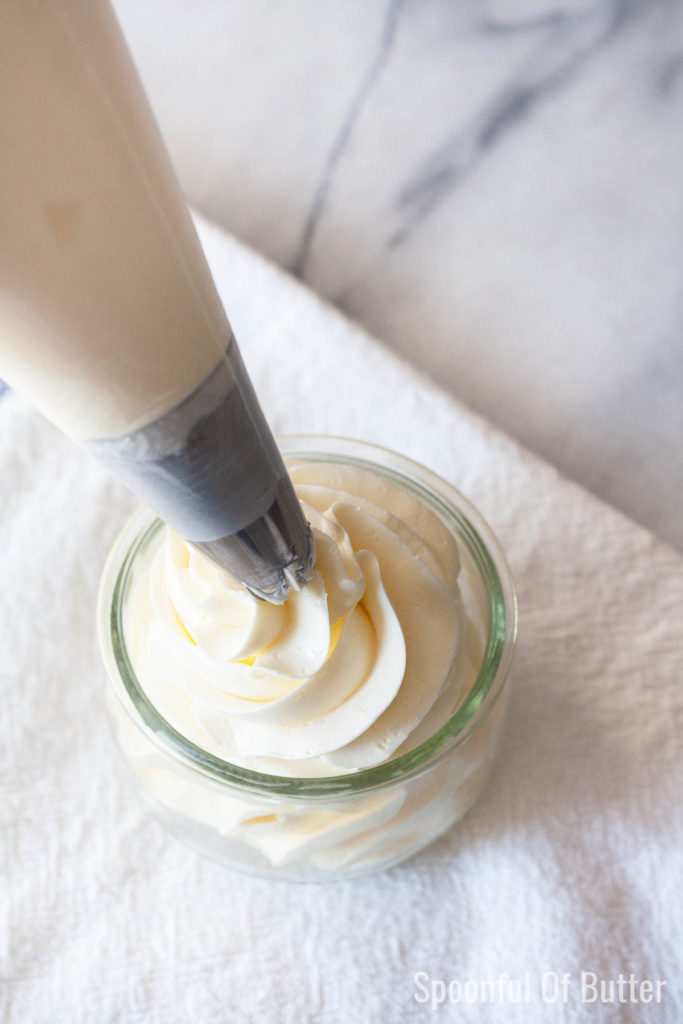
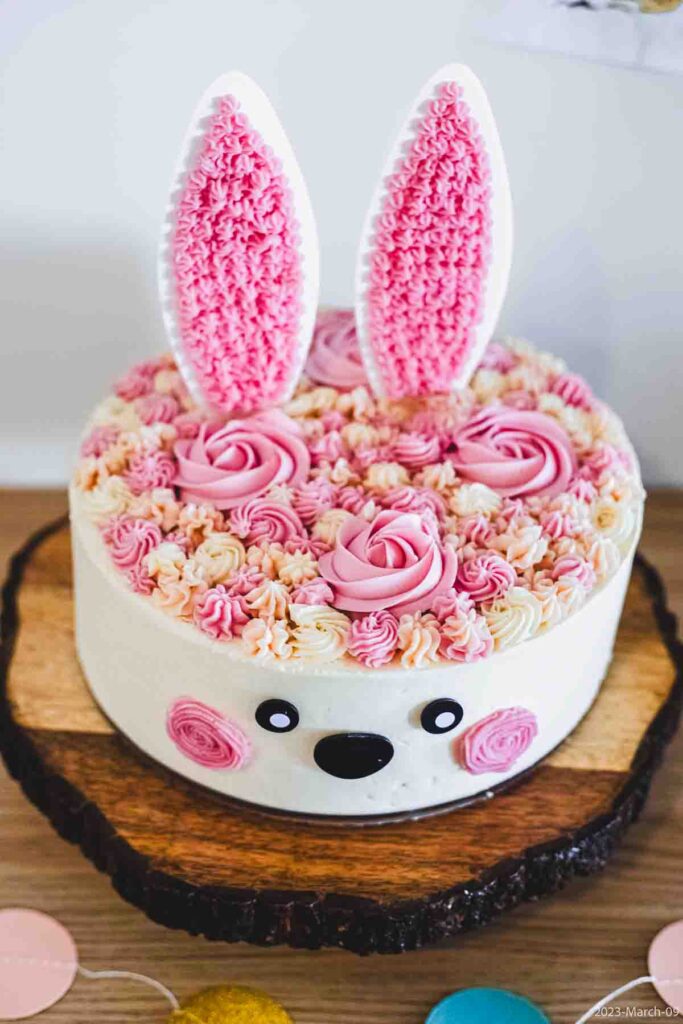
What Frosting Goes Well With This Cake?
I recommend pairing this vanilla cake with swiss meringue buttercream. I love swiss meringue because it’s smooth, silky, and not tooth-achingly sweet! It can be used on a variety of cakes and cupcakes as it can easily be flavored.
❤️ Tried this recipe and loved it? If you made this recipe or any other recipe on this site, please leave a ⭐️⭐️⭐️⭐️⭐️ rating + review below – or tag @thebakeologie on Instagram and hashtag it #bakeologie !

Ingredients
- 625 grams all-purpose flour (22 oz )
- 18 grams baking powder (1 tablespoon + 2 teaspoons )
- 6 grams salt (1 teaspoon)
- 454 grams butter, unsalted, at room temperature (16 oz )
- 533 grams white granulated sugar (19 oz )
- 9 grams vanilla extract (2 teaspoons )
- 400 grams eggs (weight is without shell) (approx 8 large eggs) at room temperature
- 488 grams whole milk (17.2 oz )
Instructions
- PREPARATION. Preheat oven to 350 F (180 C). Grease the bottom of two 8x 3 round pans, then line the bottoms with parchment paper (Note 1).
- PREPARE THE DRY INGREDIENTS. In a bowl, sift all the dry ingredients together: flour, baking powder, and salt. Set aside.625 grams all-purpose flour18 grams baking powder6 grams salt
- CREAM THE BUTTER, SUGAR AND VANILLA. In a stand mixer bowl, cream butter, sugar, and vanilla on medium speed until light and fluffy, about 5-8 minutes.454 grams butter, unsalted, at room temperature533 grams white granulated sugar9 grams vanilla extract
- ADD EGGS TO THE MIXTURE. Add eggs to the mixture, two at a time. Blend until incorporated and scrape the sides as needed.400 grams eggs (weight is without shell)
- ADD THE DRY AND WET INGREDIENTS. Add the flour mixture in four parts alternating with the milk in three parts, starting and ending with the flour mixture. Remember to add the next flour or milk until just incorporated; be careful not to overmix!488 grams whole milk
- BAKE THE VANILLA CAKE. Pour the cake batter into prepared pans and spread it so that is it smooth and flat in the pans. (I weigh the batter and divide it into 2 so each pan would have the exact amount.) Bake until a toothpick inserted in the center comes out clean, about 60 minutes. Cool the cakes on a wire rack before removing them from the pan. Divide each cooled cake into 2 to get 4 layers.
Notes
Whisk, Snap, and Share
This space isn’t just for our photos — We’d love to feature yours too! If you’ve made this recipe, tag us on Instagram @thebakeologie or email your photo to [email protected] with the recipe name in the subject line.
📸 By sending a photo, you’re giving us permission to feature it here.

Hi! I’ve made this cake several times and it’s the best cake ever! I wanted to see if anyone has tried this batter out for cupcakes- how many does it yield, what temp did you use and how long did you bake for??
Thank you, Lauren! It’s been quite a while since I used this recipe for cupcakes. My estimate is half the recipe ingredients of the 6-inch vanilla cake and it should yield about 12 cupcakes (45g of batter for each cupcake). Bake at 350F for 18-20 minutes, or until toothpick test comes out clean.
Have you made this in cupcakes? My Whole family loves this recipe, especially my 7yo and 9yo grandkids! I will try to make cupcakes from this recipe too.
I have tried it a long time ago – planning to test it again so I can include the recipe here.
So great that your family loves this recipe – thank you for sharing!
I always thought I had the best vanilla sponge cake recipe but WOW WOW WOW. This has upped my game so much. Thank you for sharing!
You are speaking my love language – thank you so much for taking the time to rate and share your feedback! =)
I just came across this recipe and I’ve been looking for a vanilla cake recipe for sometime as most of them are so dry and I don’t like putting syrup onto my cakes…I’ve been looking for a good recipe with oil butter and buttermilk ….I will try it based on your rating etc …and definitely will give feedback
This recipe does not use oil
and buttermilk, but I hope you will like it!
This is the worst recipe I’ve ever tried, the batter is too thin the cake was so dense and it didn’t rise.
I was planing to make a birthday cake, but it ruined the whole surprise and the day.
Sorry, that happened to you! The final batter should be thick but smooth, as you see in the video.
I made it and it turned out divine! Maybe you didn’t cream the butter and sugar the full 5-7 minutes or overmixed it?
This was a really good cake and tasted amazing, however, the vanilla flavor was not strong enough for me. I’ll add more vanilla next time. Can make this into a lemon cake?
Hi, Sharon. Thank you for taking the time to leave your feedback! Unfortunately, I haven’t tried turning this into a lemon cake yet.
sorry trish that chart was confusing alittle i was trying to see how much more ingredients i have to add to make a 12 x 3 size cake pan . not sure of the chart you sent me
Hello! If we are going to use the recipe for 8-inch round and you want to convert it to a 12-inch round, the conversion factor is 2.25. For example, this recipe calls for 18 grams of baking powder, so for the 12-inch recipe you would need 41 grams (18 x 2.25 = 40.5) of baking powder.
Hi Trish is the recipe on your chart fir the 10 inch is that a 10 x 2 size you need do you have ingredients for a 12 x 3 i wasn’t understanding the charts when you said to covert it by the factor
The recipes on the chart are for 6×3 and 10×3. The one on the recipe card is for 8×3. You can derive the amounts for a 12 x 3 cake by multiplying all the ingredient amounts of the 8-inch recipe by 2.25 (as shown on my previous reply to your comment).
Hi! I’m a little confused about your recipe. Does this recipe make a 6inch 2 layer cake, a 8inch 2 layer cake, and a 10inch layer cake? I would like to use it to make a 10inch two or 3 layer cake. Do I use the recipe as is?
The recipe makes two 8-inch cakes and each 8-inch cake is about 3.5 inches high. For the pictures you see in this post, I torte each cake into 2 giving me a total of 4 layers.
I see now. Thank you! Can I ask would doubling this recipe be enough for a 10inch cake 3 layers? Or should I triple the recipe?
There is an ingredient chart for a 10-inch cake within the post. Same procedure but you have to adjust the baking time. =)
Hi Trish, what is the right temperature of the butter to be at room temperature? So it won’t create lumps in batter.
Room temp butter is at around 20-21 C (68-70F).
Hi Trish! I’m making my first wedding cake and love your whole process and explaining everything in detail. I just got done making the 8 in cakes and it caved in the middle. Do you know what would cause this? My 6in ones came out great.
Hi Britney – sorry that happened to you! There may be several reasons why that happened. The common ones are they are underbaked, your oven is not at the right temp, and incorrectly measured leaveners (baking soda, baking powder). Did you do a toothpick test in the centre? That would help verify if your cake is done.
Thank you for such a great recipe.
I always get a big rise up the middle halfway through baking my cakes. Then I have to trim a large chunk of to level my cake. I make sure my ingredients are room temp. Do you have any suggestions for how to stop this.
You’re welcome, Rachel! Your oven might be too hot. I would check first if my oven is really at the right temperature by using an oven thermometer. I discovered mine was 5 degrees hotter. When it is at the right temp and is still happening, try using a cake strip. You may refer to the the chocolate version of this recipe where I used a cake strip – https://thebakeologie.com/sturdy-moist-chocolate-cake/
Note though that your baking time might be a little longer if you are using cake strips.
I have 2 cake pans that are 9 1/2 x 3 inches. Would it be better that I use the 10 inch recipe or 9 inch? Thank you!
Hi, Kelly! It depends on your preference. If you use the 10-inch recipe your cake will be slightly taller as there is more batter. If you use, the 9-inch your cake will be slightly thinner as your pan is bigger. Either way, you have to adjust the baking time so look for visual cues.
I always put a kitchen towel over my cakes, just out of the oven, and gently push down to just above the edge of the pan. Has always worked. Never have to cut off the tops that way.
Interesting…I have never tried that. Thanks for the tip! =)
We’re making our own wedding cake and are trying different recipes. This one is sooo good! It was very moist and delicious! We didn’t try stacking quite yet, but it seems sturdy enough. Thank you so much! We’re looking forward to trying the chocolate cake recipe soon!
Awesome! When I finally nailed this recipe, I was so happy too. Thank you so much for the rating and for sharing your feedback!
Hello, where can I download the baking pan conversion chart for the 4 and 10 inch cakes. Thanks!
Hi, Lori. It will be automatically sent once you input your email on any of the sign-up forms at the homepage, sidebar, and after each post.